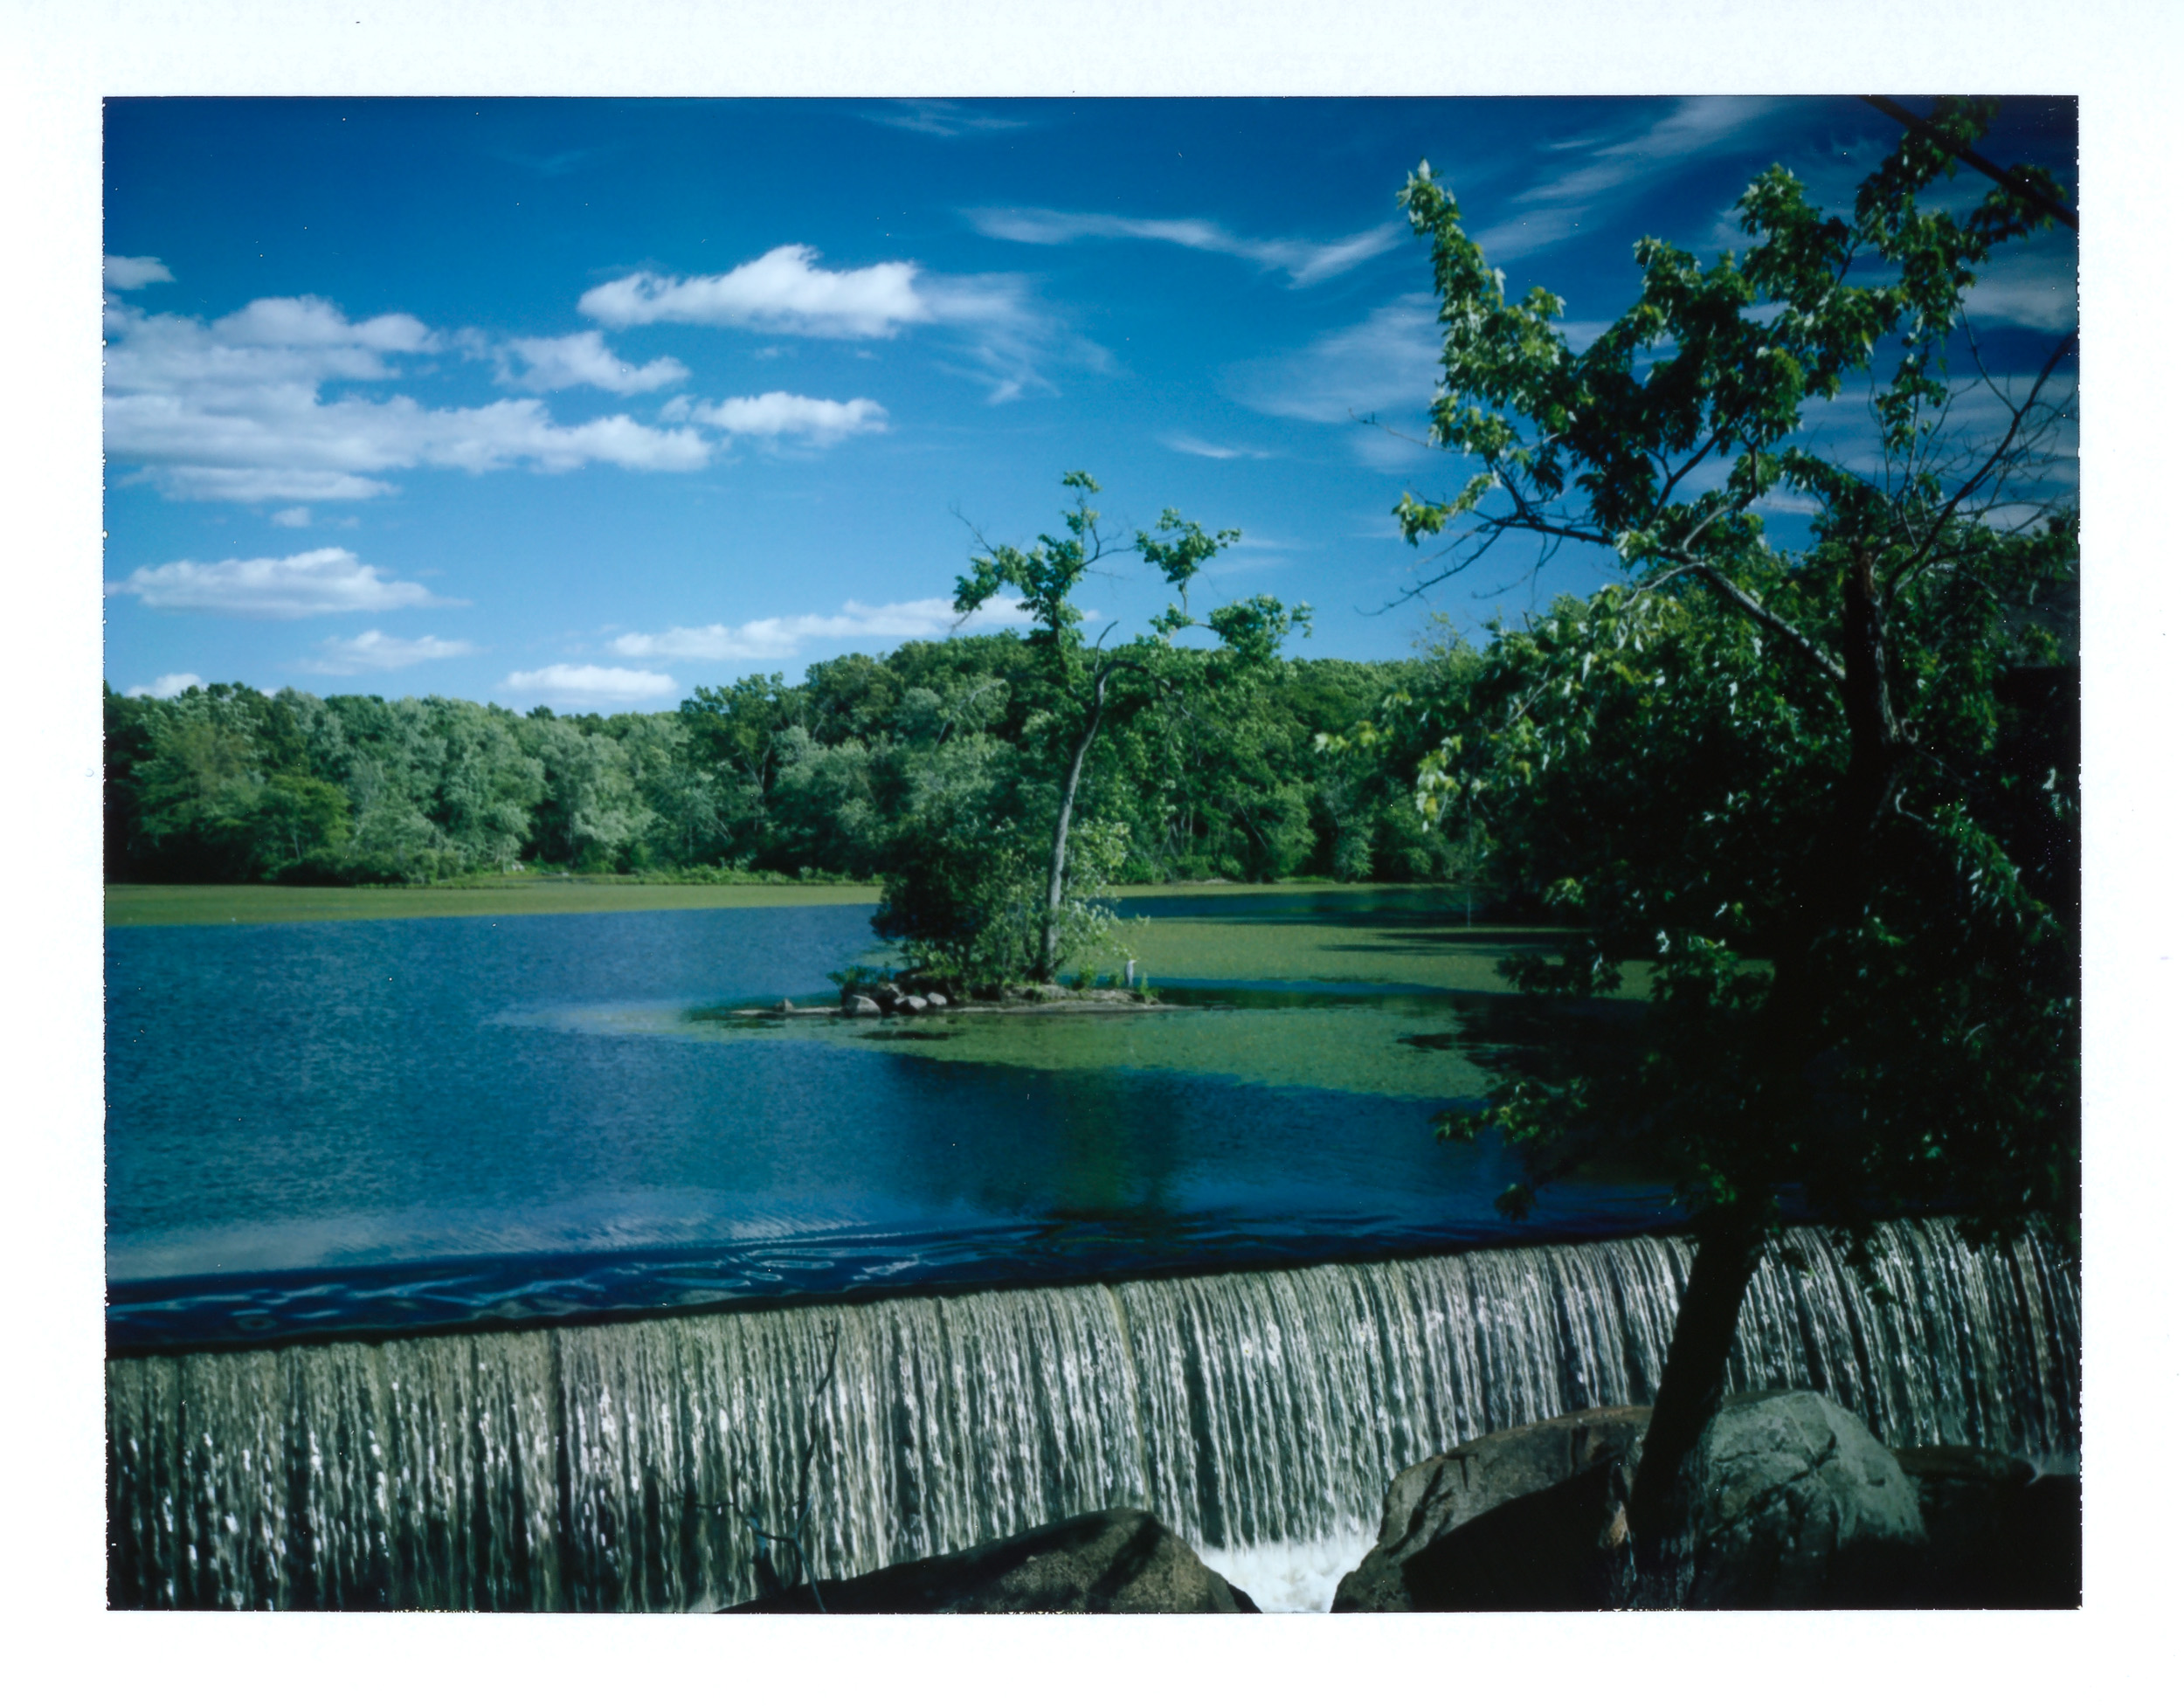
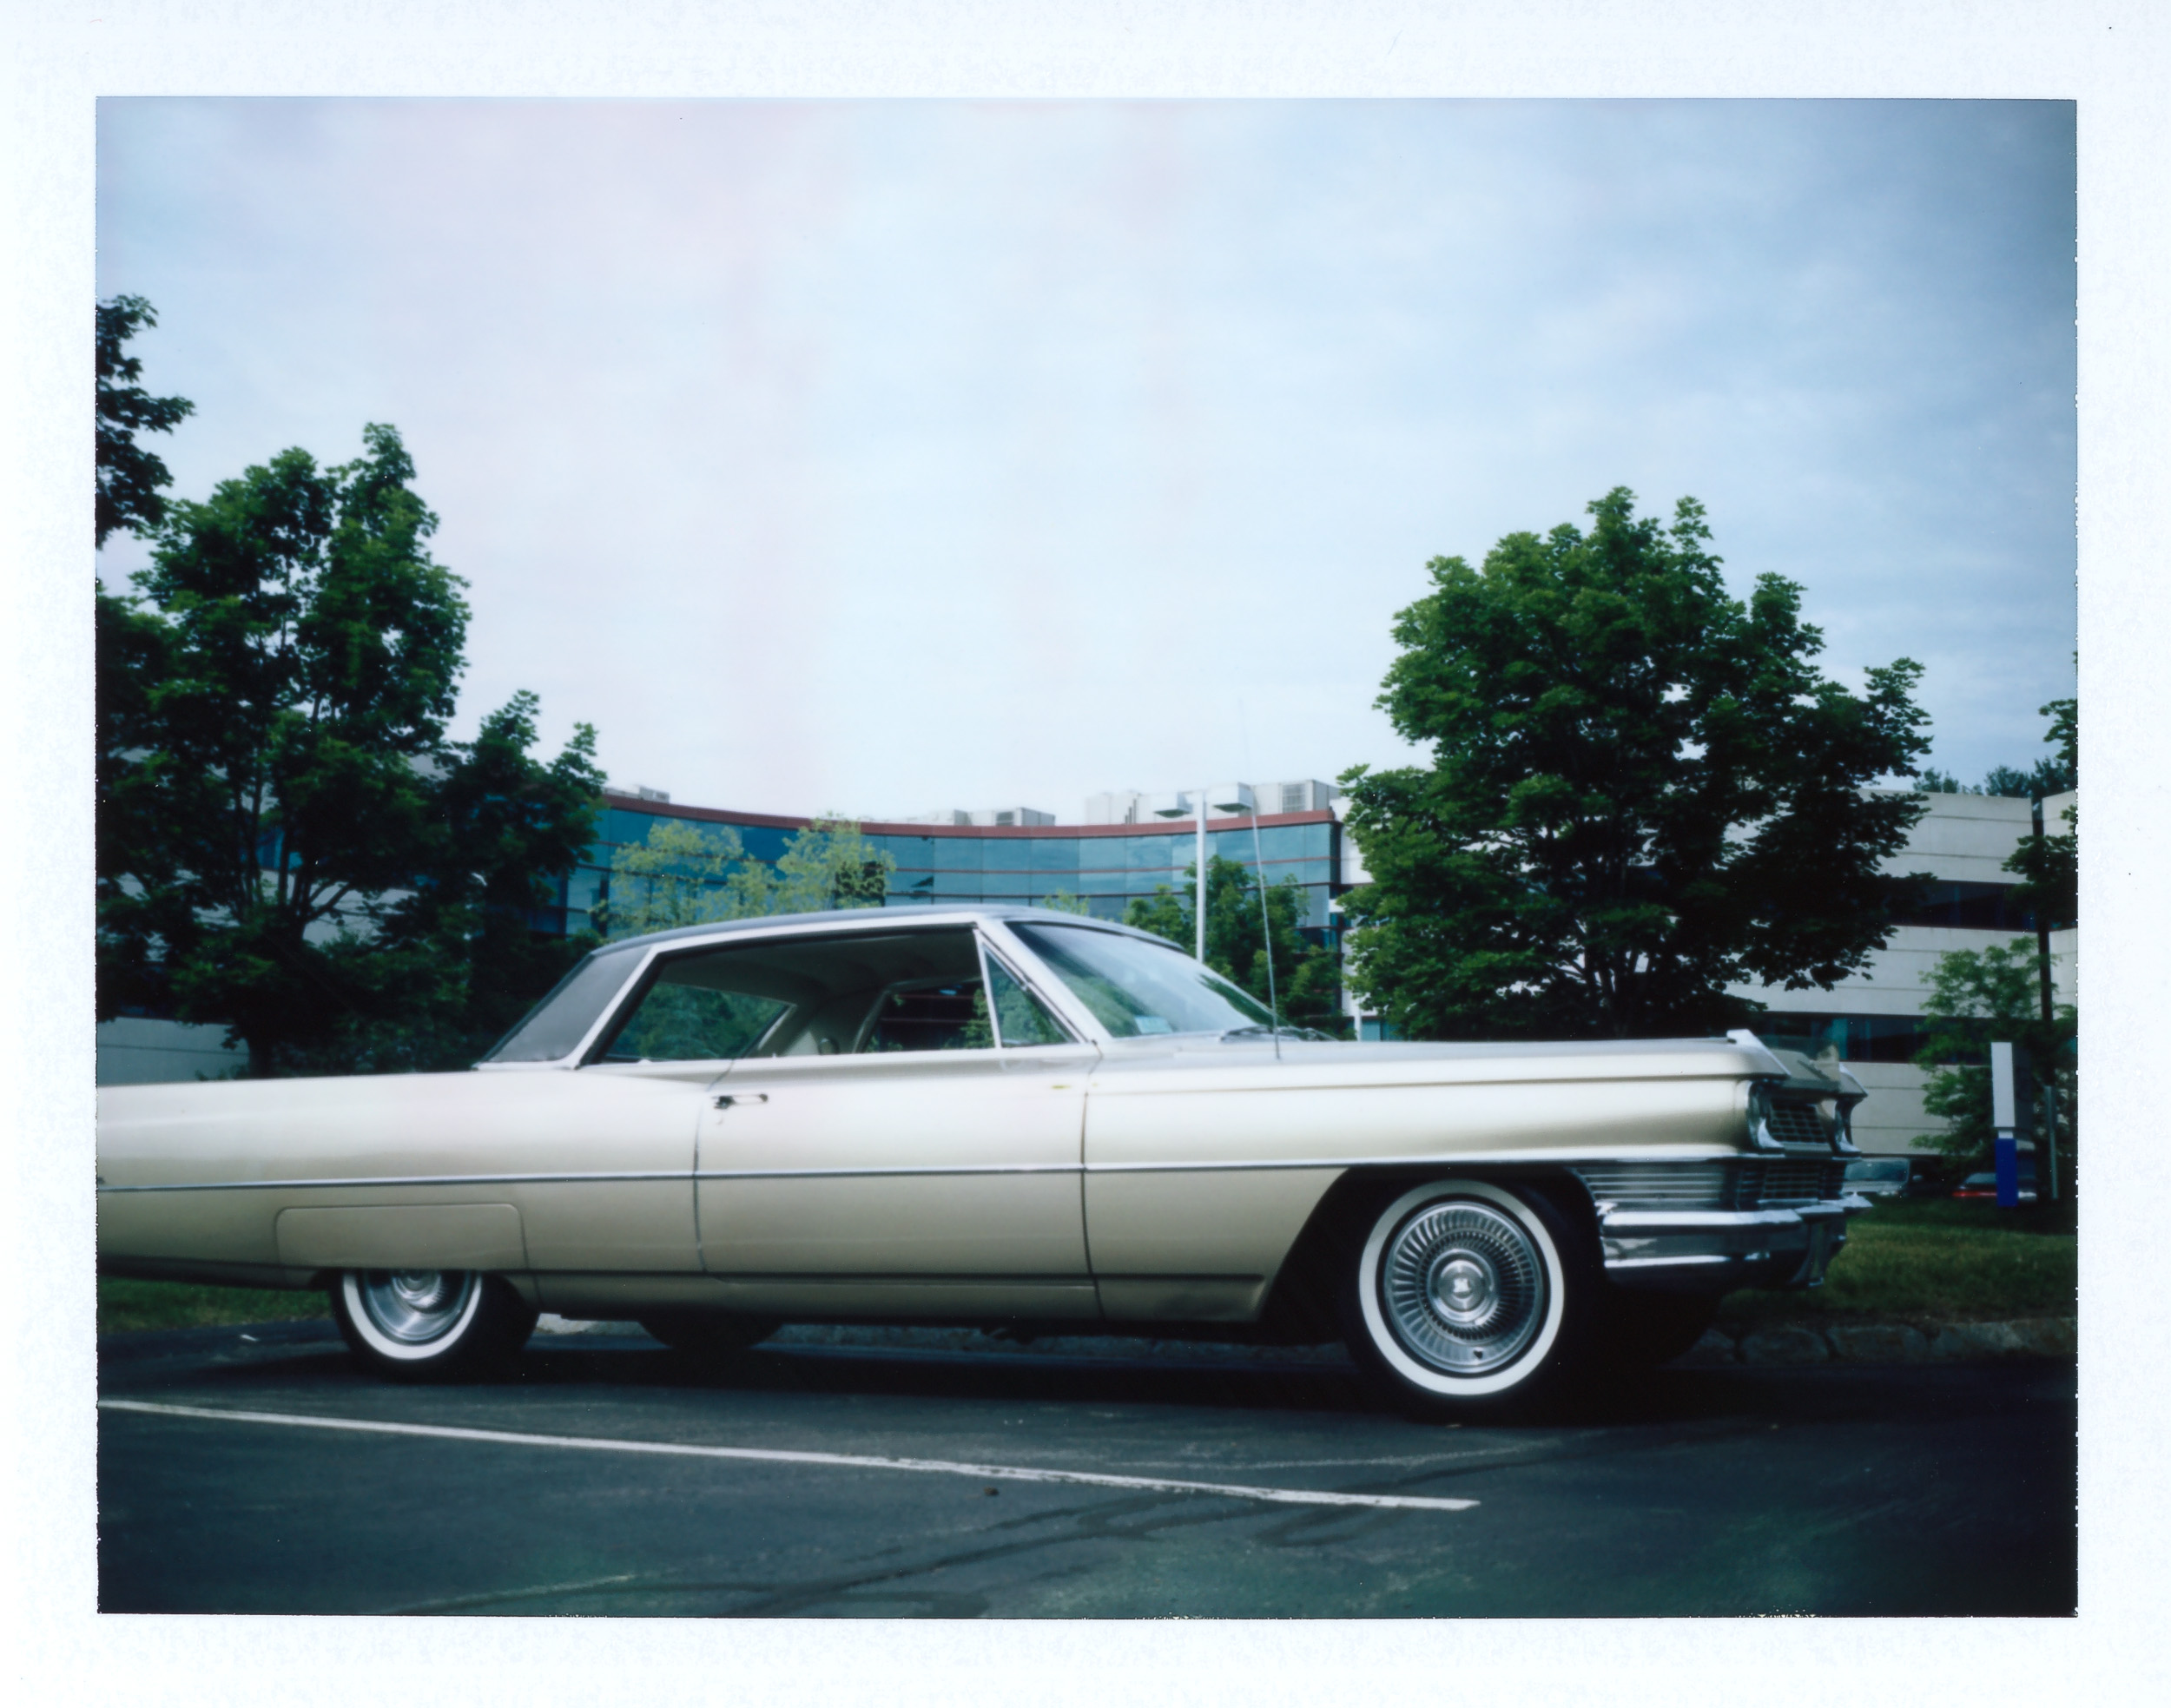
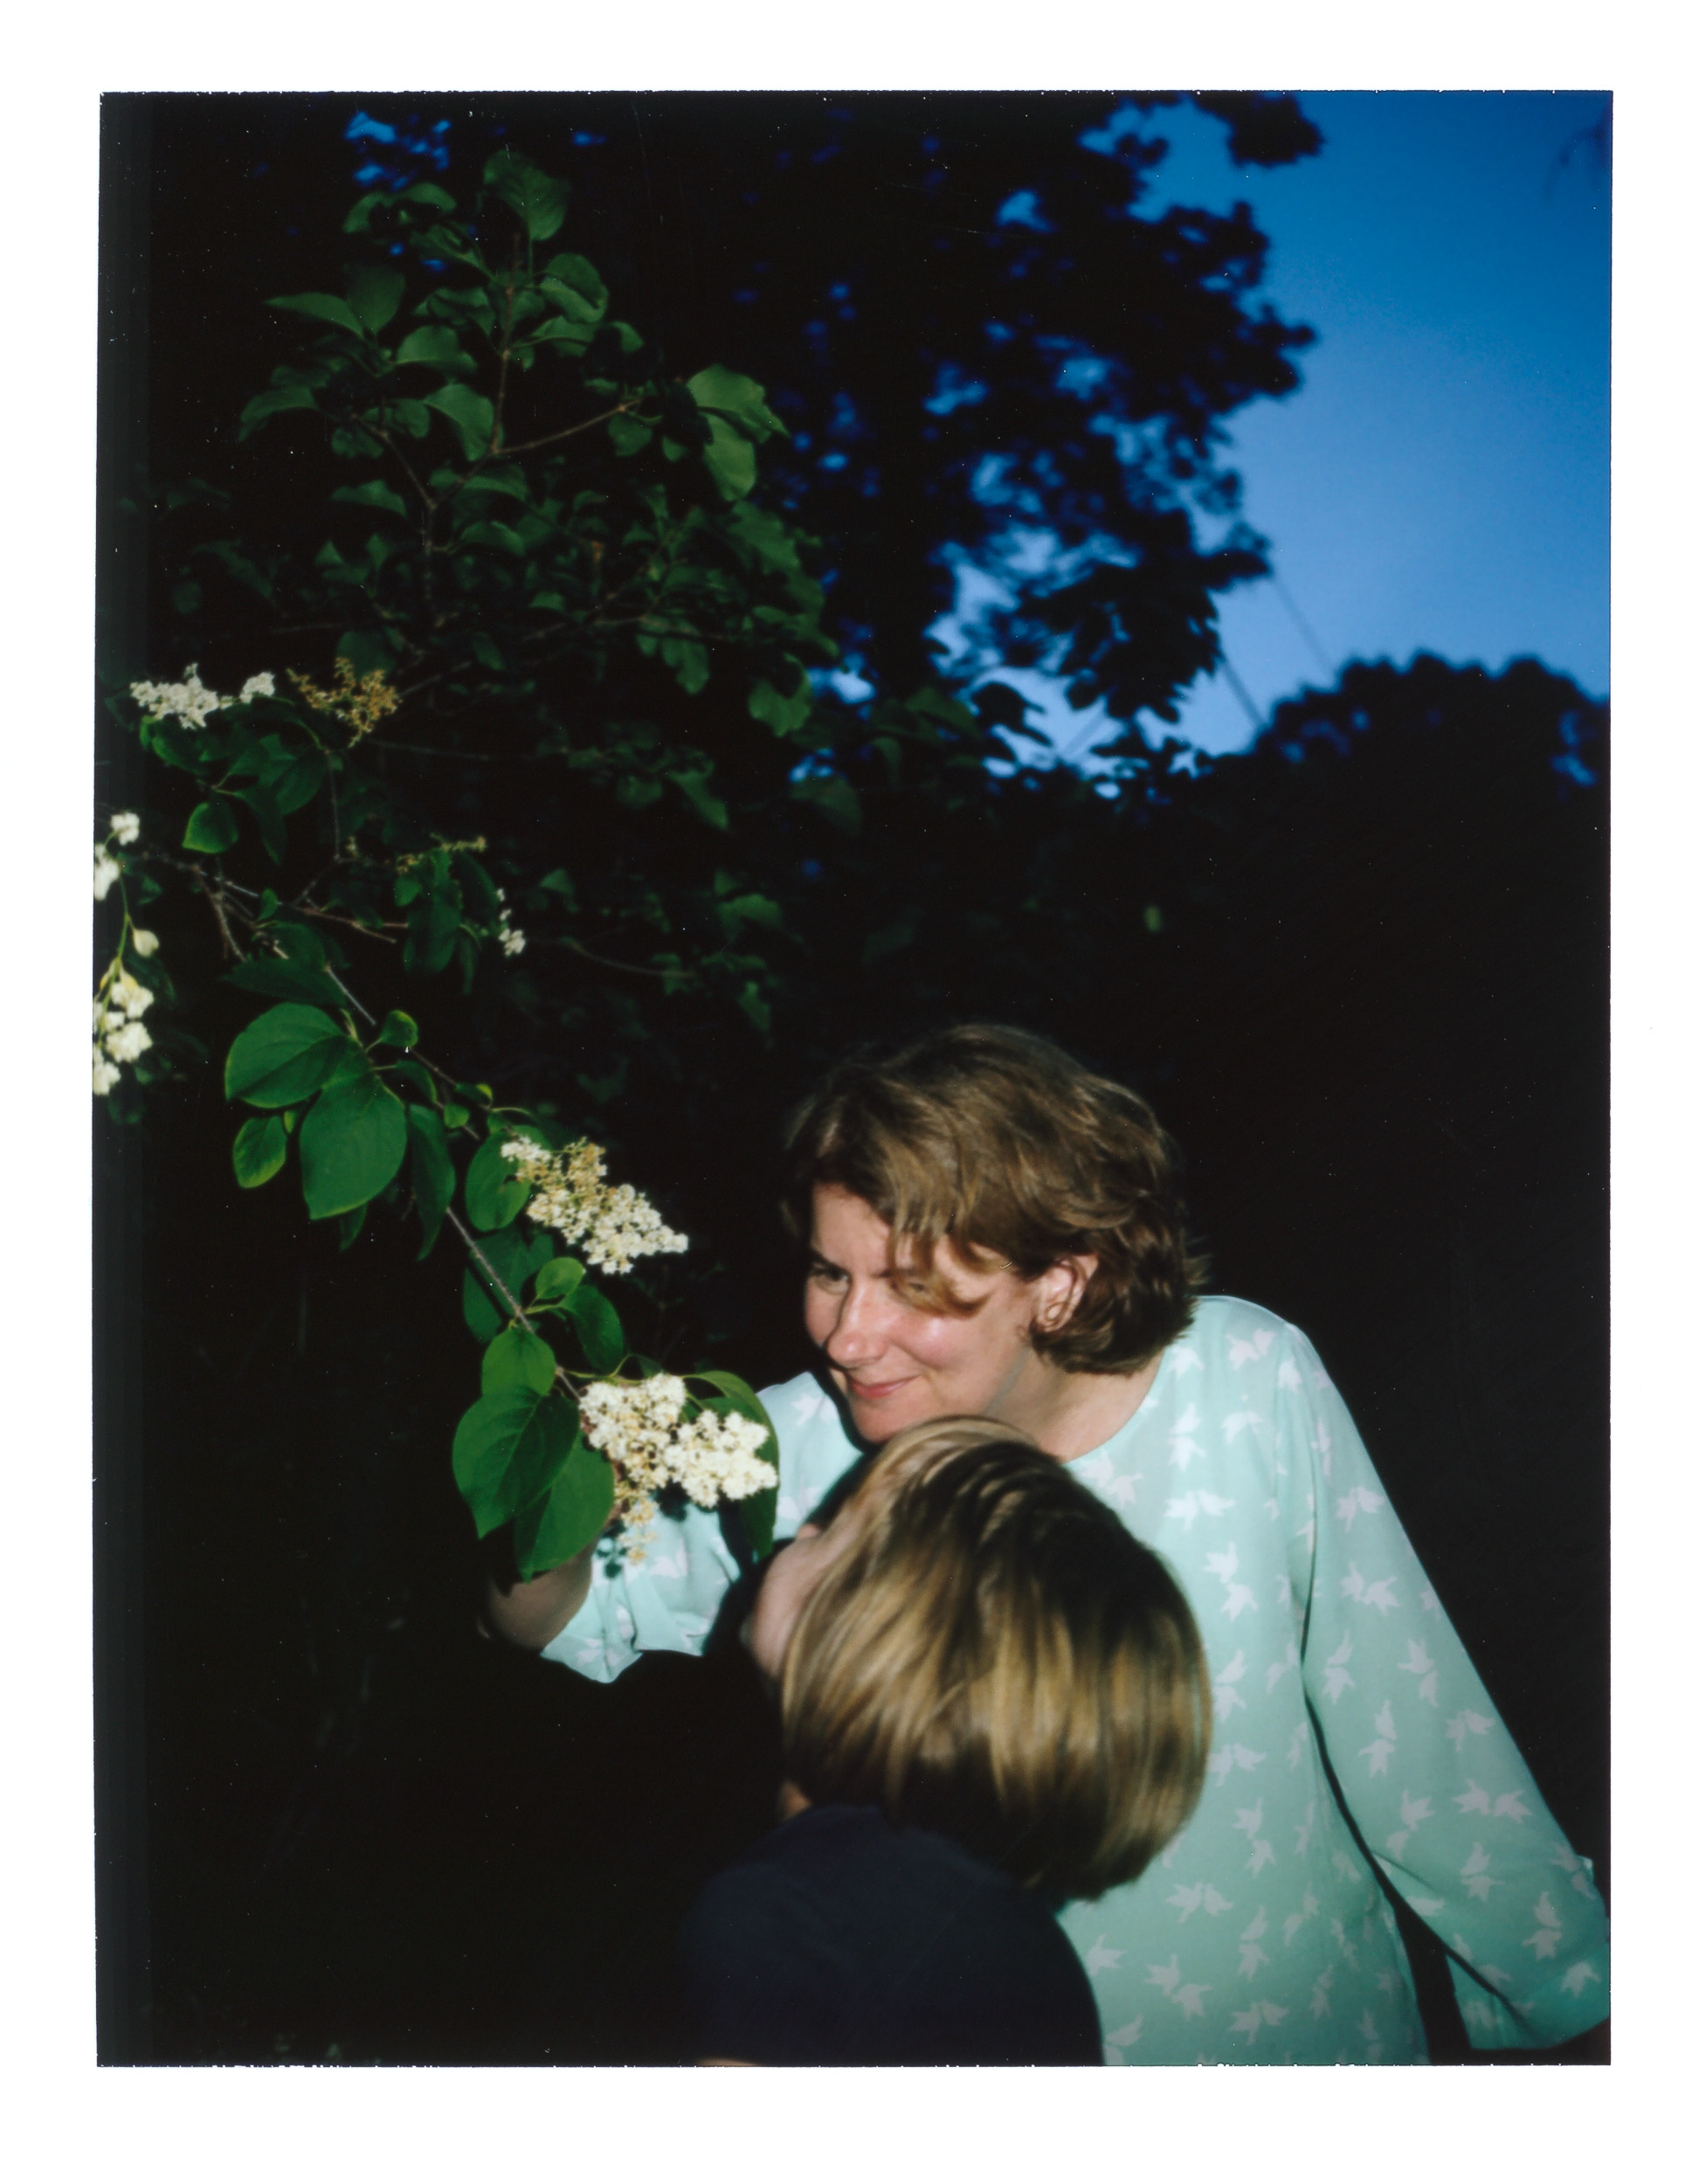
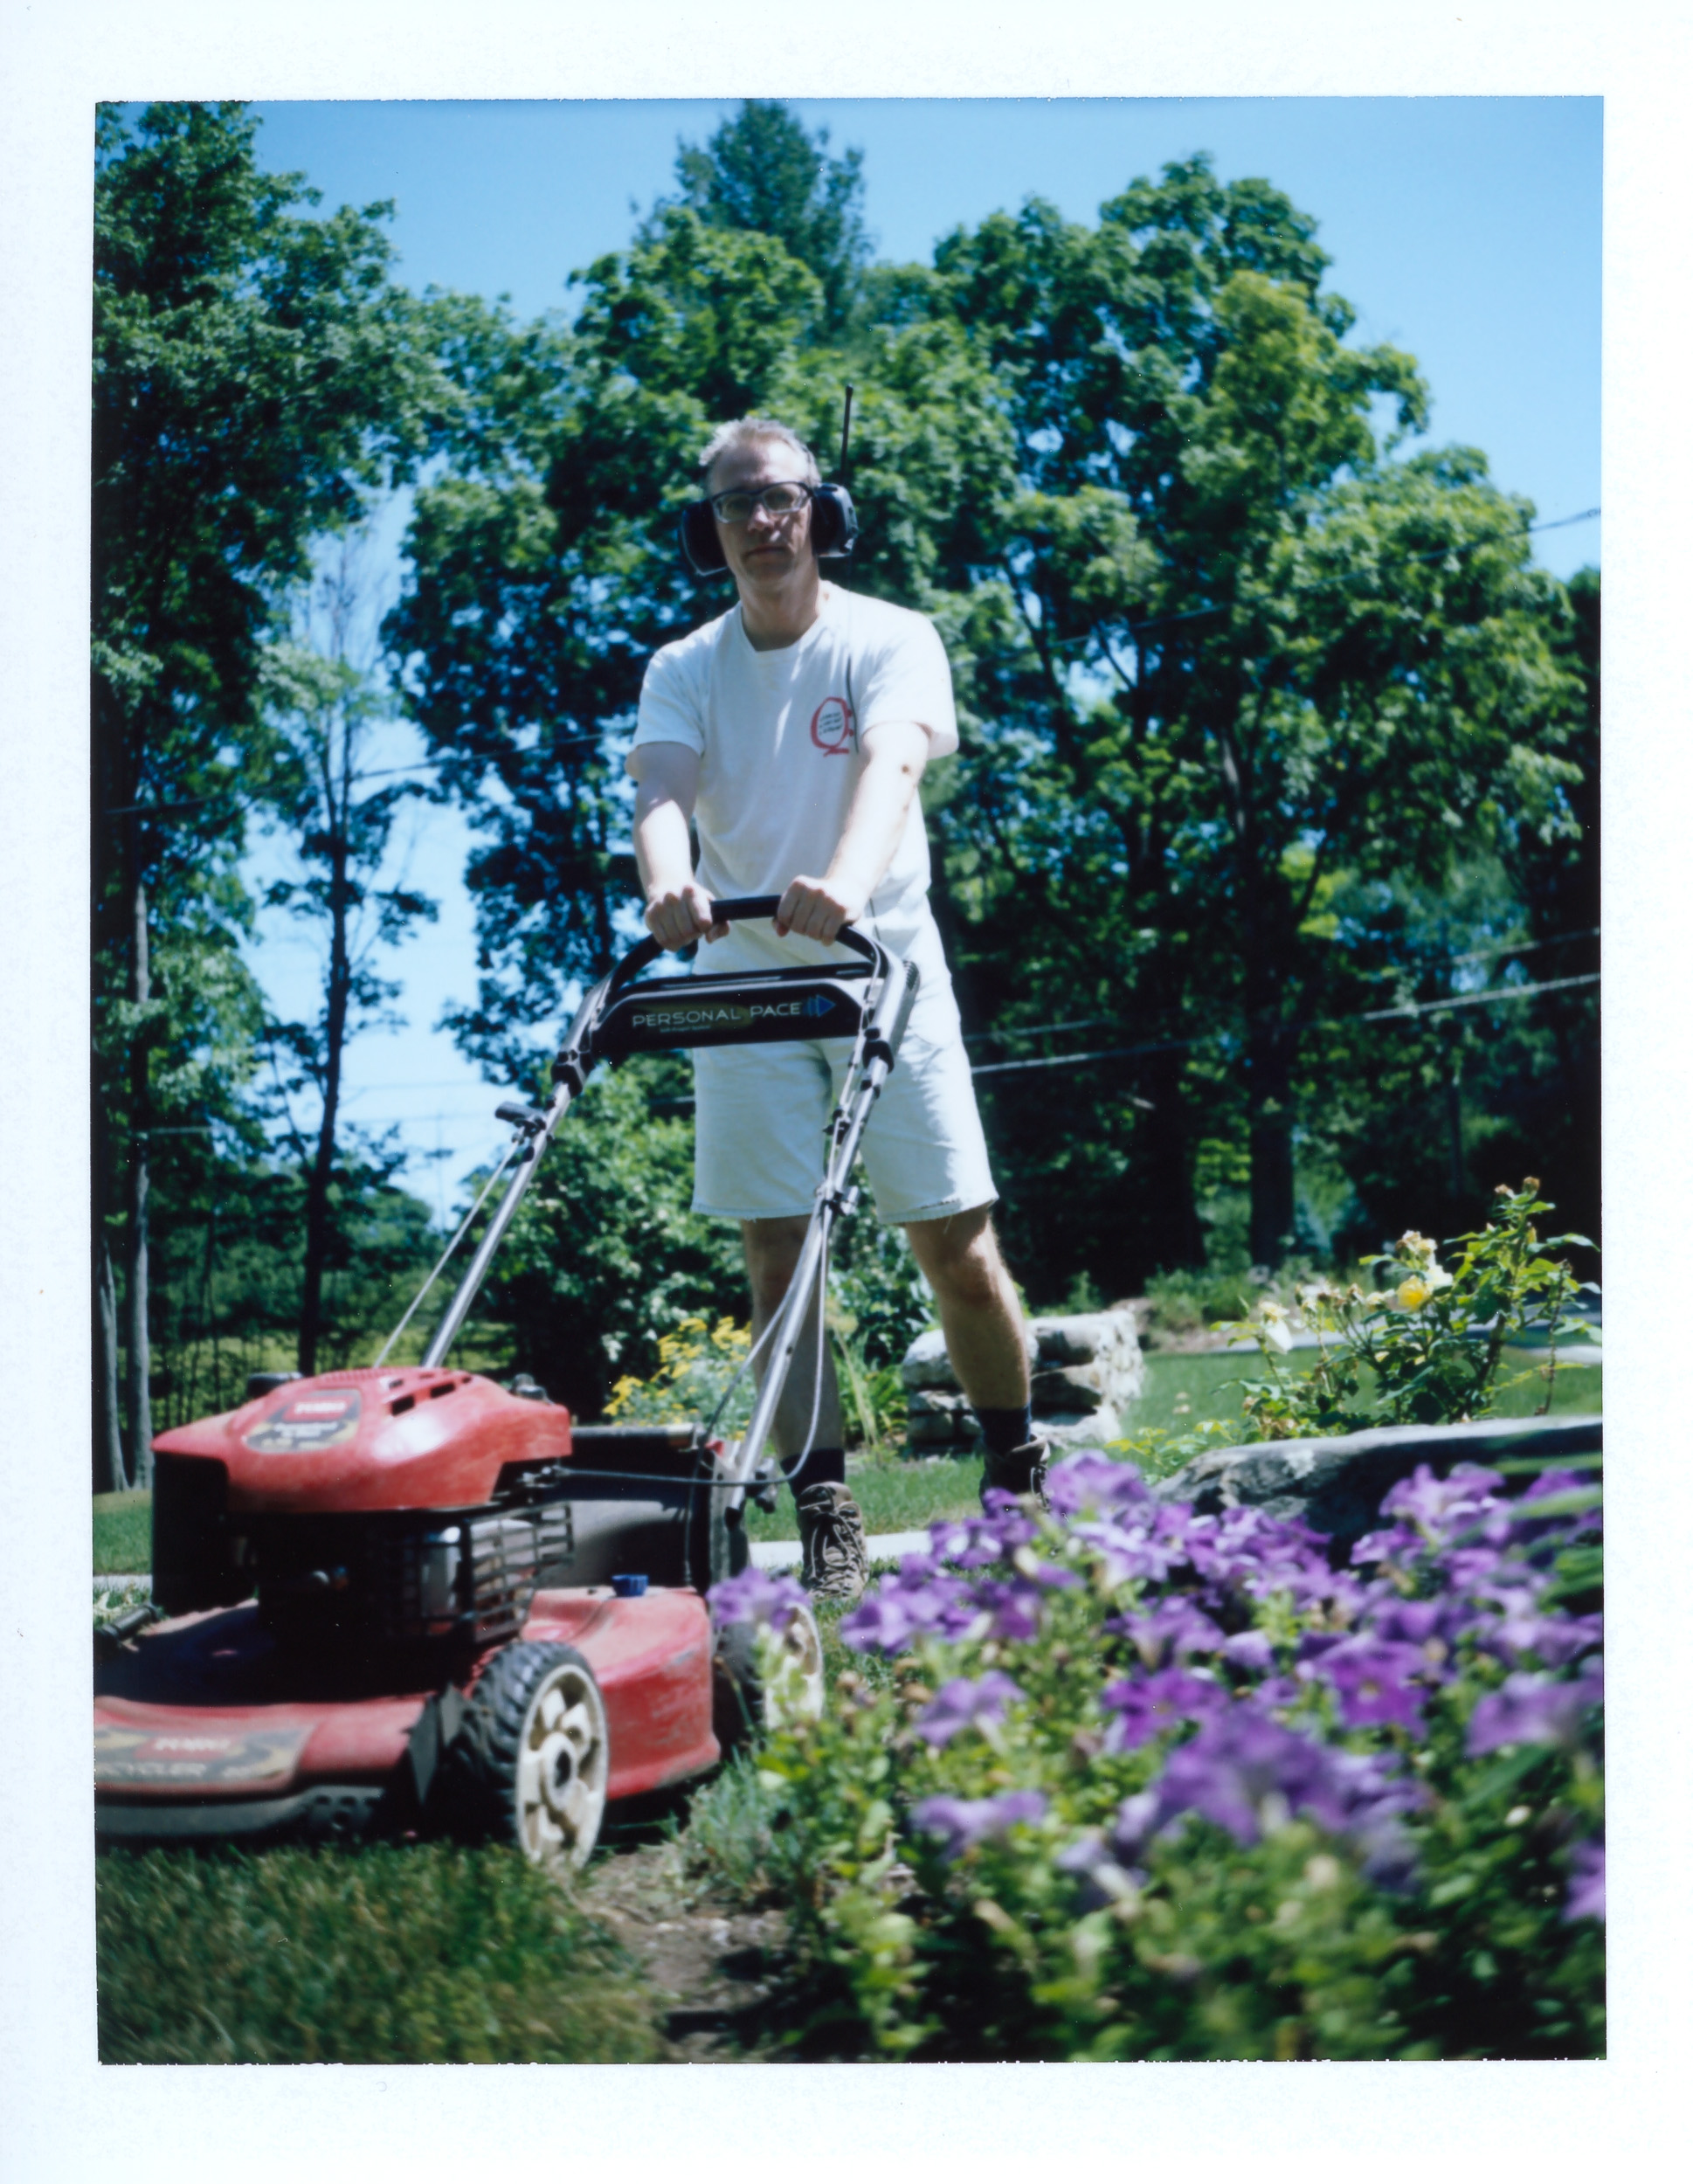
I spent a weekend in Findlay, OH to attend the Film Photography Project workshop. There was a large antique car show on Saturday and I brought along my antique No 2A Folding Cartridge Hawk-Eye camera and some very expired 116 size "Kodacolor II" film. The results were surprisingly good considering the film expired 34 years ago. Compared to my previous attempt in March, I think I was able to improve my C-41 film development technique by using a "dip & dunk" procedure and also a longer pre-soak of 3 minutes. That resulted in more even development:


No 2A Folding Cartridge Hawk-Eye camera
I added a new entry to my camera museum pages for the No 2A Folding Cartridge Hawk-Eye camera. The reason is that I just experimented with some expired color negative film in that camera. The Kodacolor II film (in 116 size) that I used expired over thirty years ago and produced some interesting results shown below:


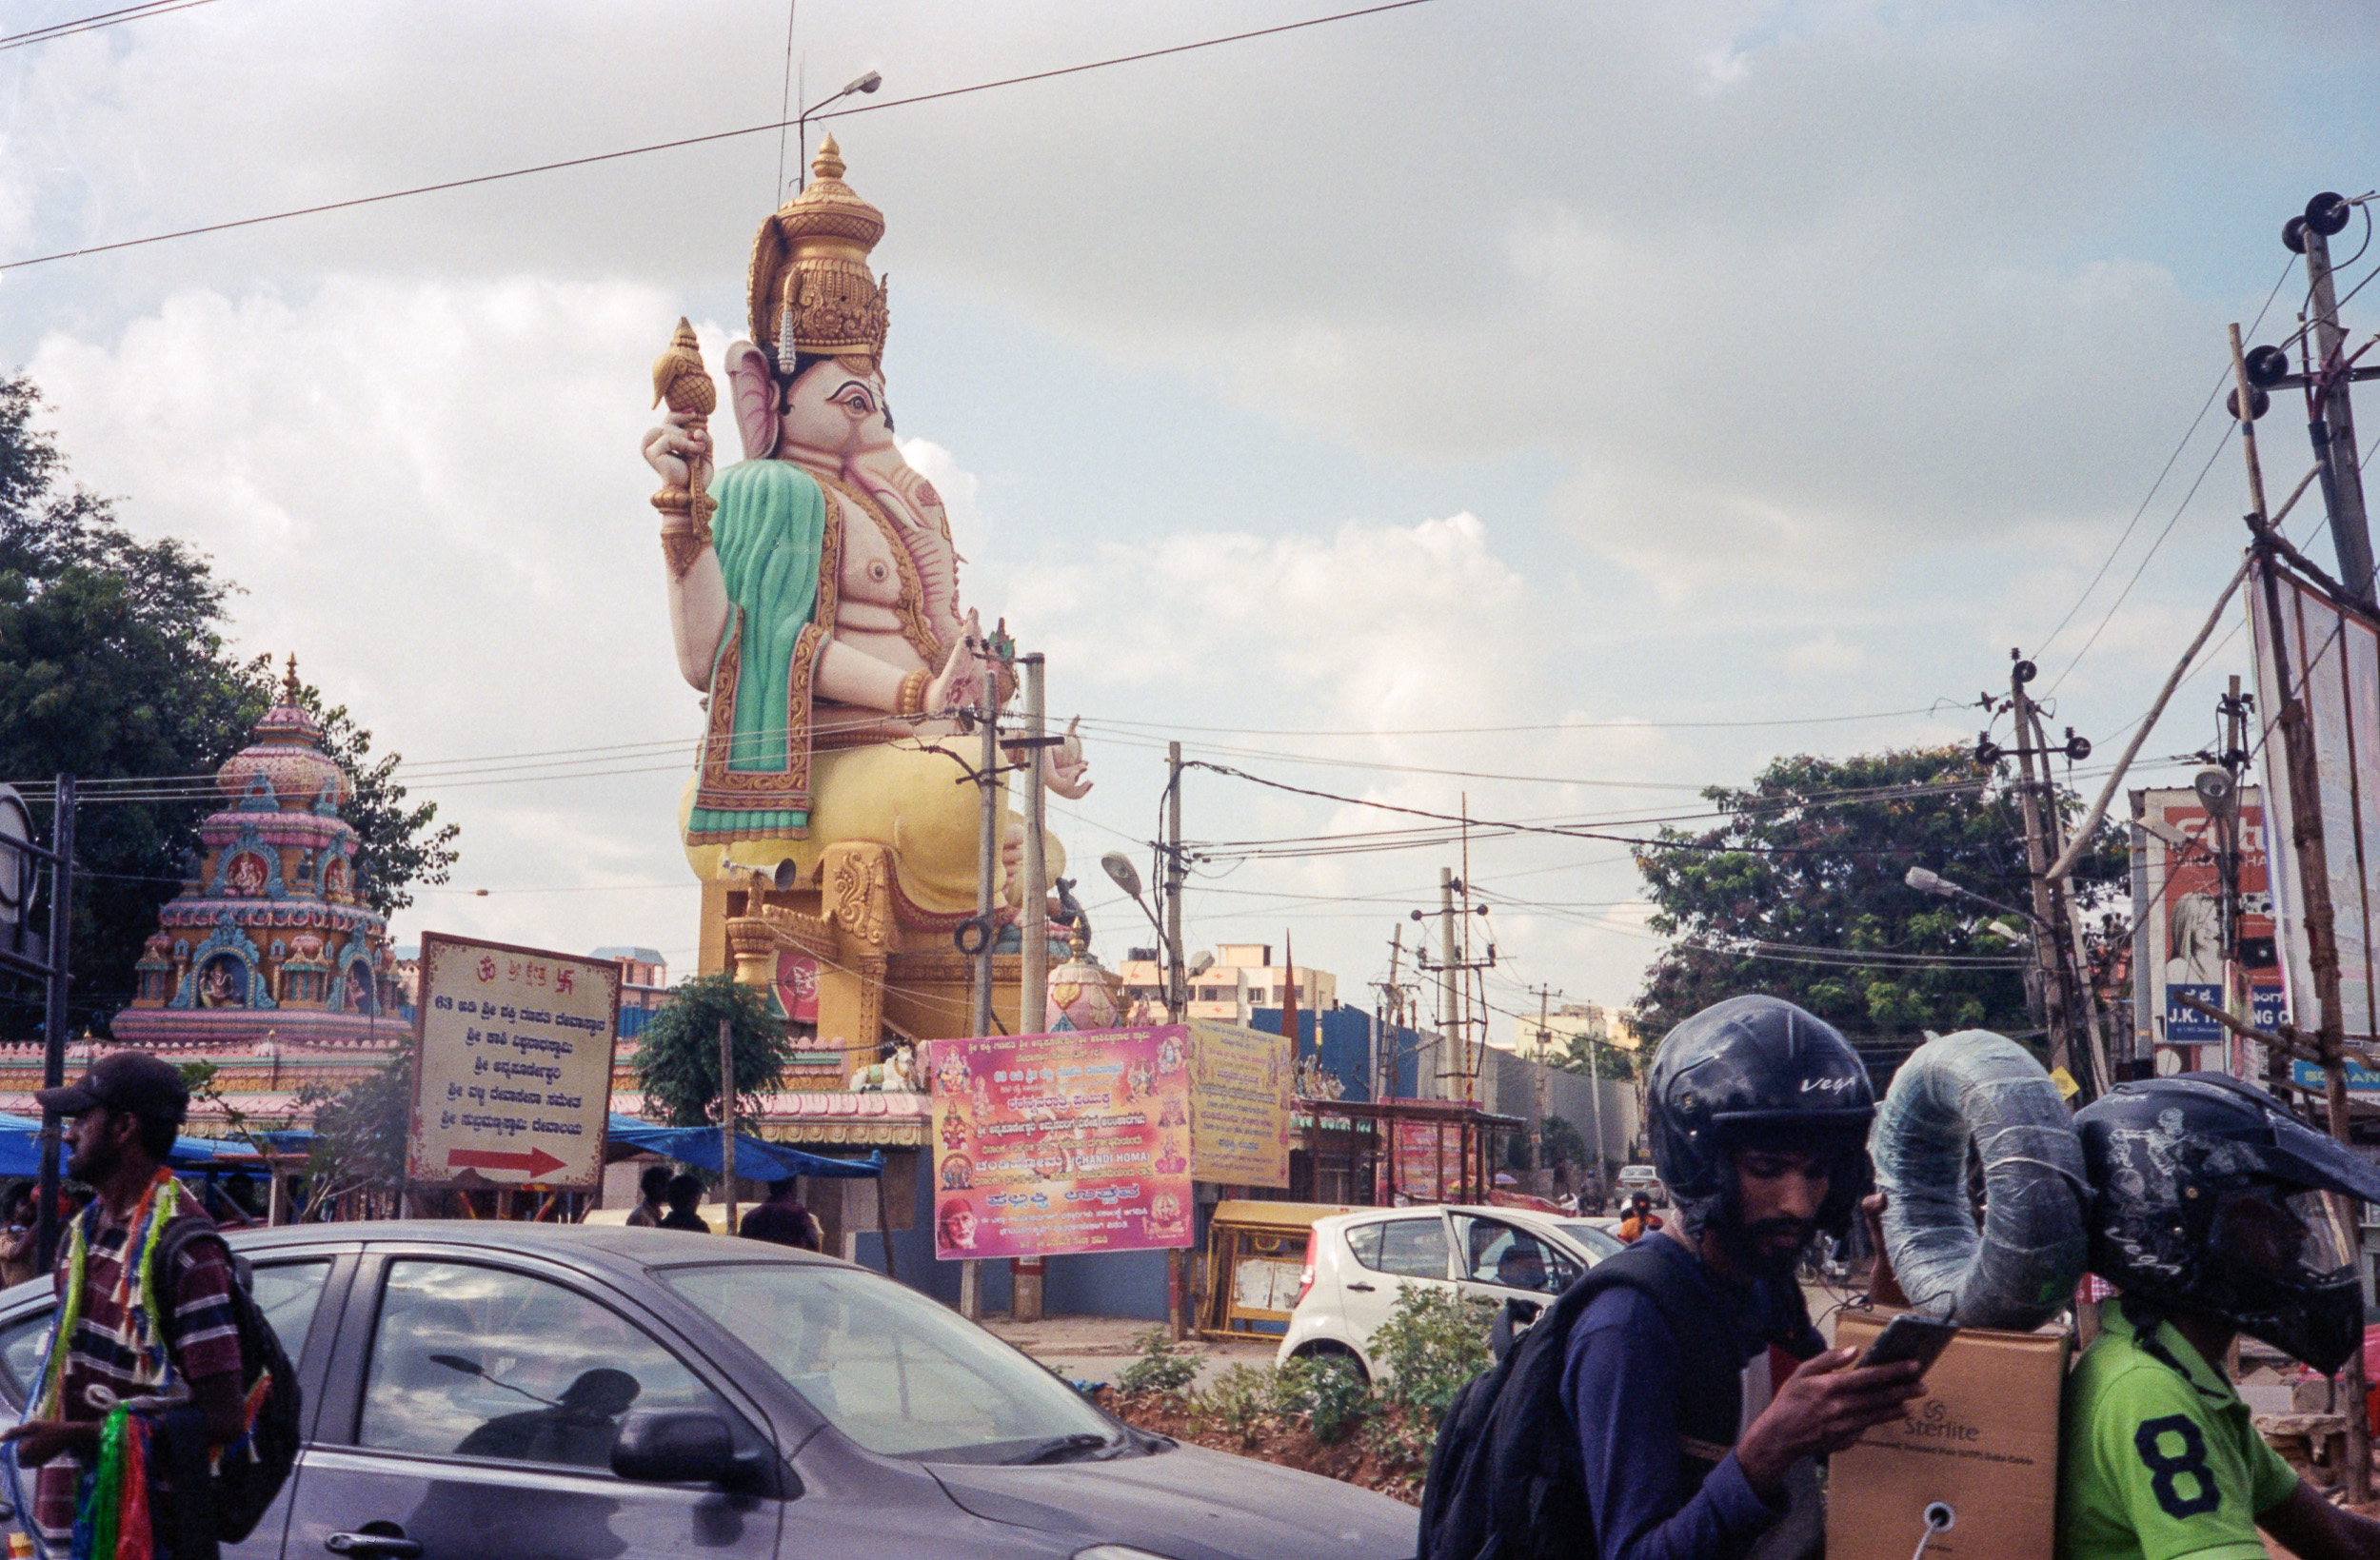
In & Around Bangalore
On a recent business trip to India, I spent all week in Bangalore. But I did have a few opportunities to explore the surrounding areas. The camera I brought along was a tiny Rollei 35 S film camera (see my camera museum page). All the photos shown here were shot with it on Kodak Portra 400 or Ektar 100 film.
The main tourist attraction is Mysore Palace in the town of Mysore. Worth a visit, but the traffic on the 160 km drive from Bangalore to there is brutal on weekends.


The following weekend, my colleague Chris and I then went 120 km north to hike up Madhugiri fort. This appears to be a lesser known place. It is the second largest monolith in Asia, a huge single rock rising up about 400 m from the surrounding area. A series of walls and doorways needs to be crossed on the way up. This takes about two hours. At the very top are ruins of a temple. There is absolutely no tourist infrastructure and parts of the railing system are broken. So it is not a good place for anyone with a fear of heights. However, the views all along the trail and from the top are absolutely stunning and well worth the effort.


And finally some random impressions from the streets of Bangalore. The first three photos were taken on a quiet Sunday morning around the hotel. There is a lot more traffic during the week.


Chasing the Solar Eclipse
This was an extended weekend trip to South Carolina for watching the August 21, 2017 solar eclipse. We planned this trip a bit late and didn't really find a good place to stay close to the path of totality. In the end we settled on Kings Mountain state park, where we met up with the North Carolina delegation of the family and camped there for three nights.
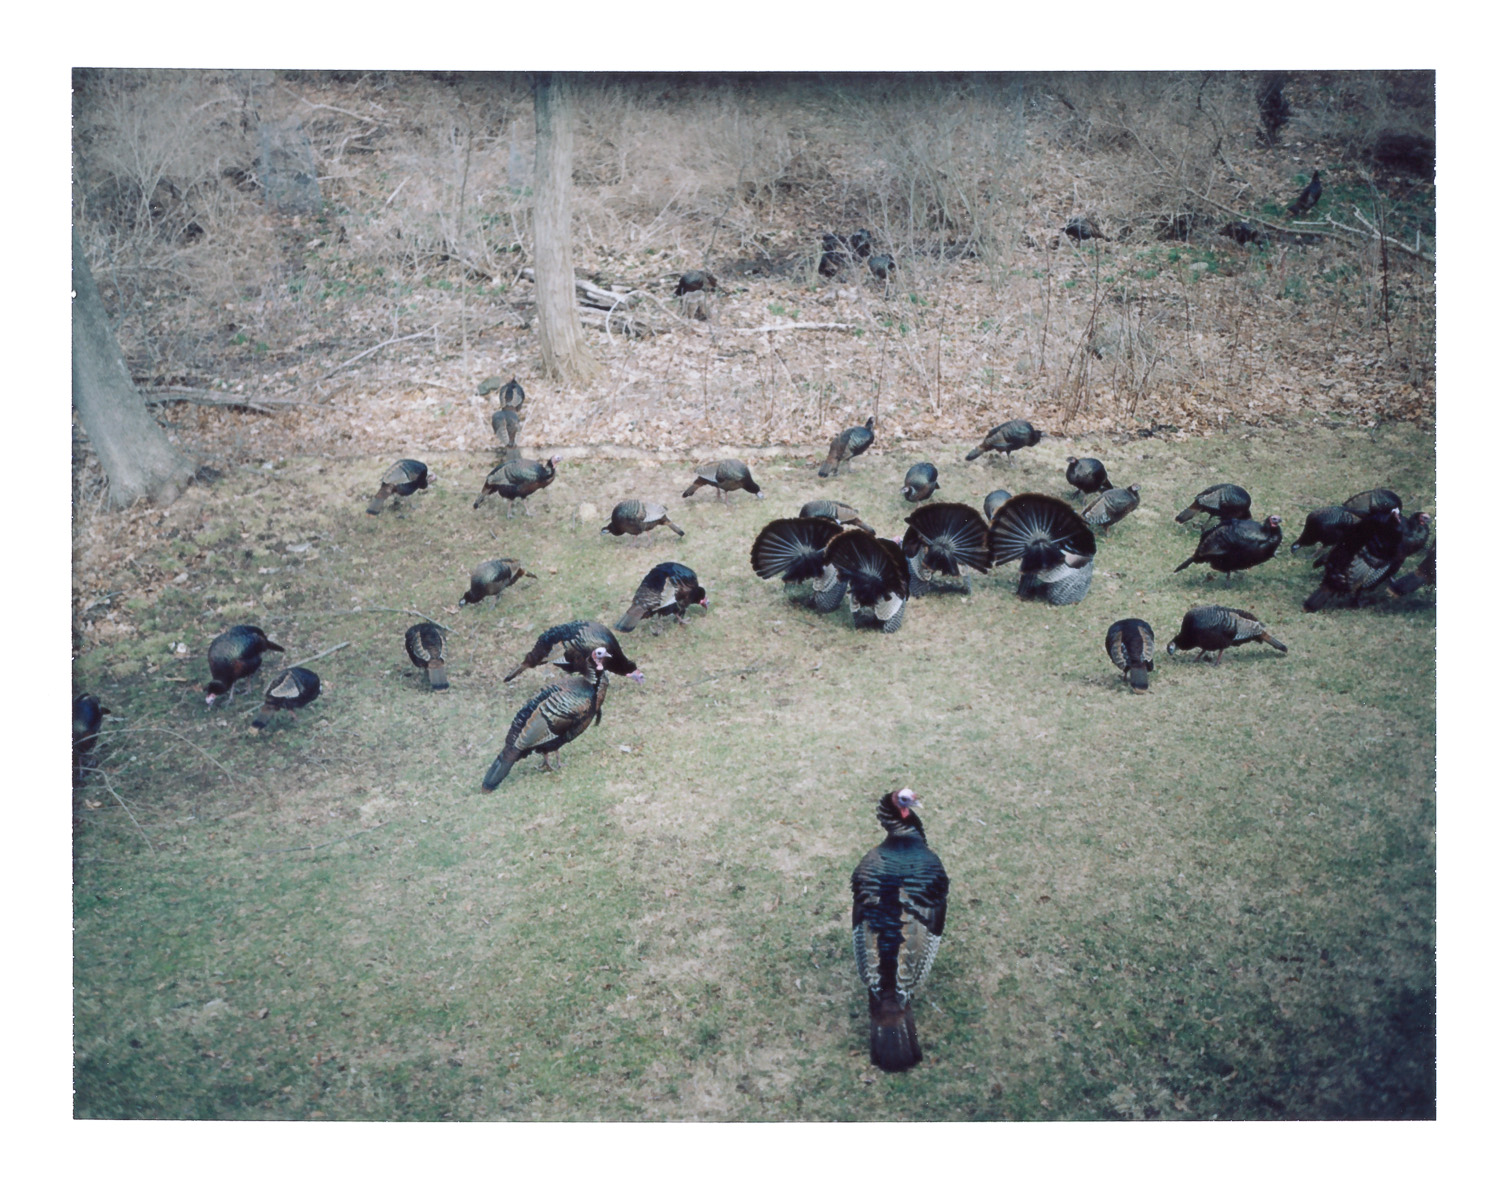
After briefly exploring the Kings Mountain SP and its historical farm on Saturday, we went for a hike up "The Pinnacle" in Crowders Mountain state park, just across the border in North Carolina. It had a distant view of Charlotte and plenty of turkey vultures circling it.


Then came Monday, the day of the eclipse. After constantly checking the weather forecast and pouring over the map for a good watching spot, I found the River Forks Recreation Area in Anderson, SC. The chances to avoid clouds seemed reasonable, and there was an open view across a lake where the sun would be easy to watch.
I came fully prepared with a 800mm lens, a 1.4x extender (bringing the effective focal length to 1120mm) and a solar filter. My plan was to use this setup for photographing the corona during the time of totality. However, the weather didn't quite cooperate: less than a minute before the moon totally obscured the sun, a cloud moved in and was hiding the spectacle...
Even though sun and moon were hidden from view, the effects of the totality were very obvious and quite a thrill: a cold breeze moved in and it got dark like the night, with a kind of sunset/sunrise effect on the horizon.


We drove back in heavy traffic first to Greenville, SC for dinner and then to the campsite. The next morning we had some time to explore the Kings Mountain National Military Park. It turns out this was the site of an important battle of the revolutionary war in 1780.


P.S.: All photos were taken with various Canon 35mm film cameras on Kodak Portra 400 color negative film or Ilford FP4+ black & white film.
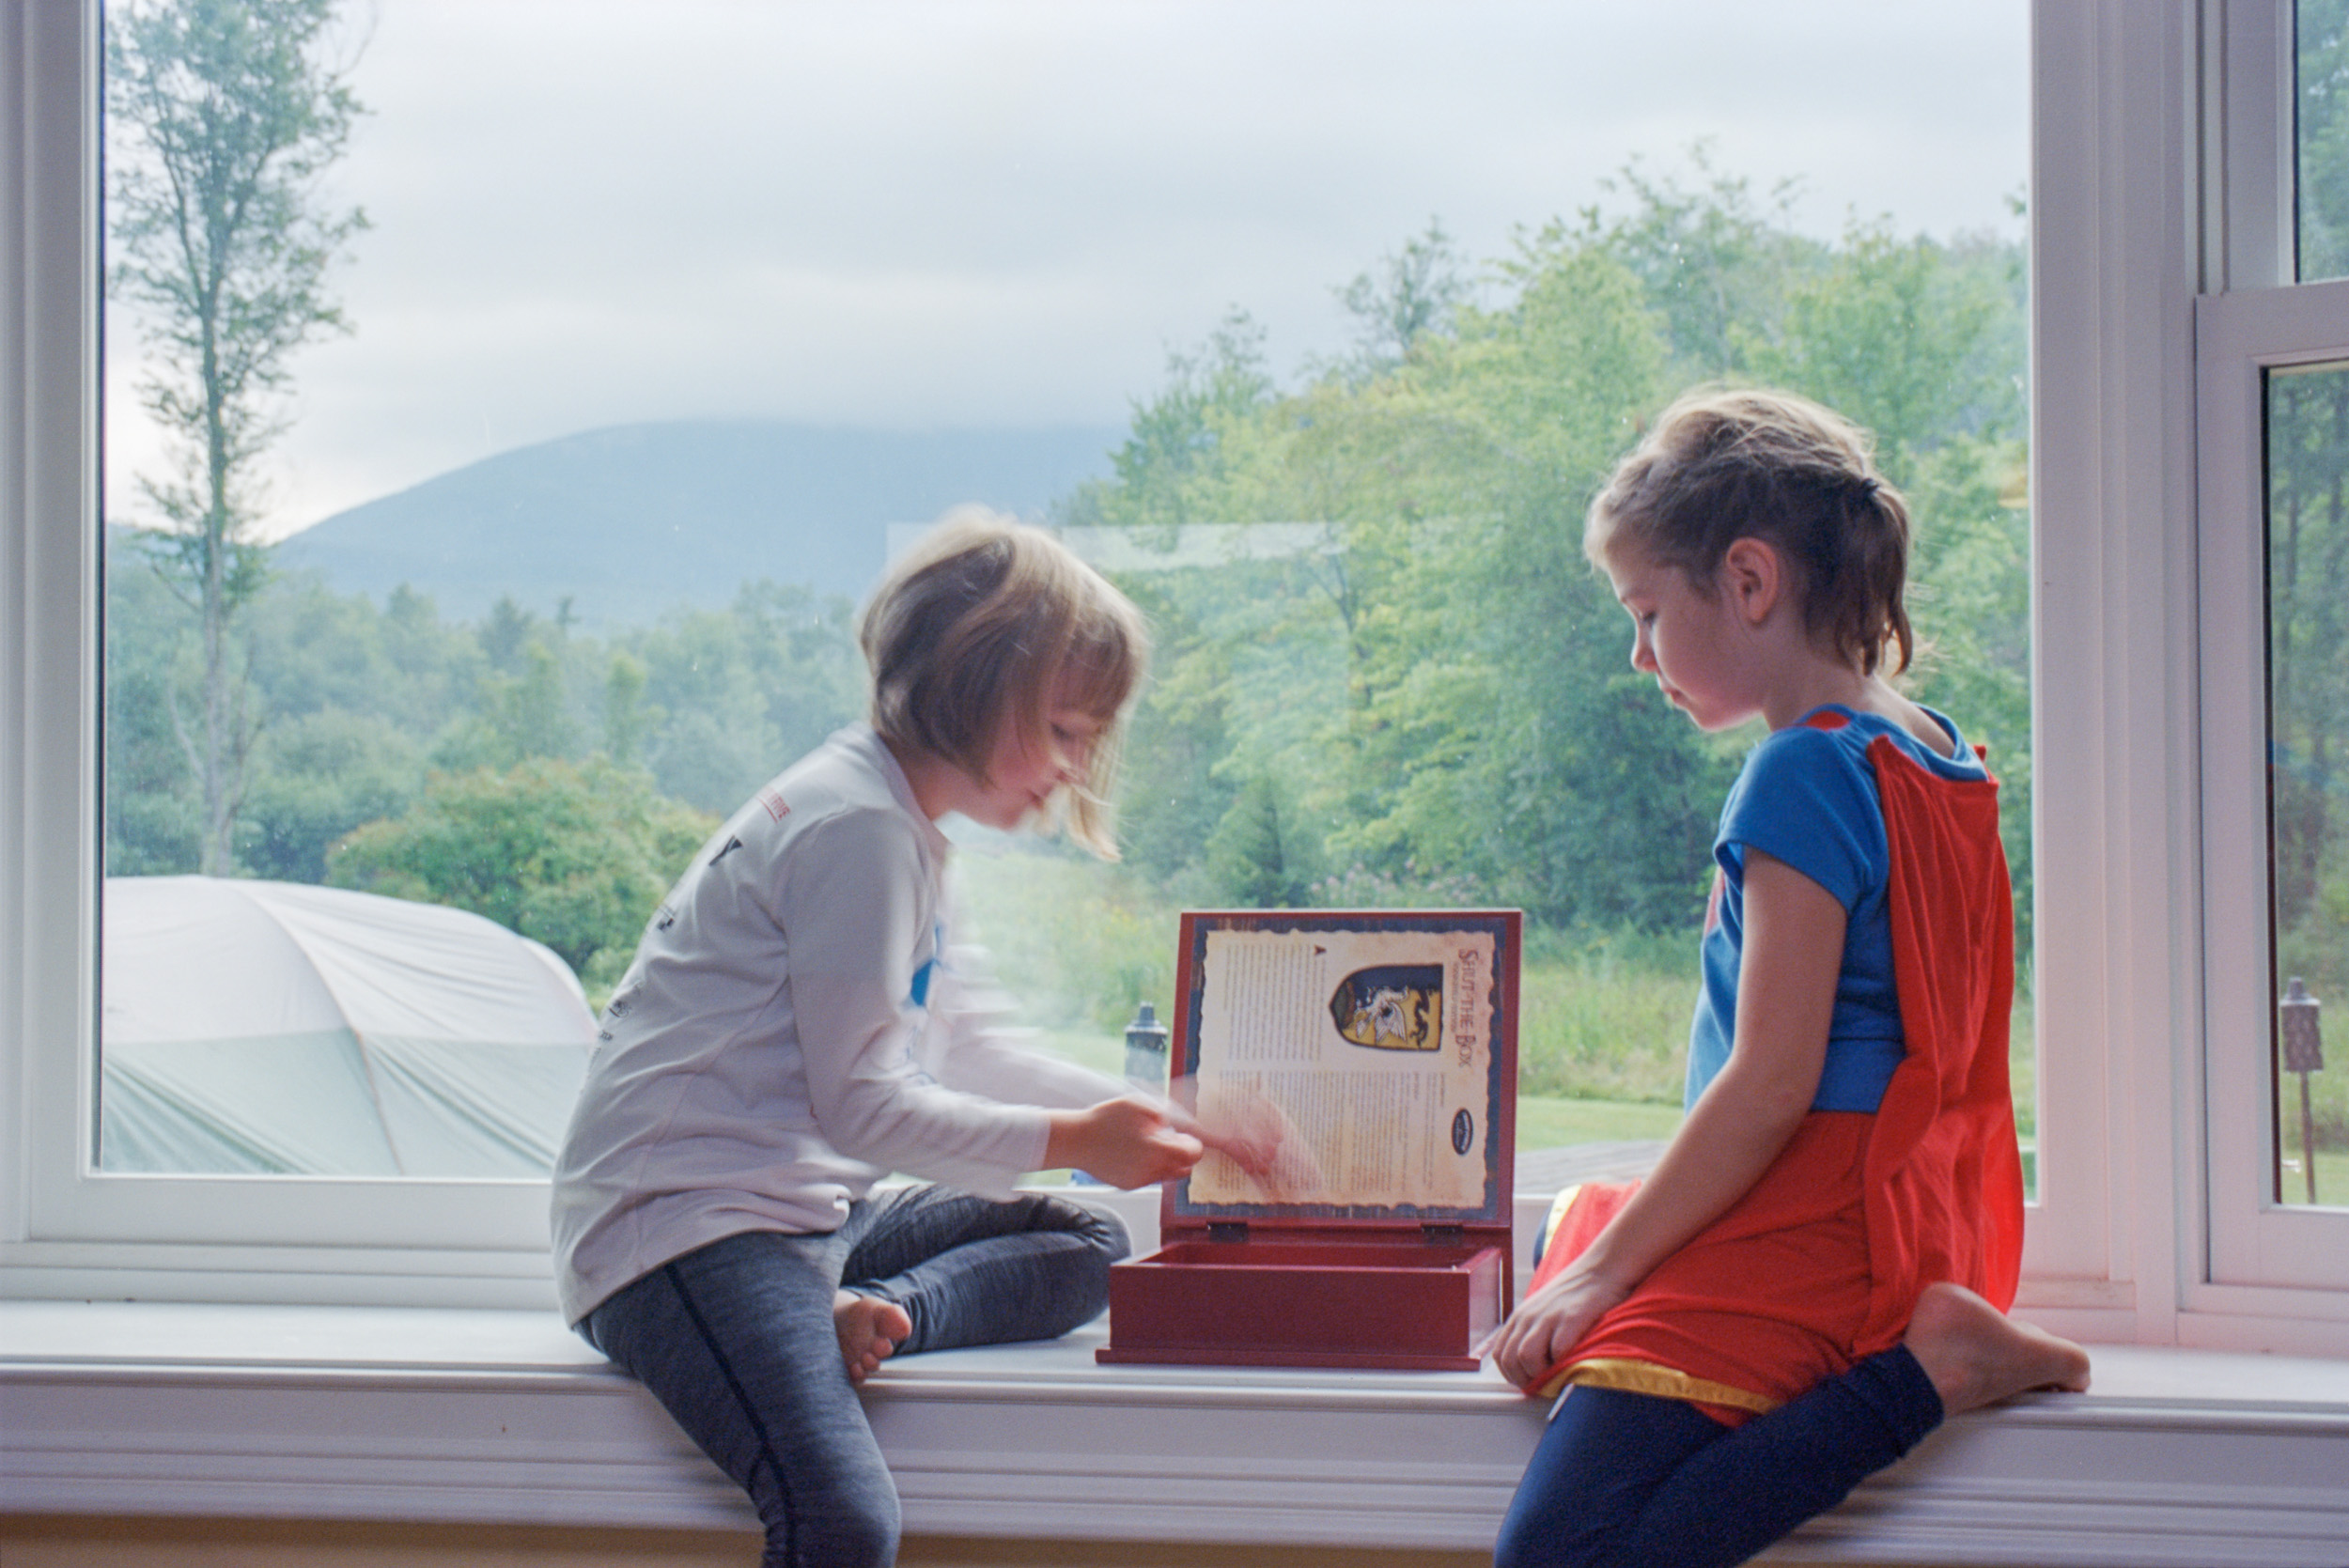
Backyard Camping in Vermont, August 2017
Amy and Dave may never get up early enough to see this, but this is their view towards Mt Mansfield in the early morning:


Those photos were taken with a Canon T90 camera on Kodak Ektar 100 film.
For our hike up Smugglers' Notch to Sterling Pond, I took some shots on color infrared film with a tiny Rollei 35S camera:


And some more photos from hanging out around the house:


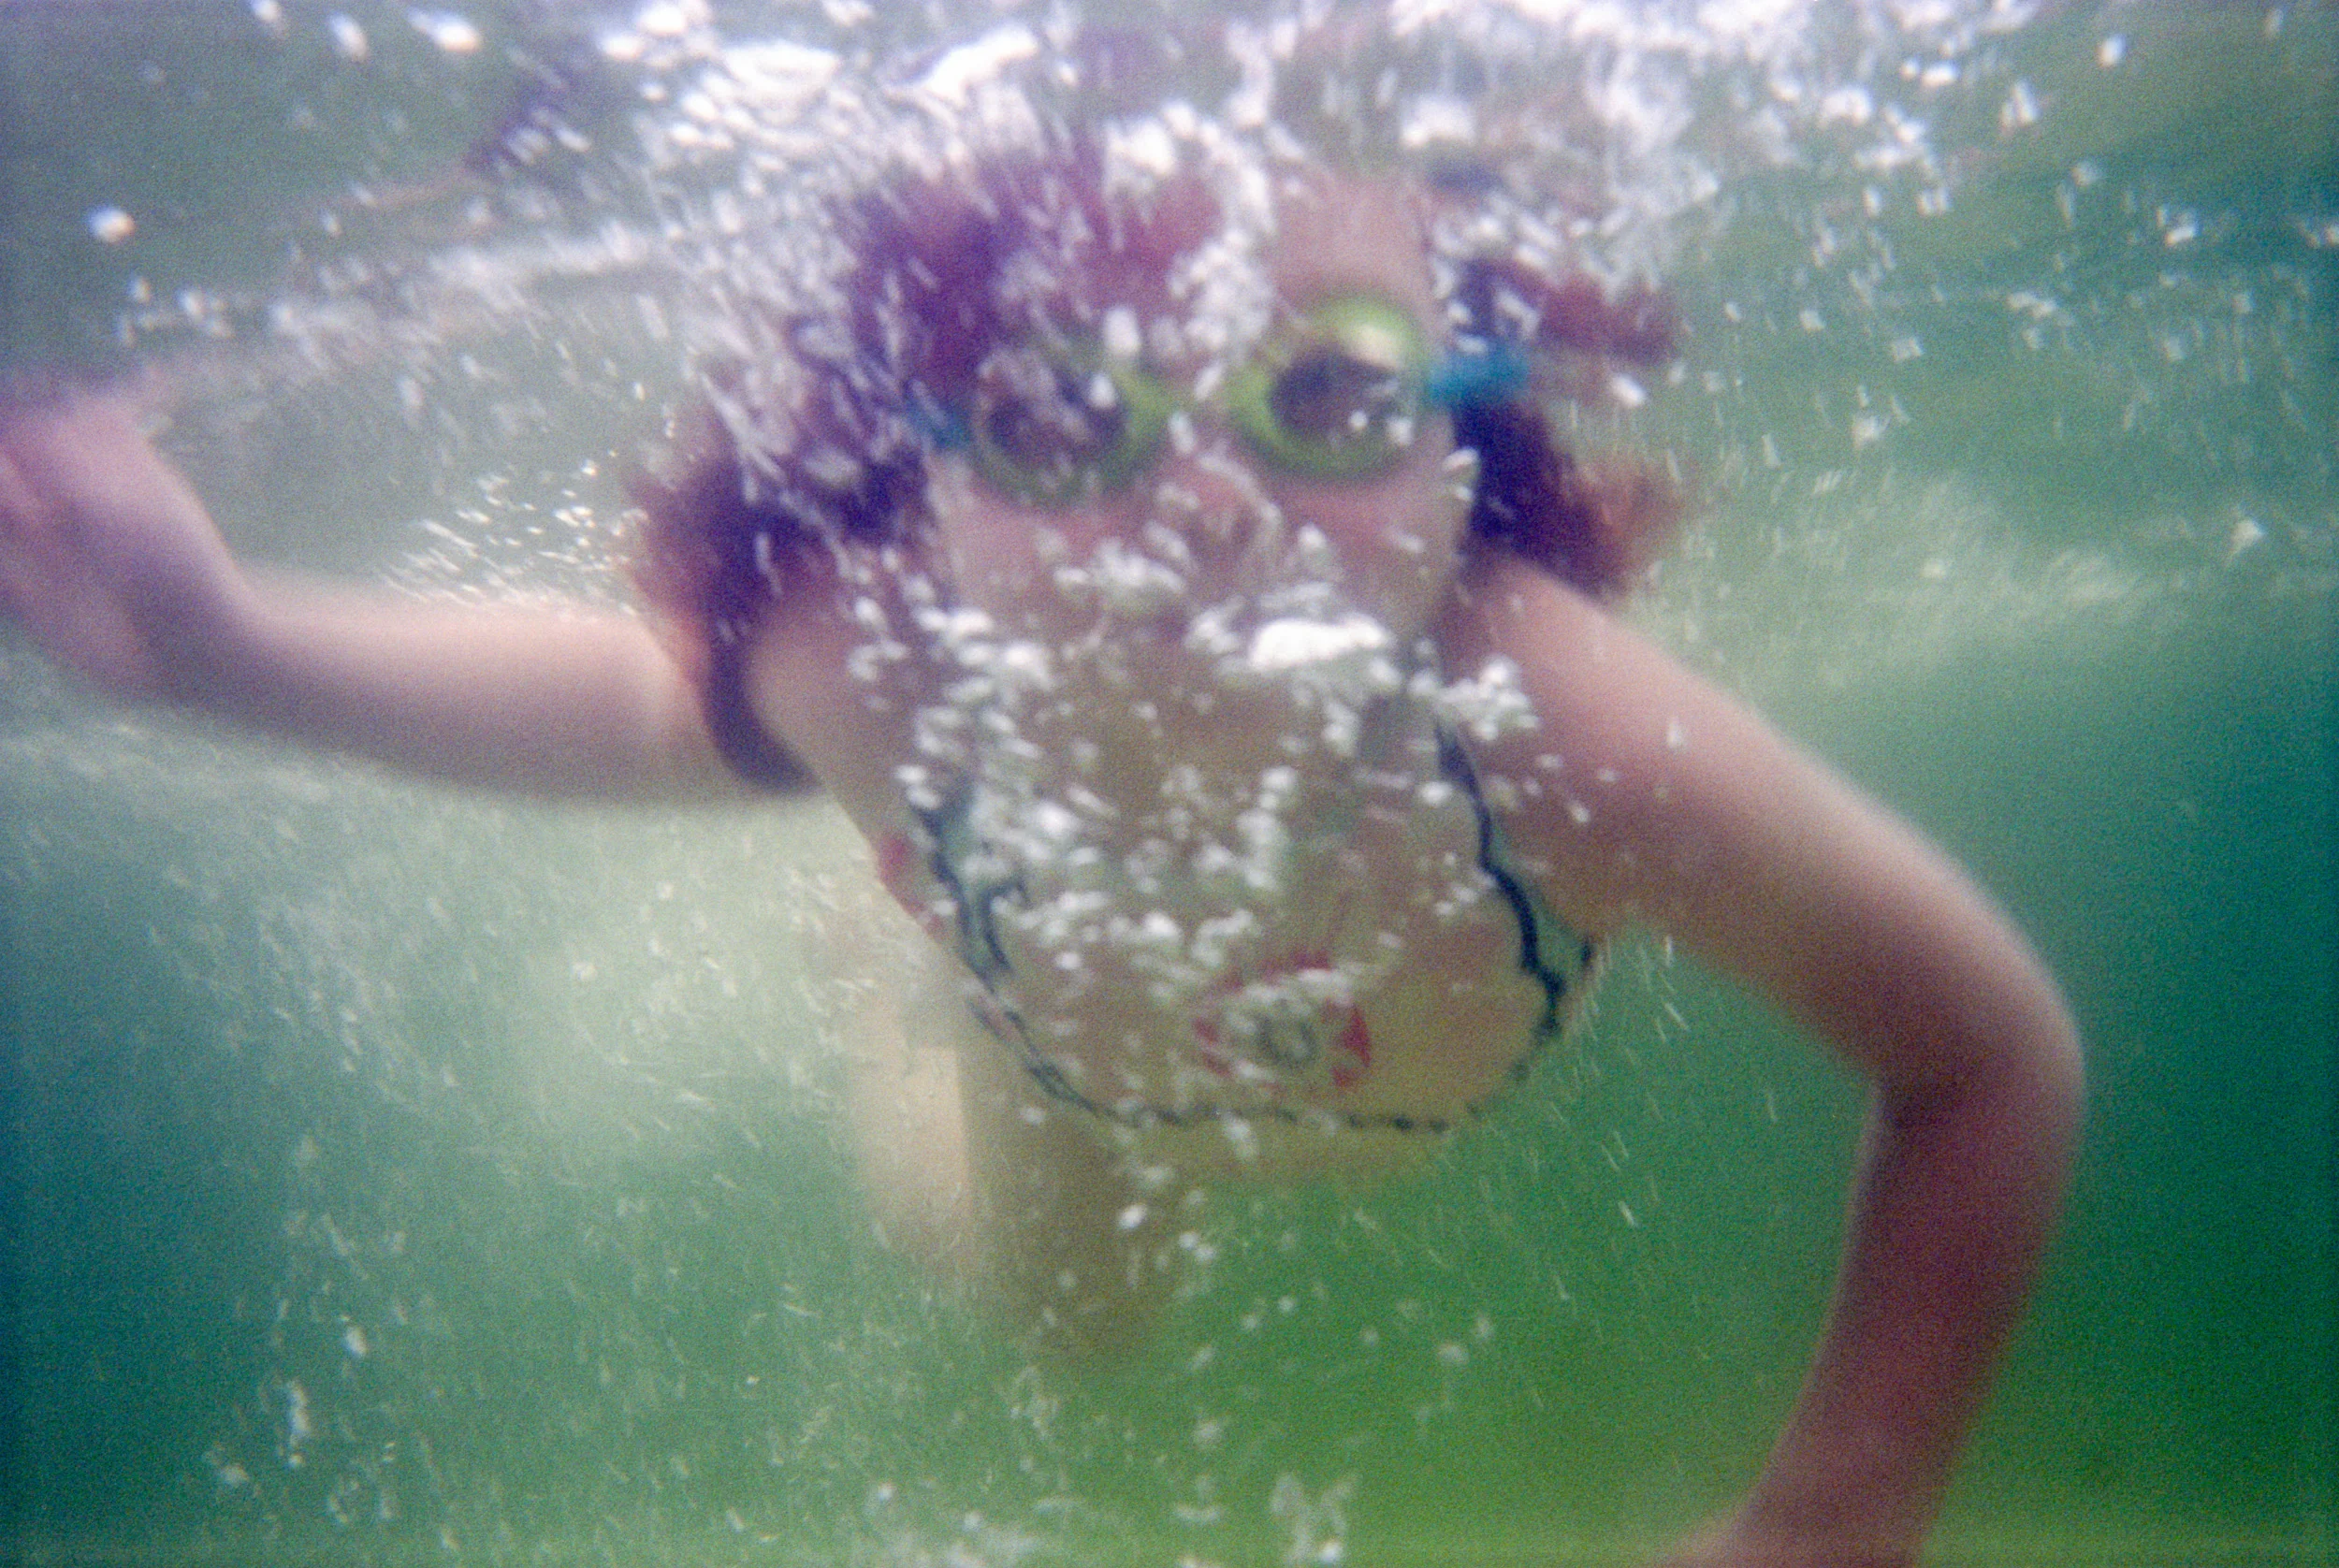
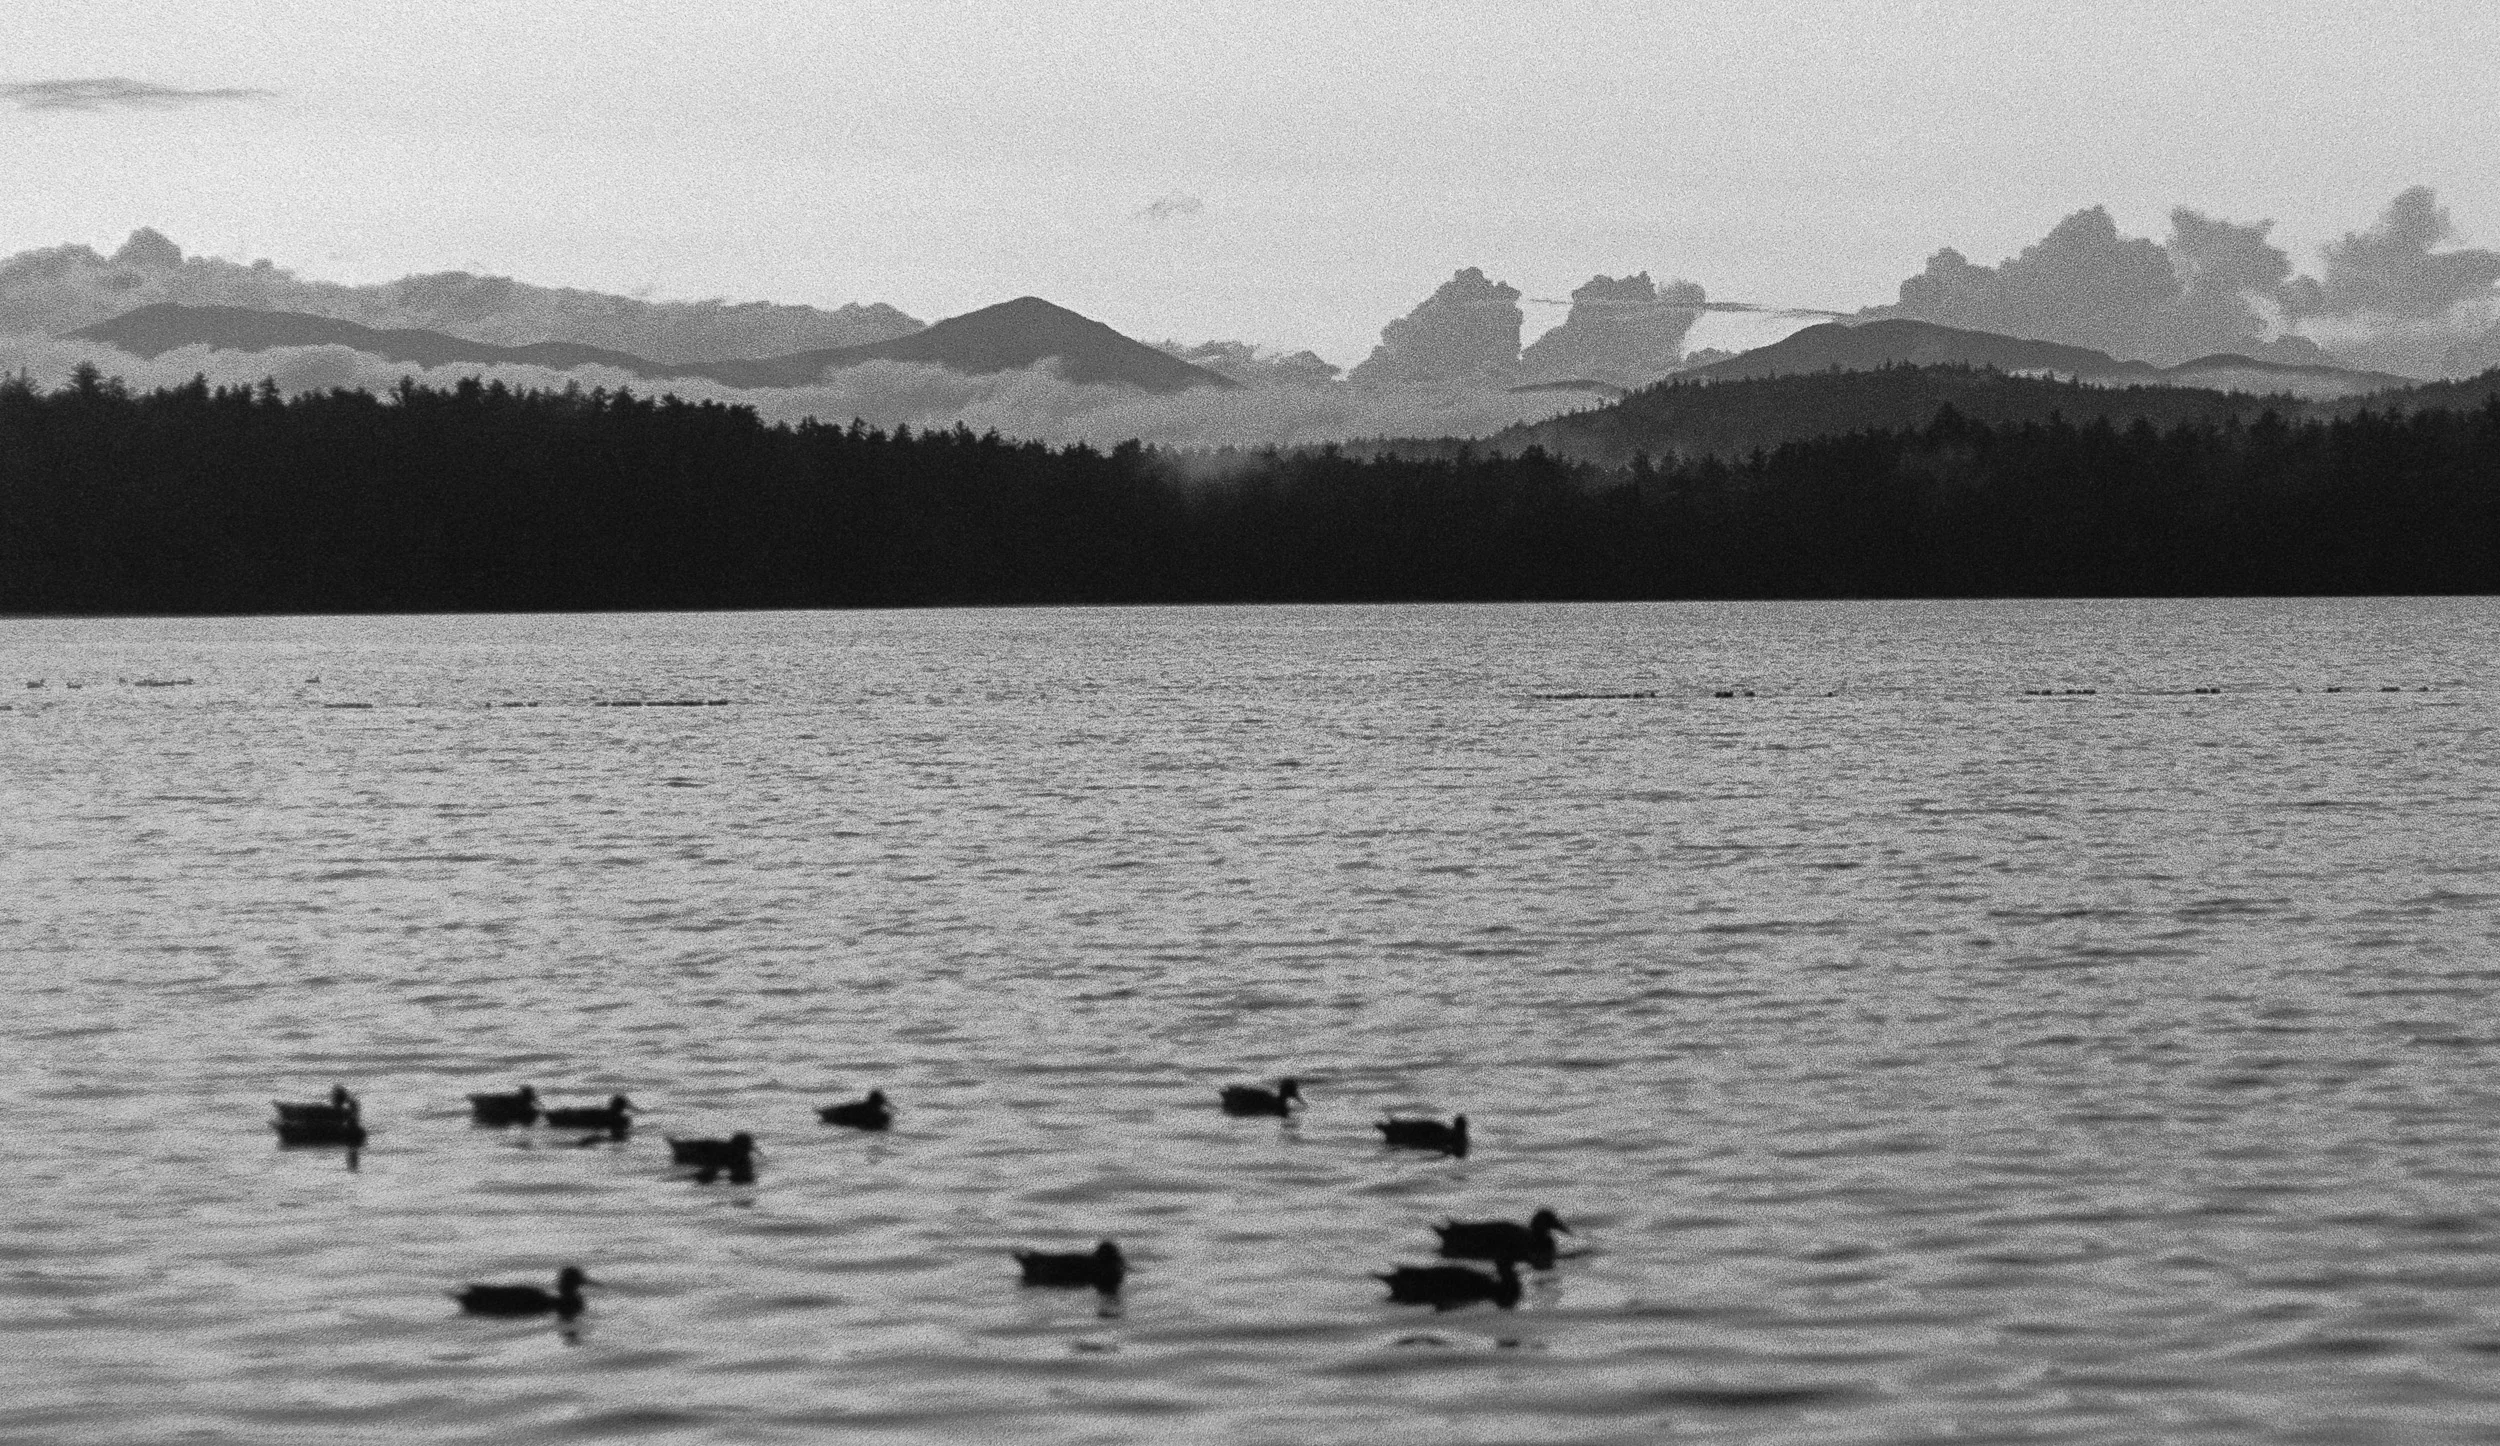
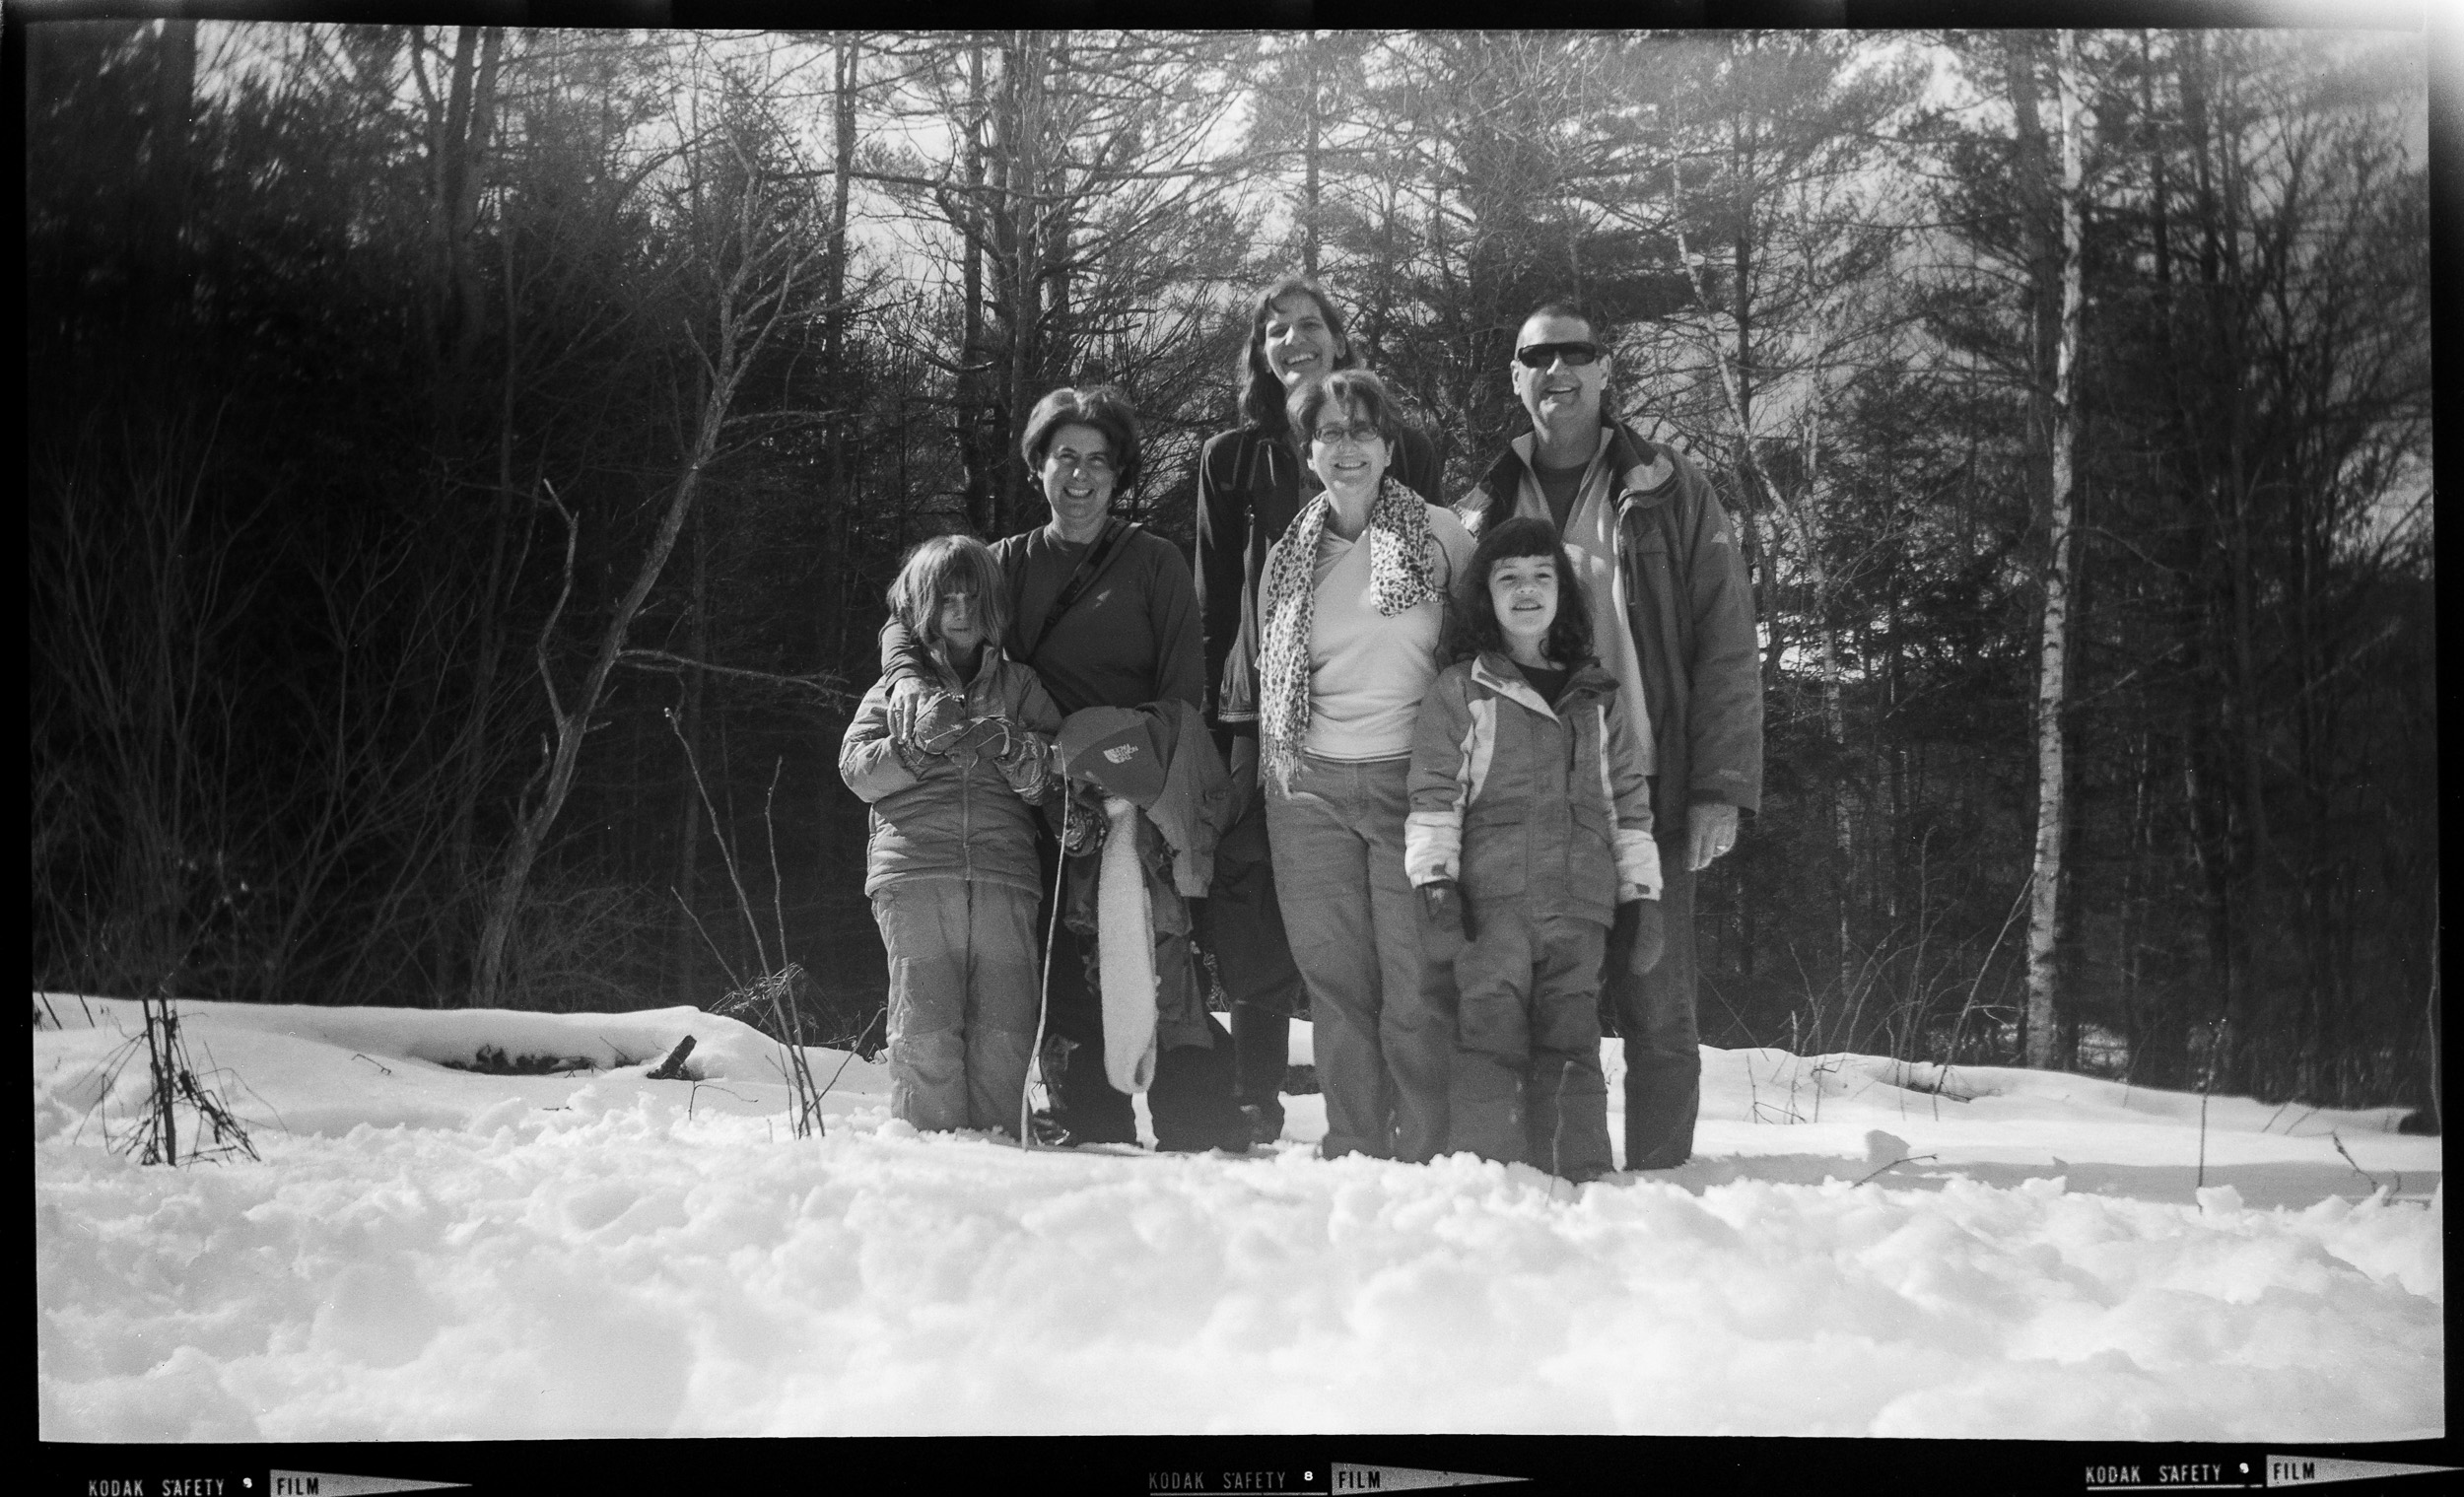
White Lake
Some photos from a camping trip to White Lake state park, NH. Because it was supposed to rain a lot that weekend, I brought along my Nikonos underwater camera. All of the photos were taken with it (on Kodak Portra 400 film), except for the black & white and the color infrared film photos.
The last three photos are from a hike up Rattlesnake Mountain with a view on Squam Lake.


Dry Plates in Letchworth State Park
I recently participated in an Eastman Museum workshop "Dry Plates in the Woods of Letchworth State Park" and had a lot of fun with that. We learned how to make a silver bromide emulsion, coated it on 4x5" glass plates and then went to the very scenic Letchworth state park in upstate New York to take photographs with these dry plates. Here are my favorite six out of the ten glass plate negatives I produced:


The first day of the workshop we stayed in Rochester, NY in the museum's underground class room / darkroom to make all the dry plates we were going to use during the week. One of the first steps was to cut 8x10" framing glass into 4x5" plates.
Nick taught us how to make a basic silver halide emulsion. Gelatin is dissolved in hot water and sodium bromide added to the mix. Then, in a series of controlled steps, a silver nitrate solution is added. This causes the precipitation of silver bromide which is the desired light sensitive crystal and which remains suspended in the gelatin. Additionally, the unwanted by-product of sodium nitrate is formed which later needs to be washed out of the gelatin.
After spending some considerable time pouring the emulsion on our glass plates and letting them dry over night, we then drove to Letchworth SP and stayed there in rather comfy cabins for the next three days. Those days were spent taking photos with the glass plates in large format cameras (I brought my trusty Graflex "Super Graphic" along), sitting around the campfire and listening to Mark playing his Banjo. I had a great time!


At the end of each photo session, we came back to camp and could develop the glass negatives right there in a portable darkroom tent. This was not too much different from developing any other kind of black&white film, except it could be done under red safelight and with only one glass negative in a tray at a time.
The emulsion we made was rather slow, roughly equivalent to ISO 1 ½. So exposure times were always in the range of seconds. And no extra sensitization was added for recording green or red light (as in orthochromatic or panchromatic film). That means the emulsion was "color blind" and only saw blue and violet light. As a result, the light meter couldn't really be trusted to come up with a "correct" exposure value and was just a starting point for guessing a suitable exposure time.
The fourth photo of my dry plate gallery at the beginning of this post shows a rainbow formed in the mist of the waterfall. Though what's visible in the photo is just the blue and violet band of the rainbow. Here is a comparison with my cell phone color photo of the same scene:
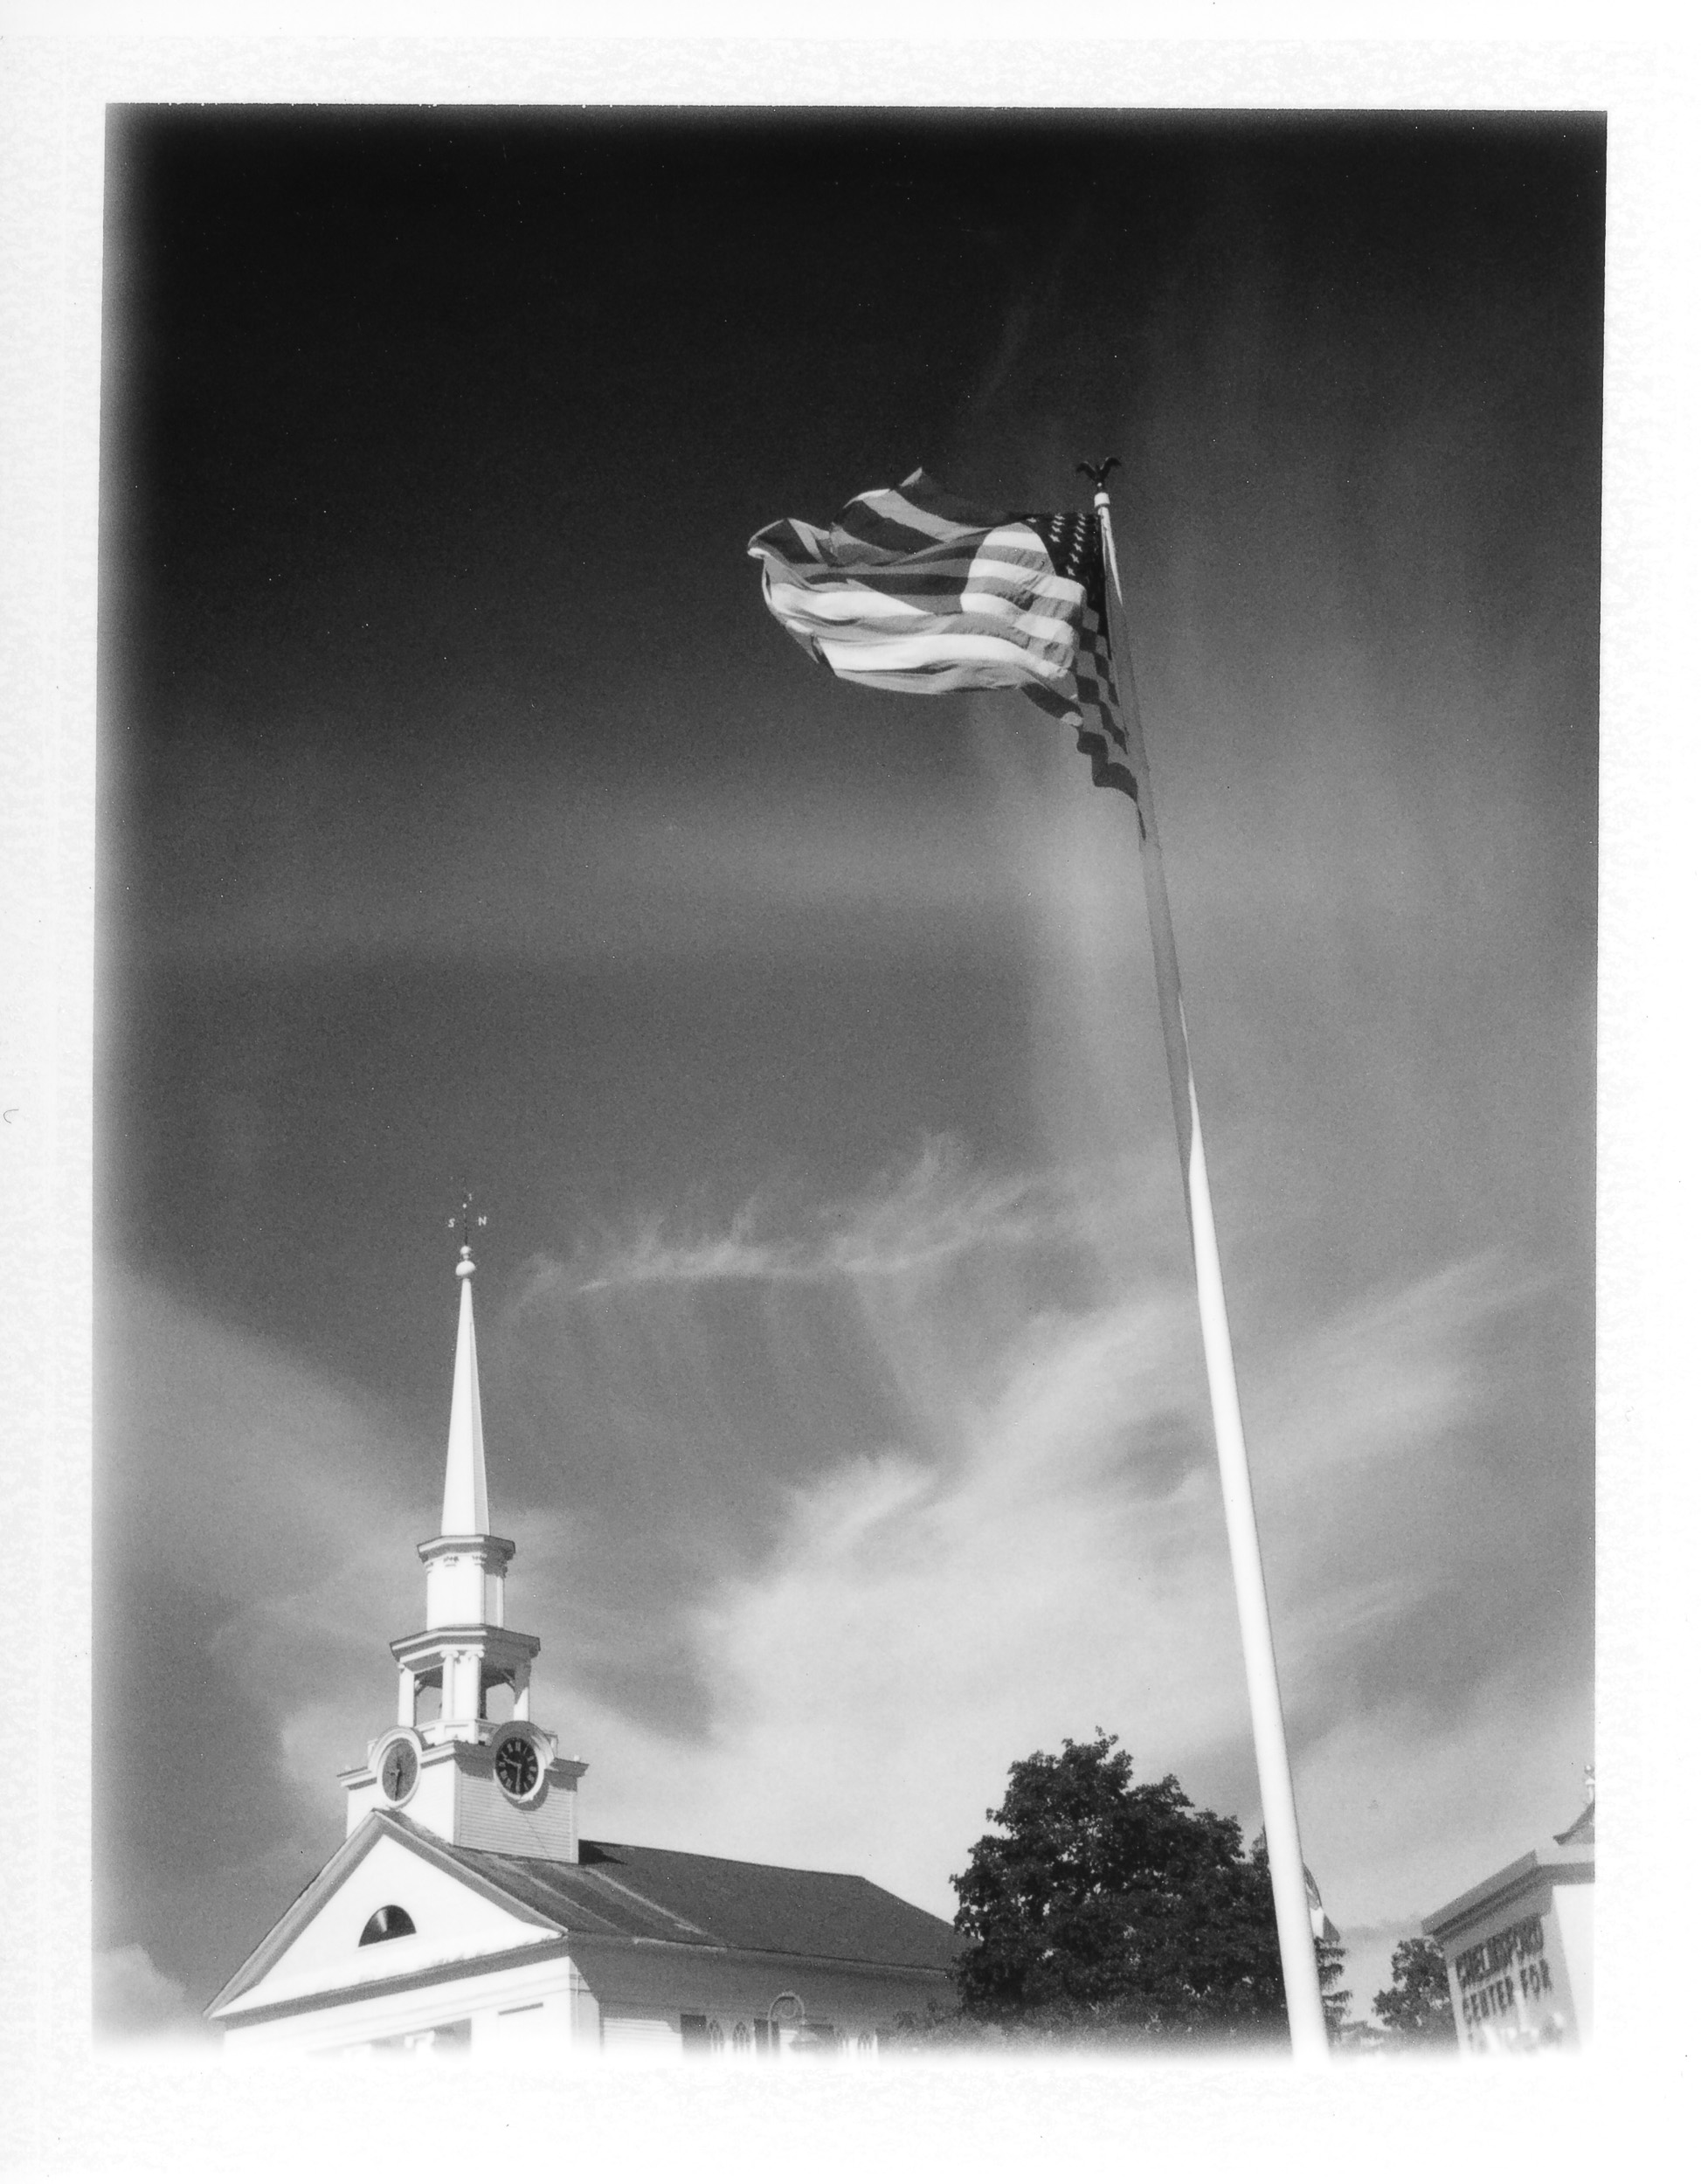
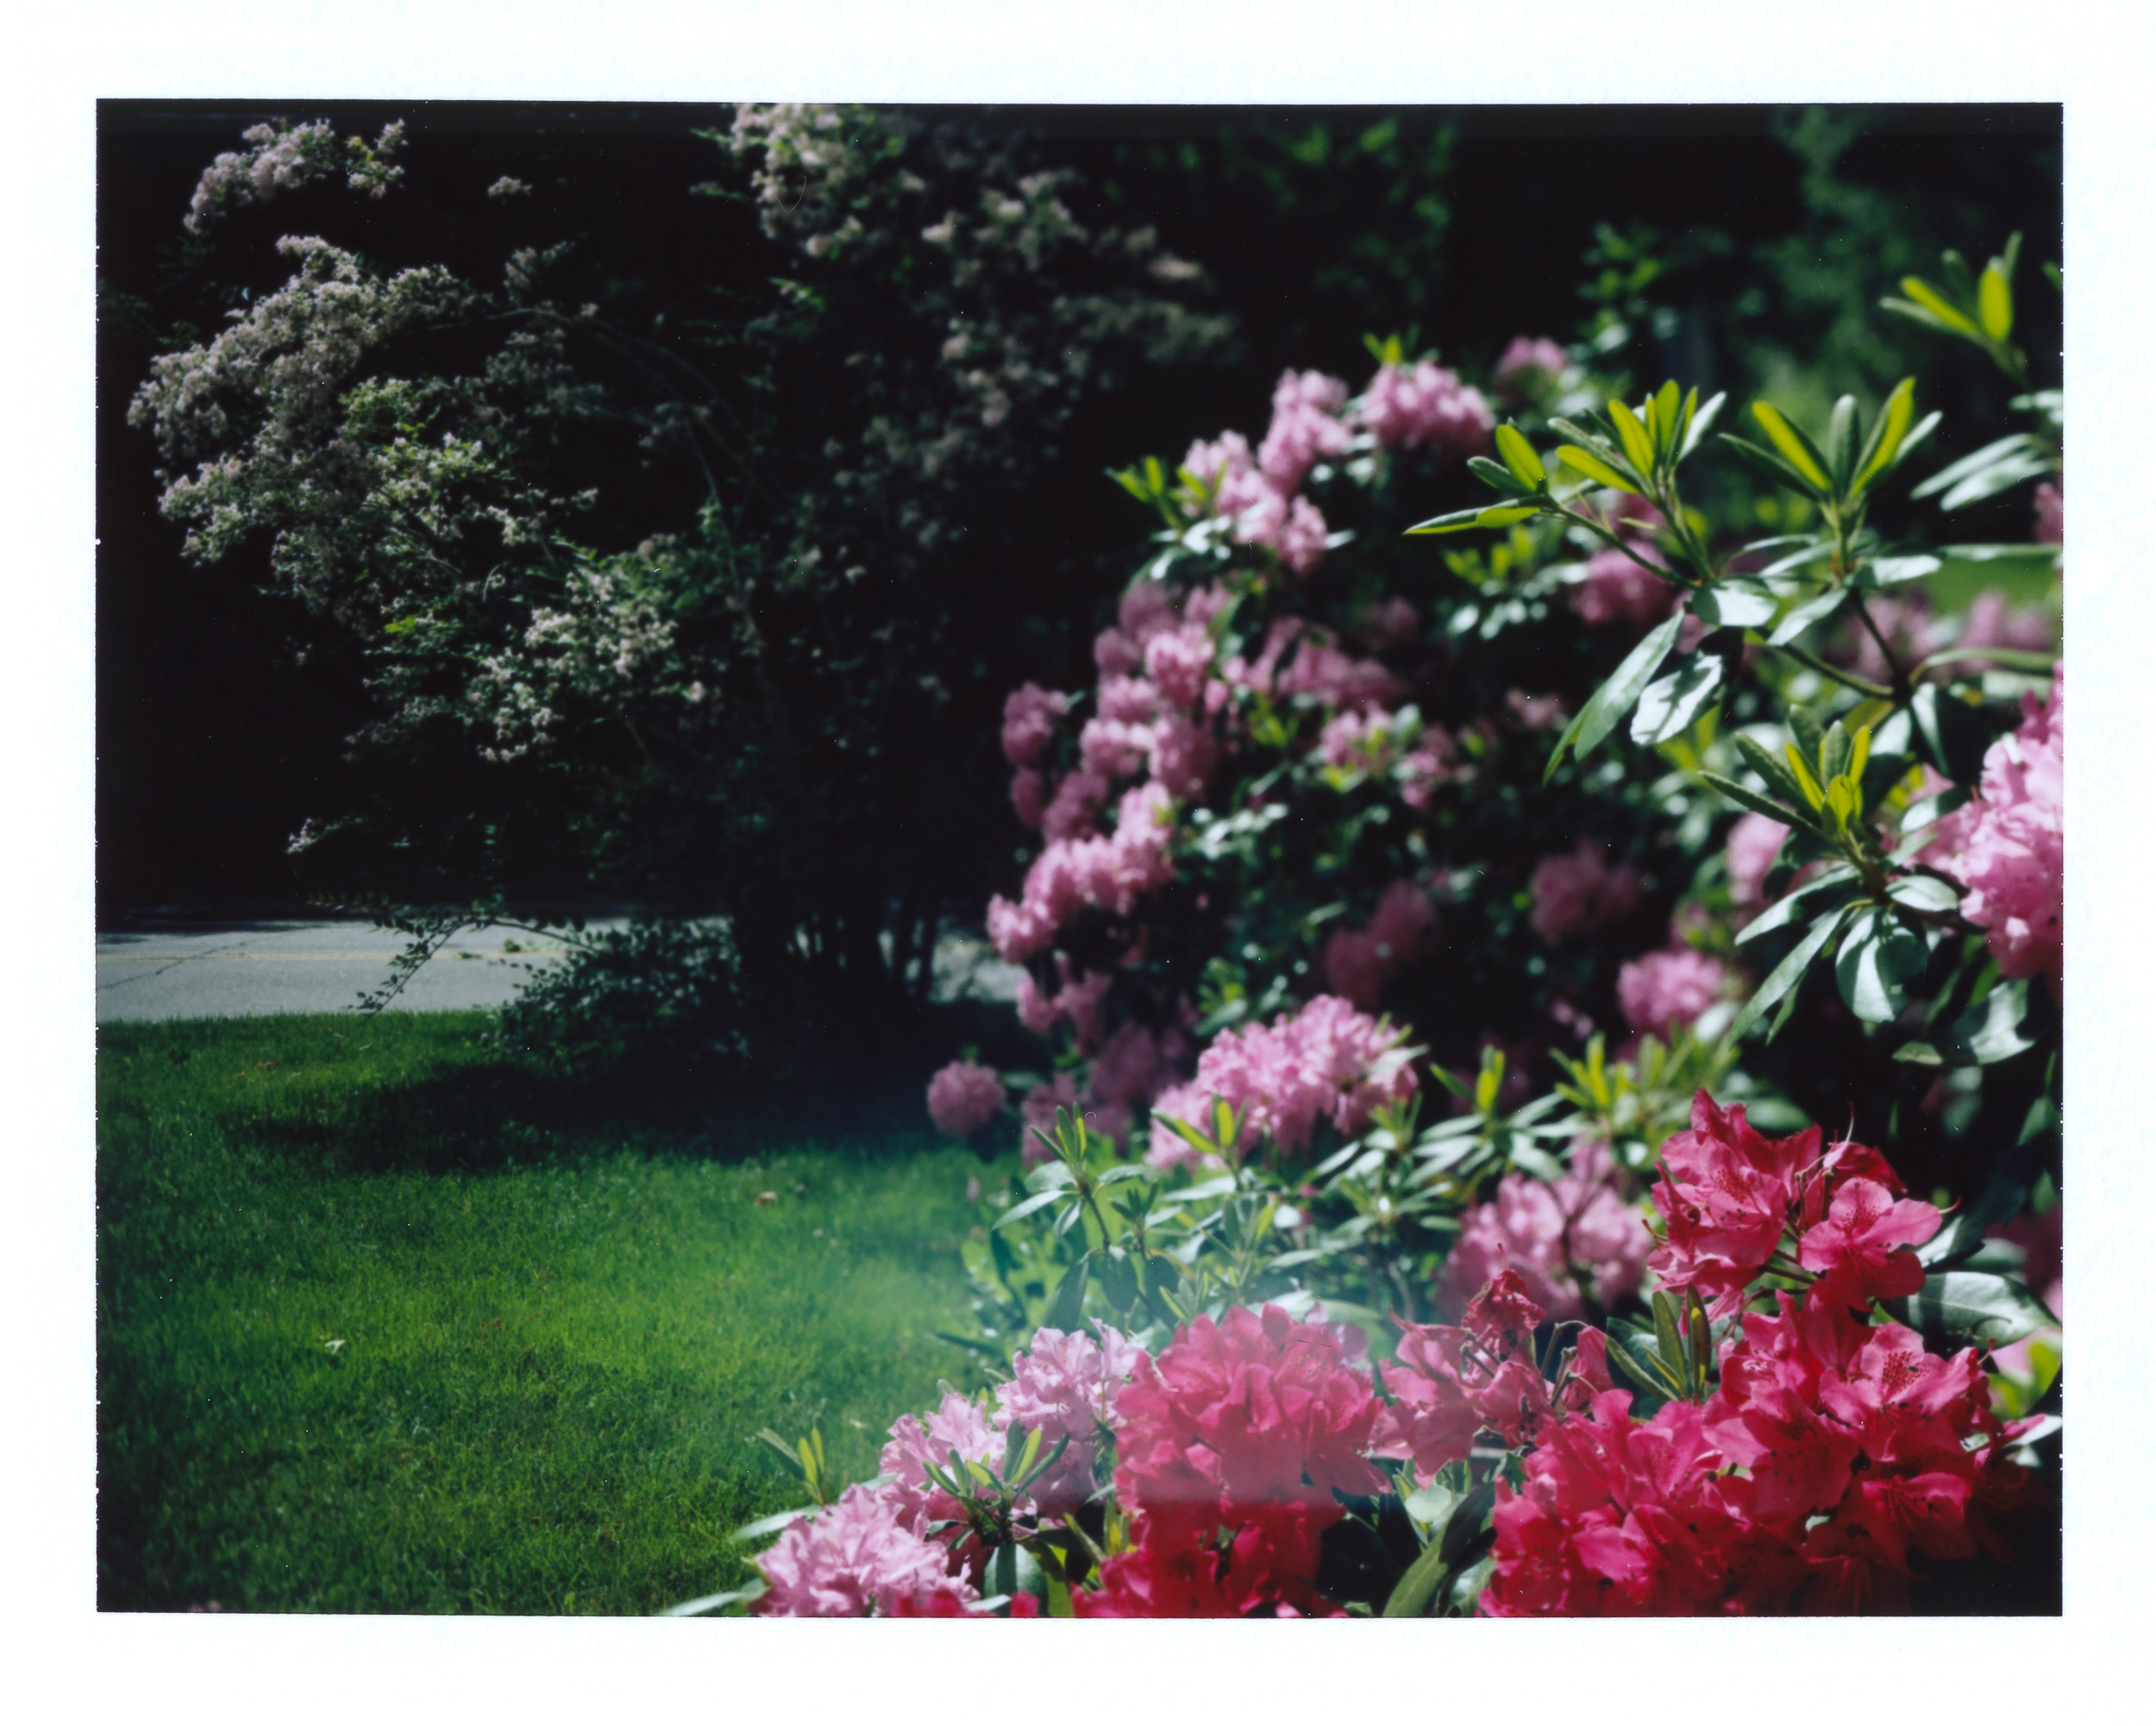
Kodak Brownie 2A and Verichrome PAN
Below are some photos I took with an almost 100 year old camera: the Kodak Brownie 2A model B, made from 1920 to 1924. I also put together a Web page that describes the camera in more detail here.


The film I used was Kodak Verichrome PAN in 116 format, some of the freshest I was able to find on eBay... though for a film format discontinued in 1984, this doesn't mean much. This particular roll expired 40 years ago in March of 1977. The price sticker tells me it was once sold by "O Ellig Pharmacy" in Coraopolis, PA for 0.80$.
Old film like this typically needs some extra exposure above what its original speed rating of ISO 125 suggests. So I left the Brownie at its max aperture (about f/11) and used the fixed shutter speed of 1/50s. Based on the "Sunny 16" rule, that means about 2 stops of overexposure for subjects in bright sunlight. This worked out rather well, even for the scenes in the shade.
I developed the film in an antique "FR Special model 2" development tank that can be adjusted for the 116 film format (which is 70 mm wide and thus too large for regular 120 format development reels). The developer I happened to have at hand was Kodak XTOL, and so I used that undiluted at 68°F/20°C for 6 minutes. Next time I'll try HC-110 which supposedly helps with reducing some of the base fog that shows up with old film.
In the future I will also need to put some gaffer tape over the orange film counter window on the back of the camera. The photos show some light leaks on top that were apparently caused by light making it through that window onto the film. In the 1920's this camera would have been used with slow-speed orthochromatic film (i.e. not sensitive to red light), and the orange window would have been a good enough light barrier.
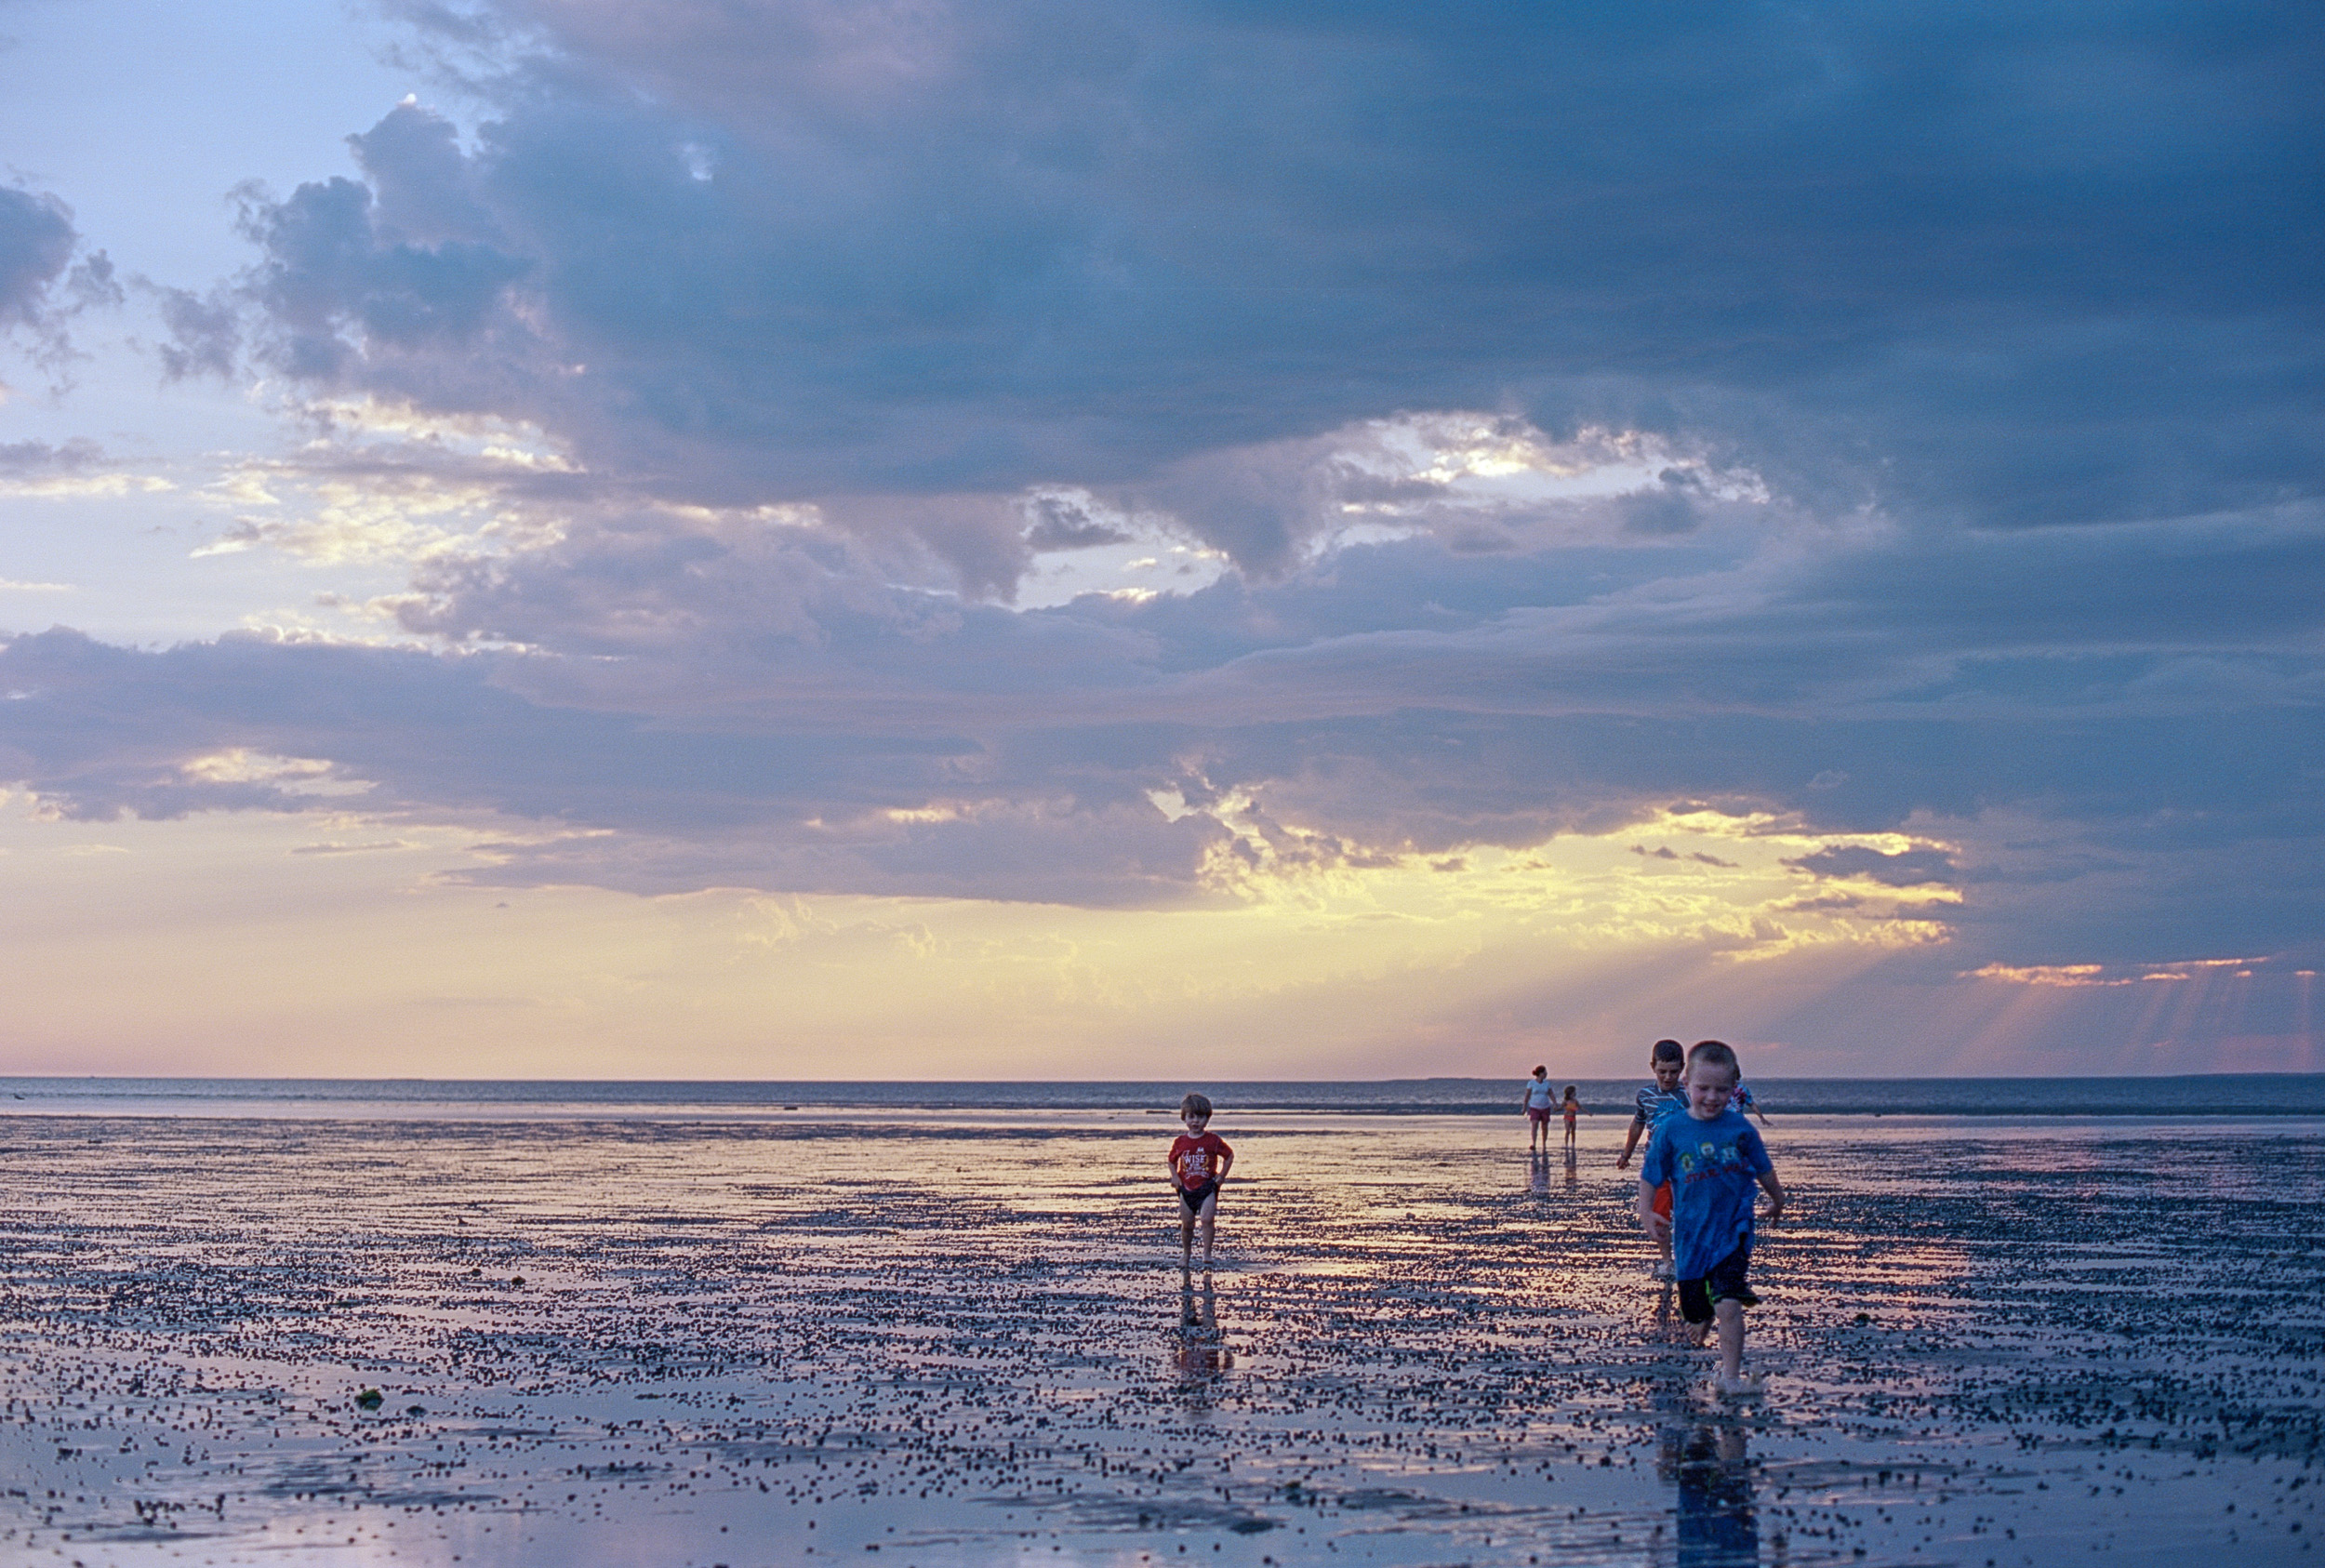
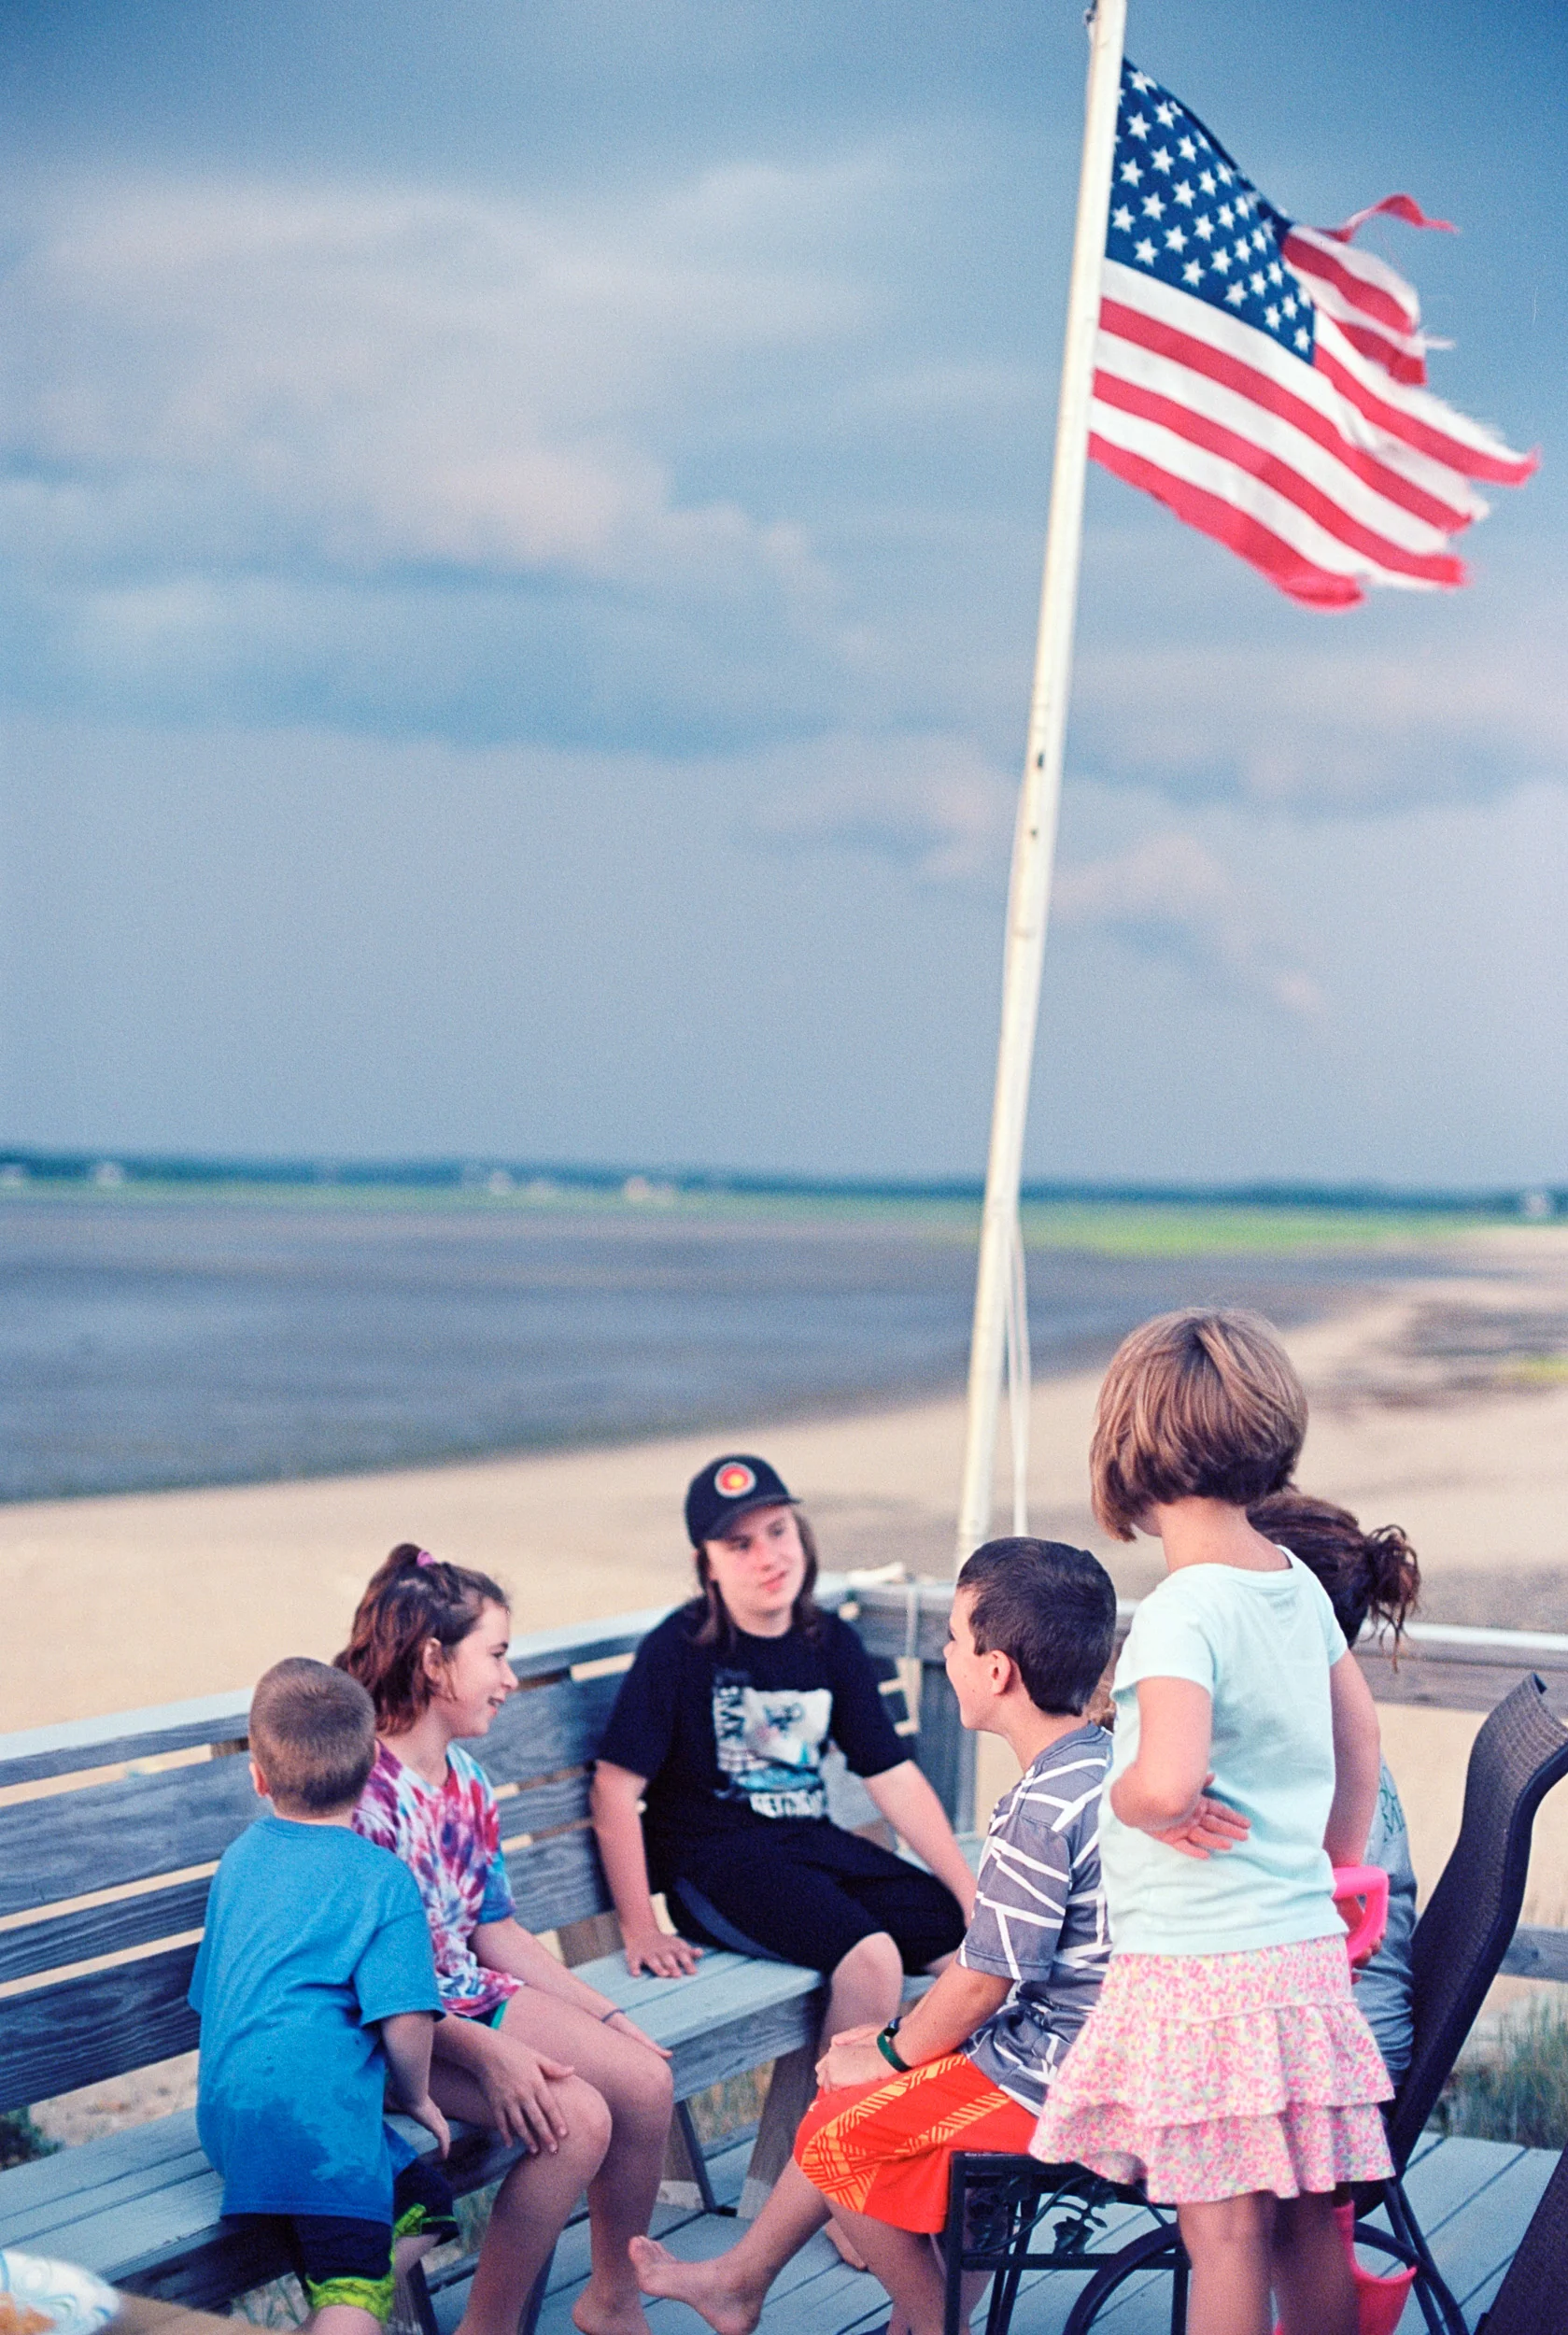
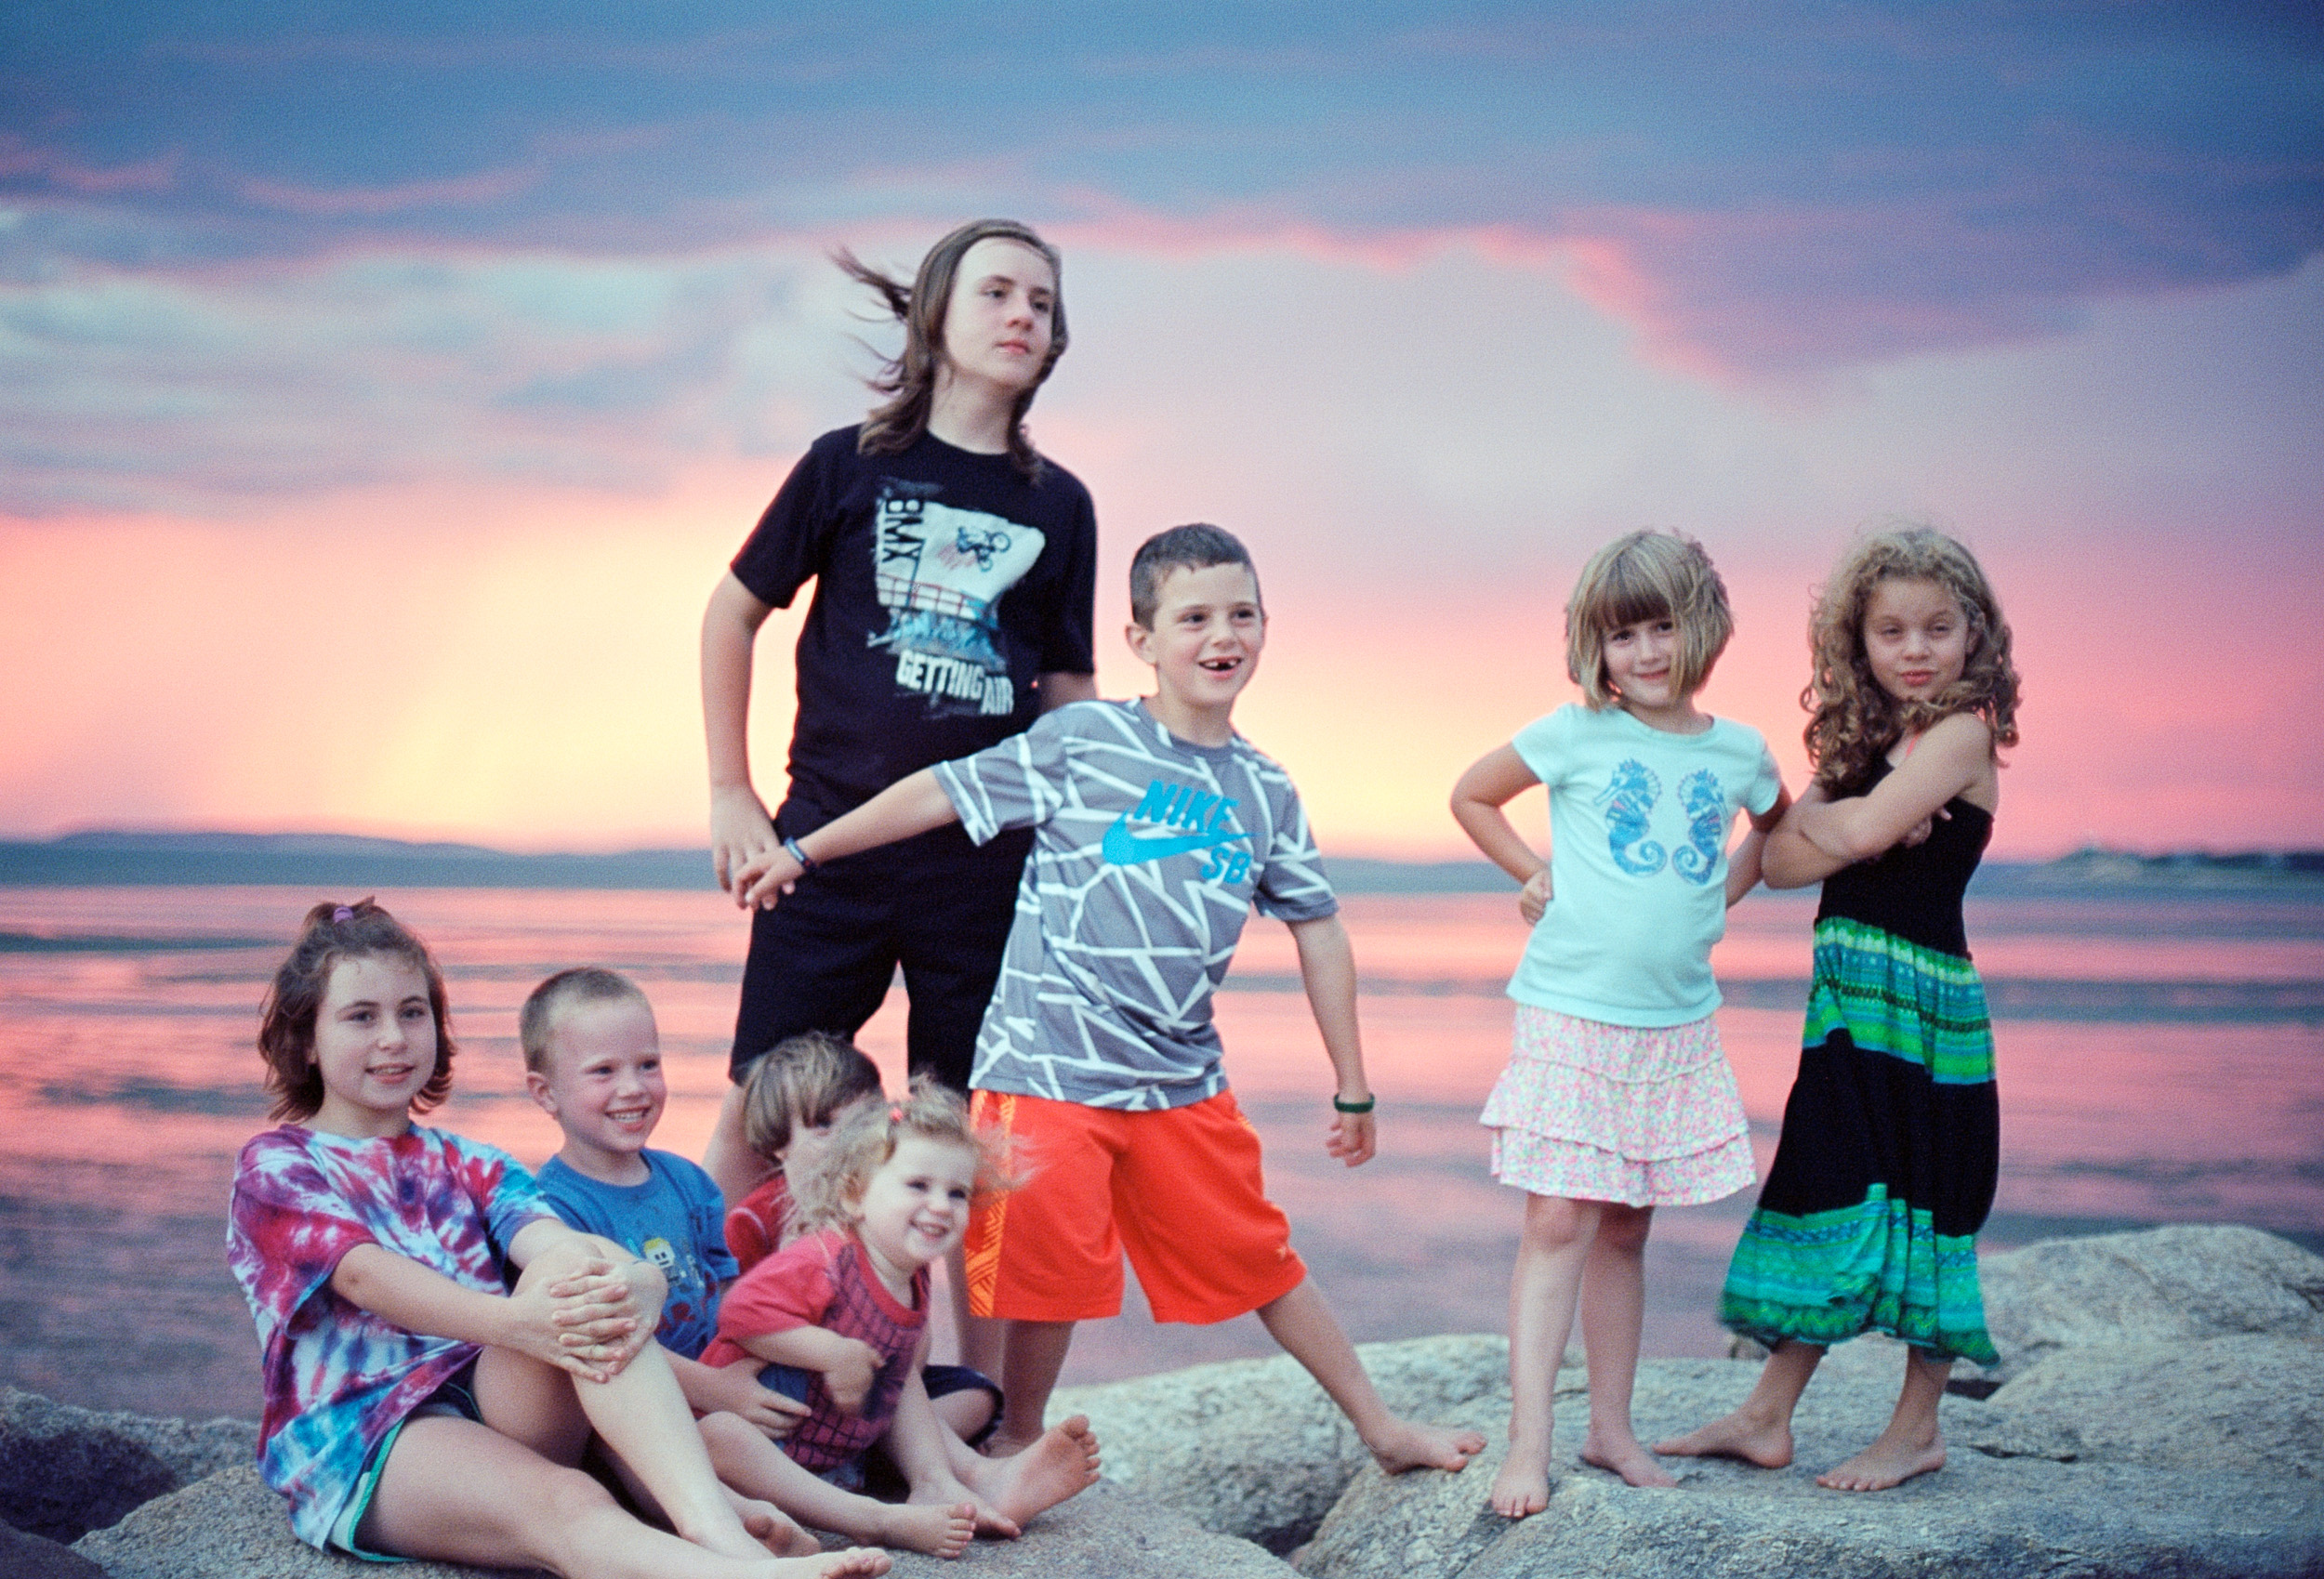
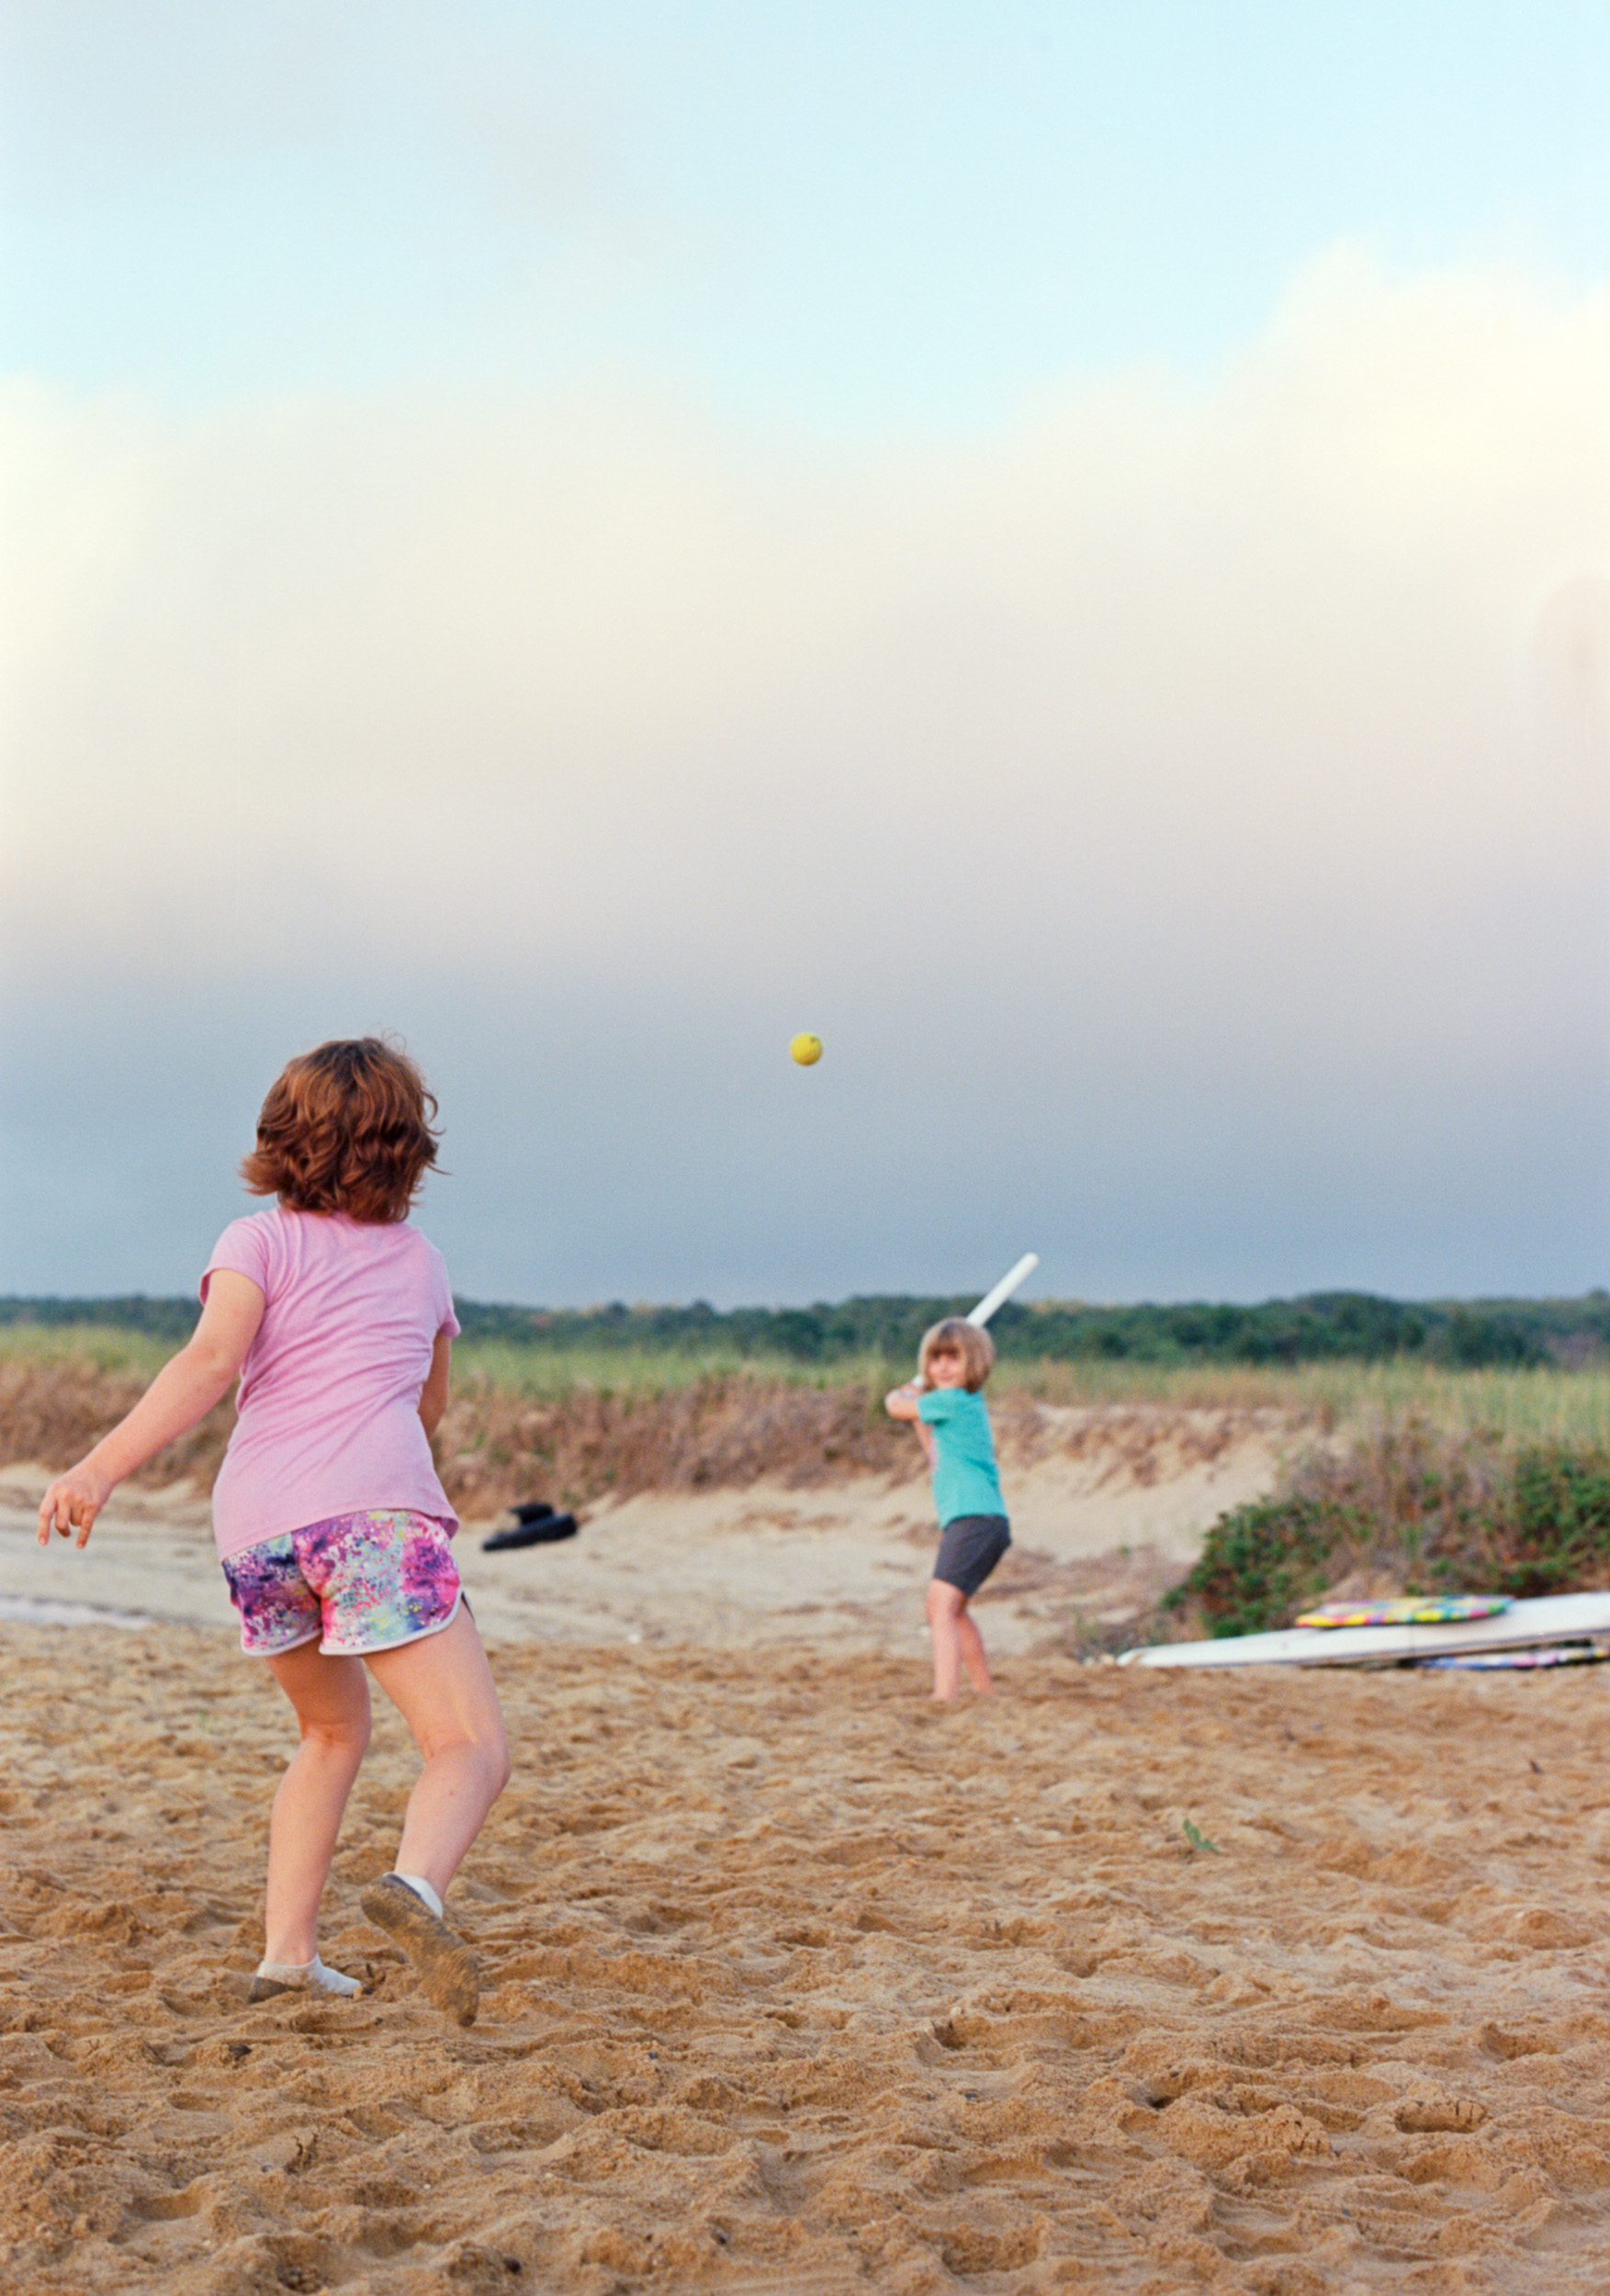
Cape Cod
Photos from our July family vacation on Cape Cod. I used the opportunity to try out the collection of old Canon manual focus film cameras and lenses that I got from Mike. Thanks!
So most of the photos were taken with the Canon AE-1 Program and Canon FTb SLRs, usually with the FL 55mm f/1.2 lens. The Hanimex 7mm circular fisheye lens that was part of the collection didn't actually have a Canon mount but a M42 screw mount instead. So I used that lens on my father's old Fujica ST701 camera.
For photos in the water I brought a "Minolta Weathermatic A" 110 film camera and the two infrared film photos were taken with a Leica M3.


Nova Scotia
I posted my photos from a recent trip to Nova Scotia in the travel gallery.

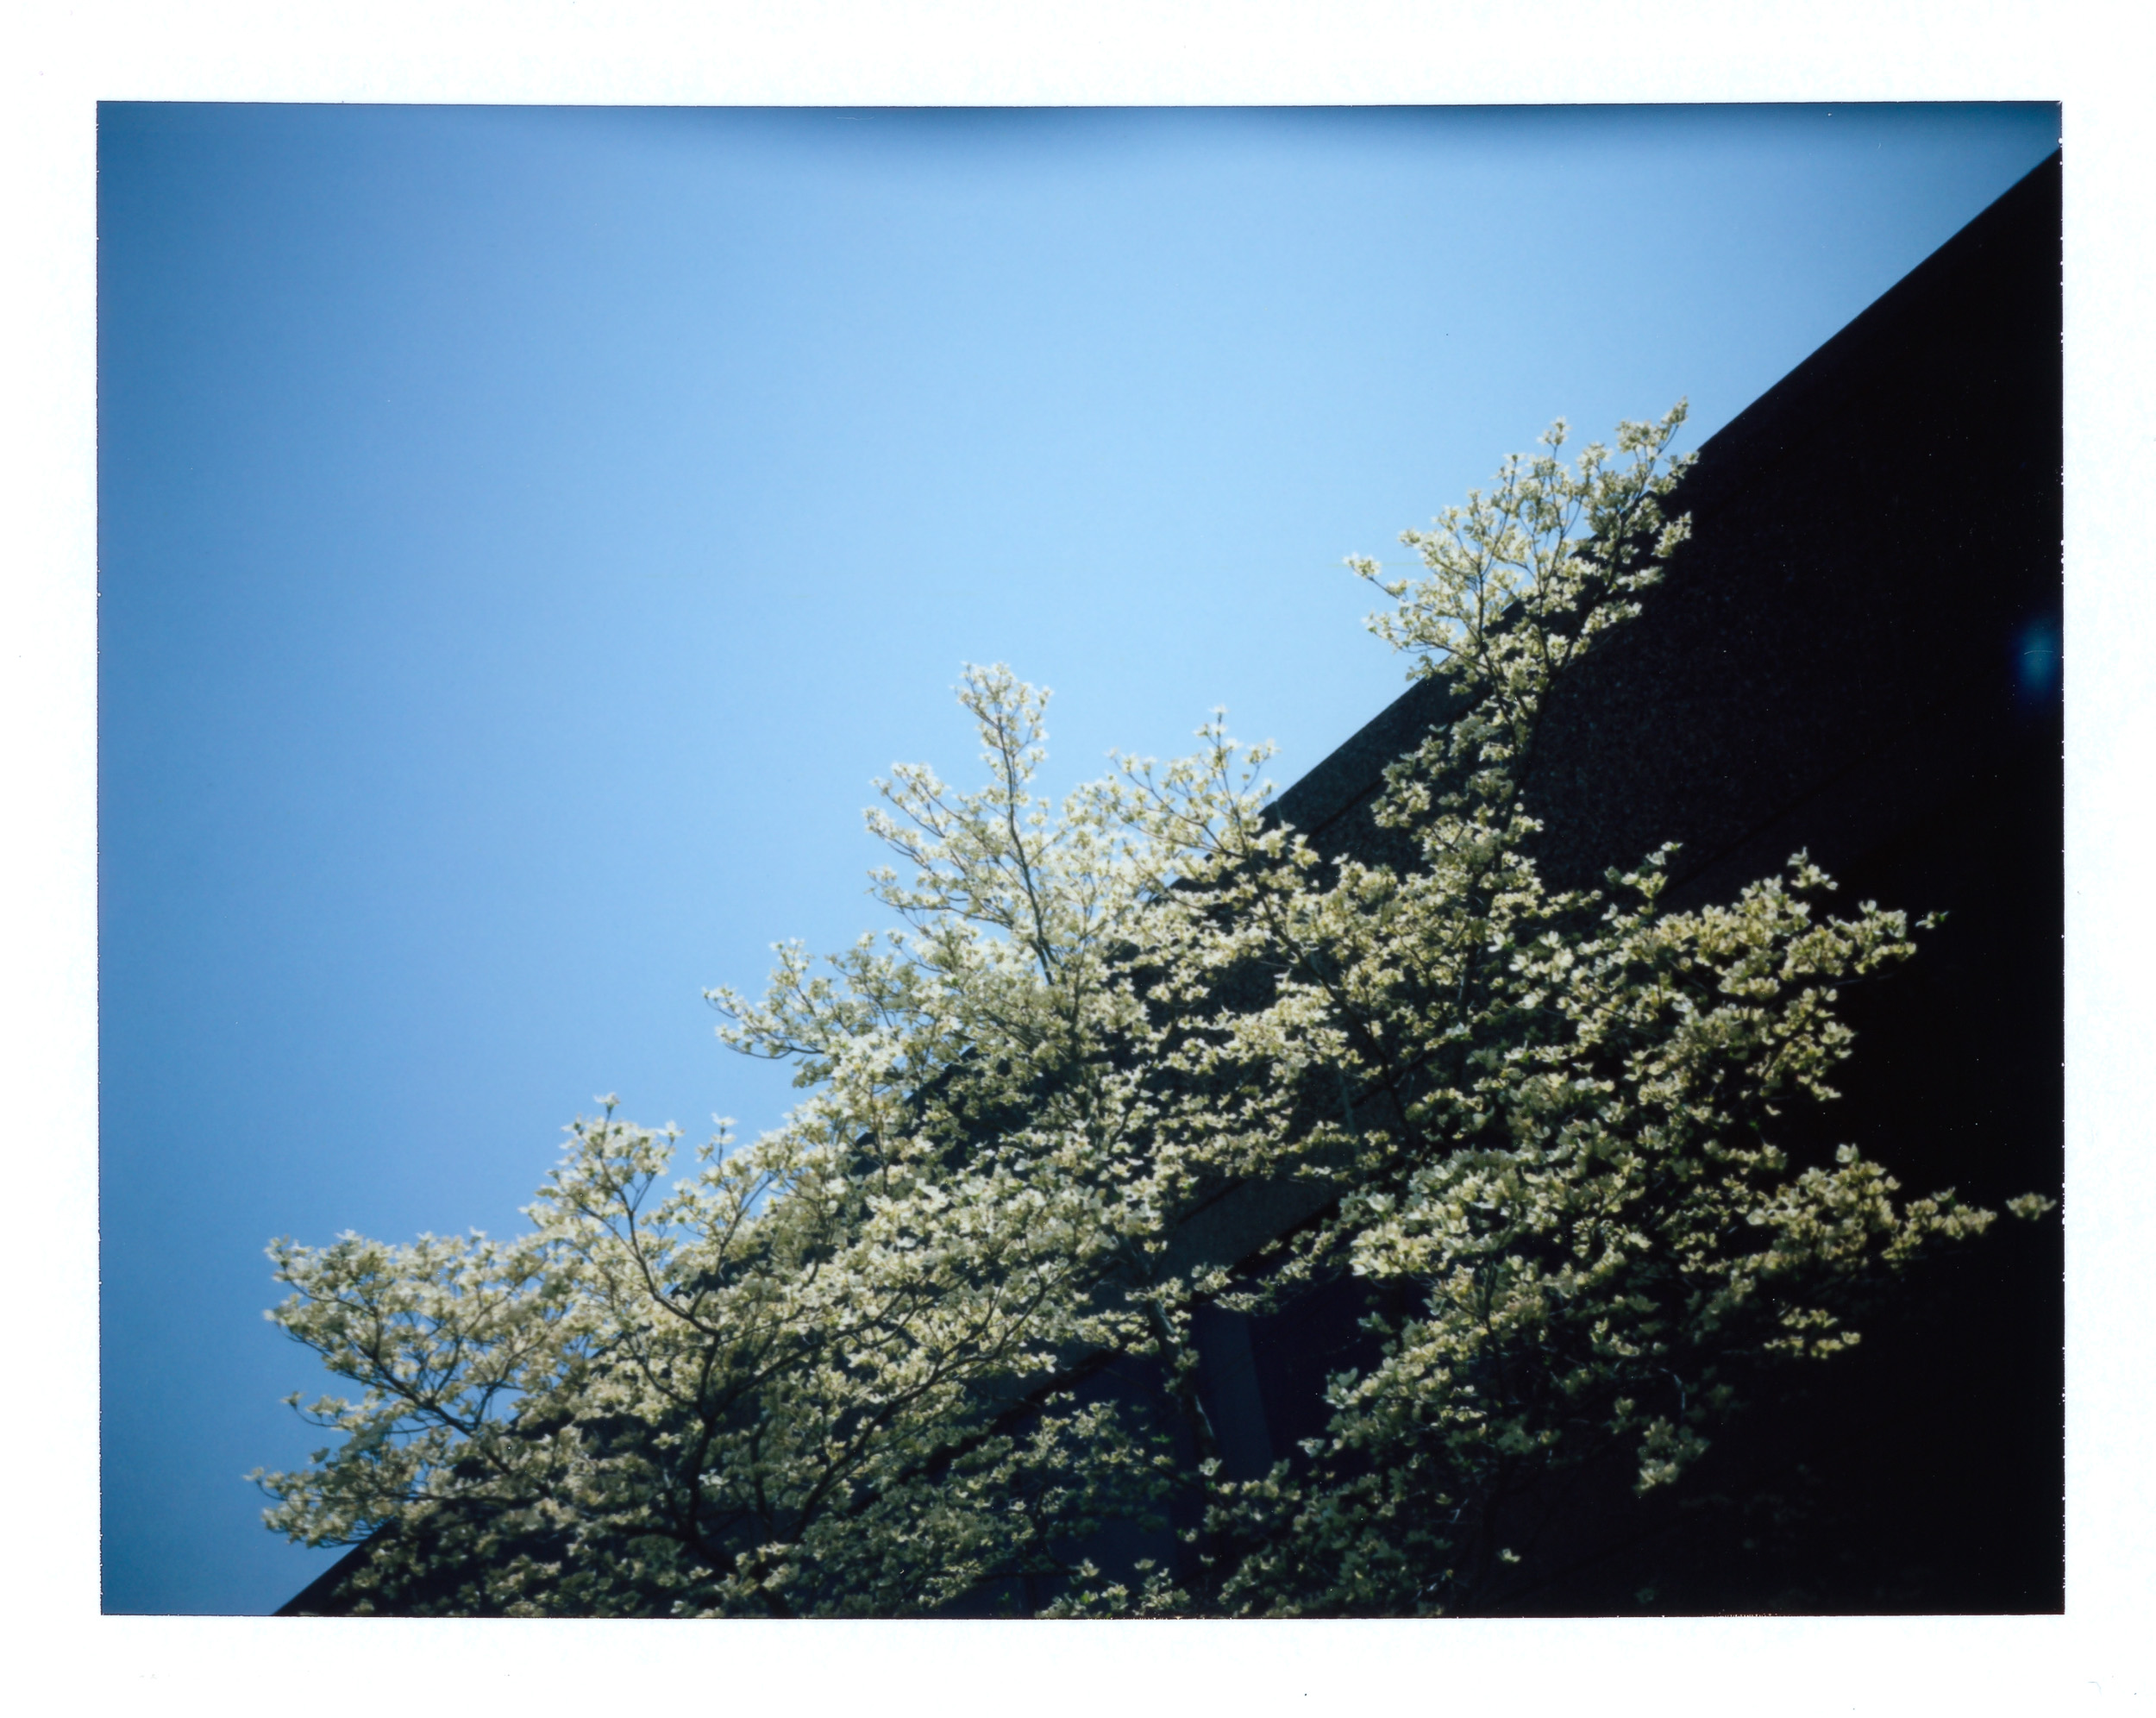
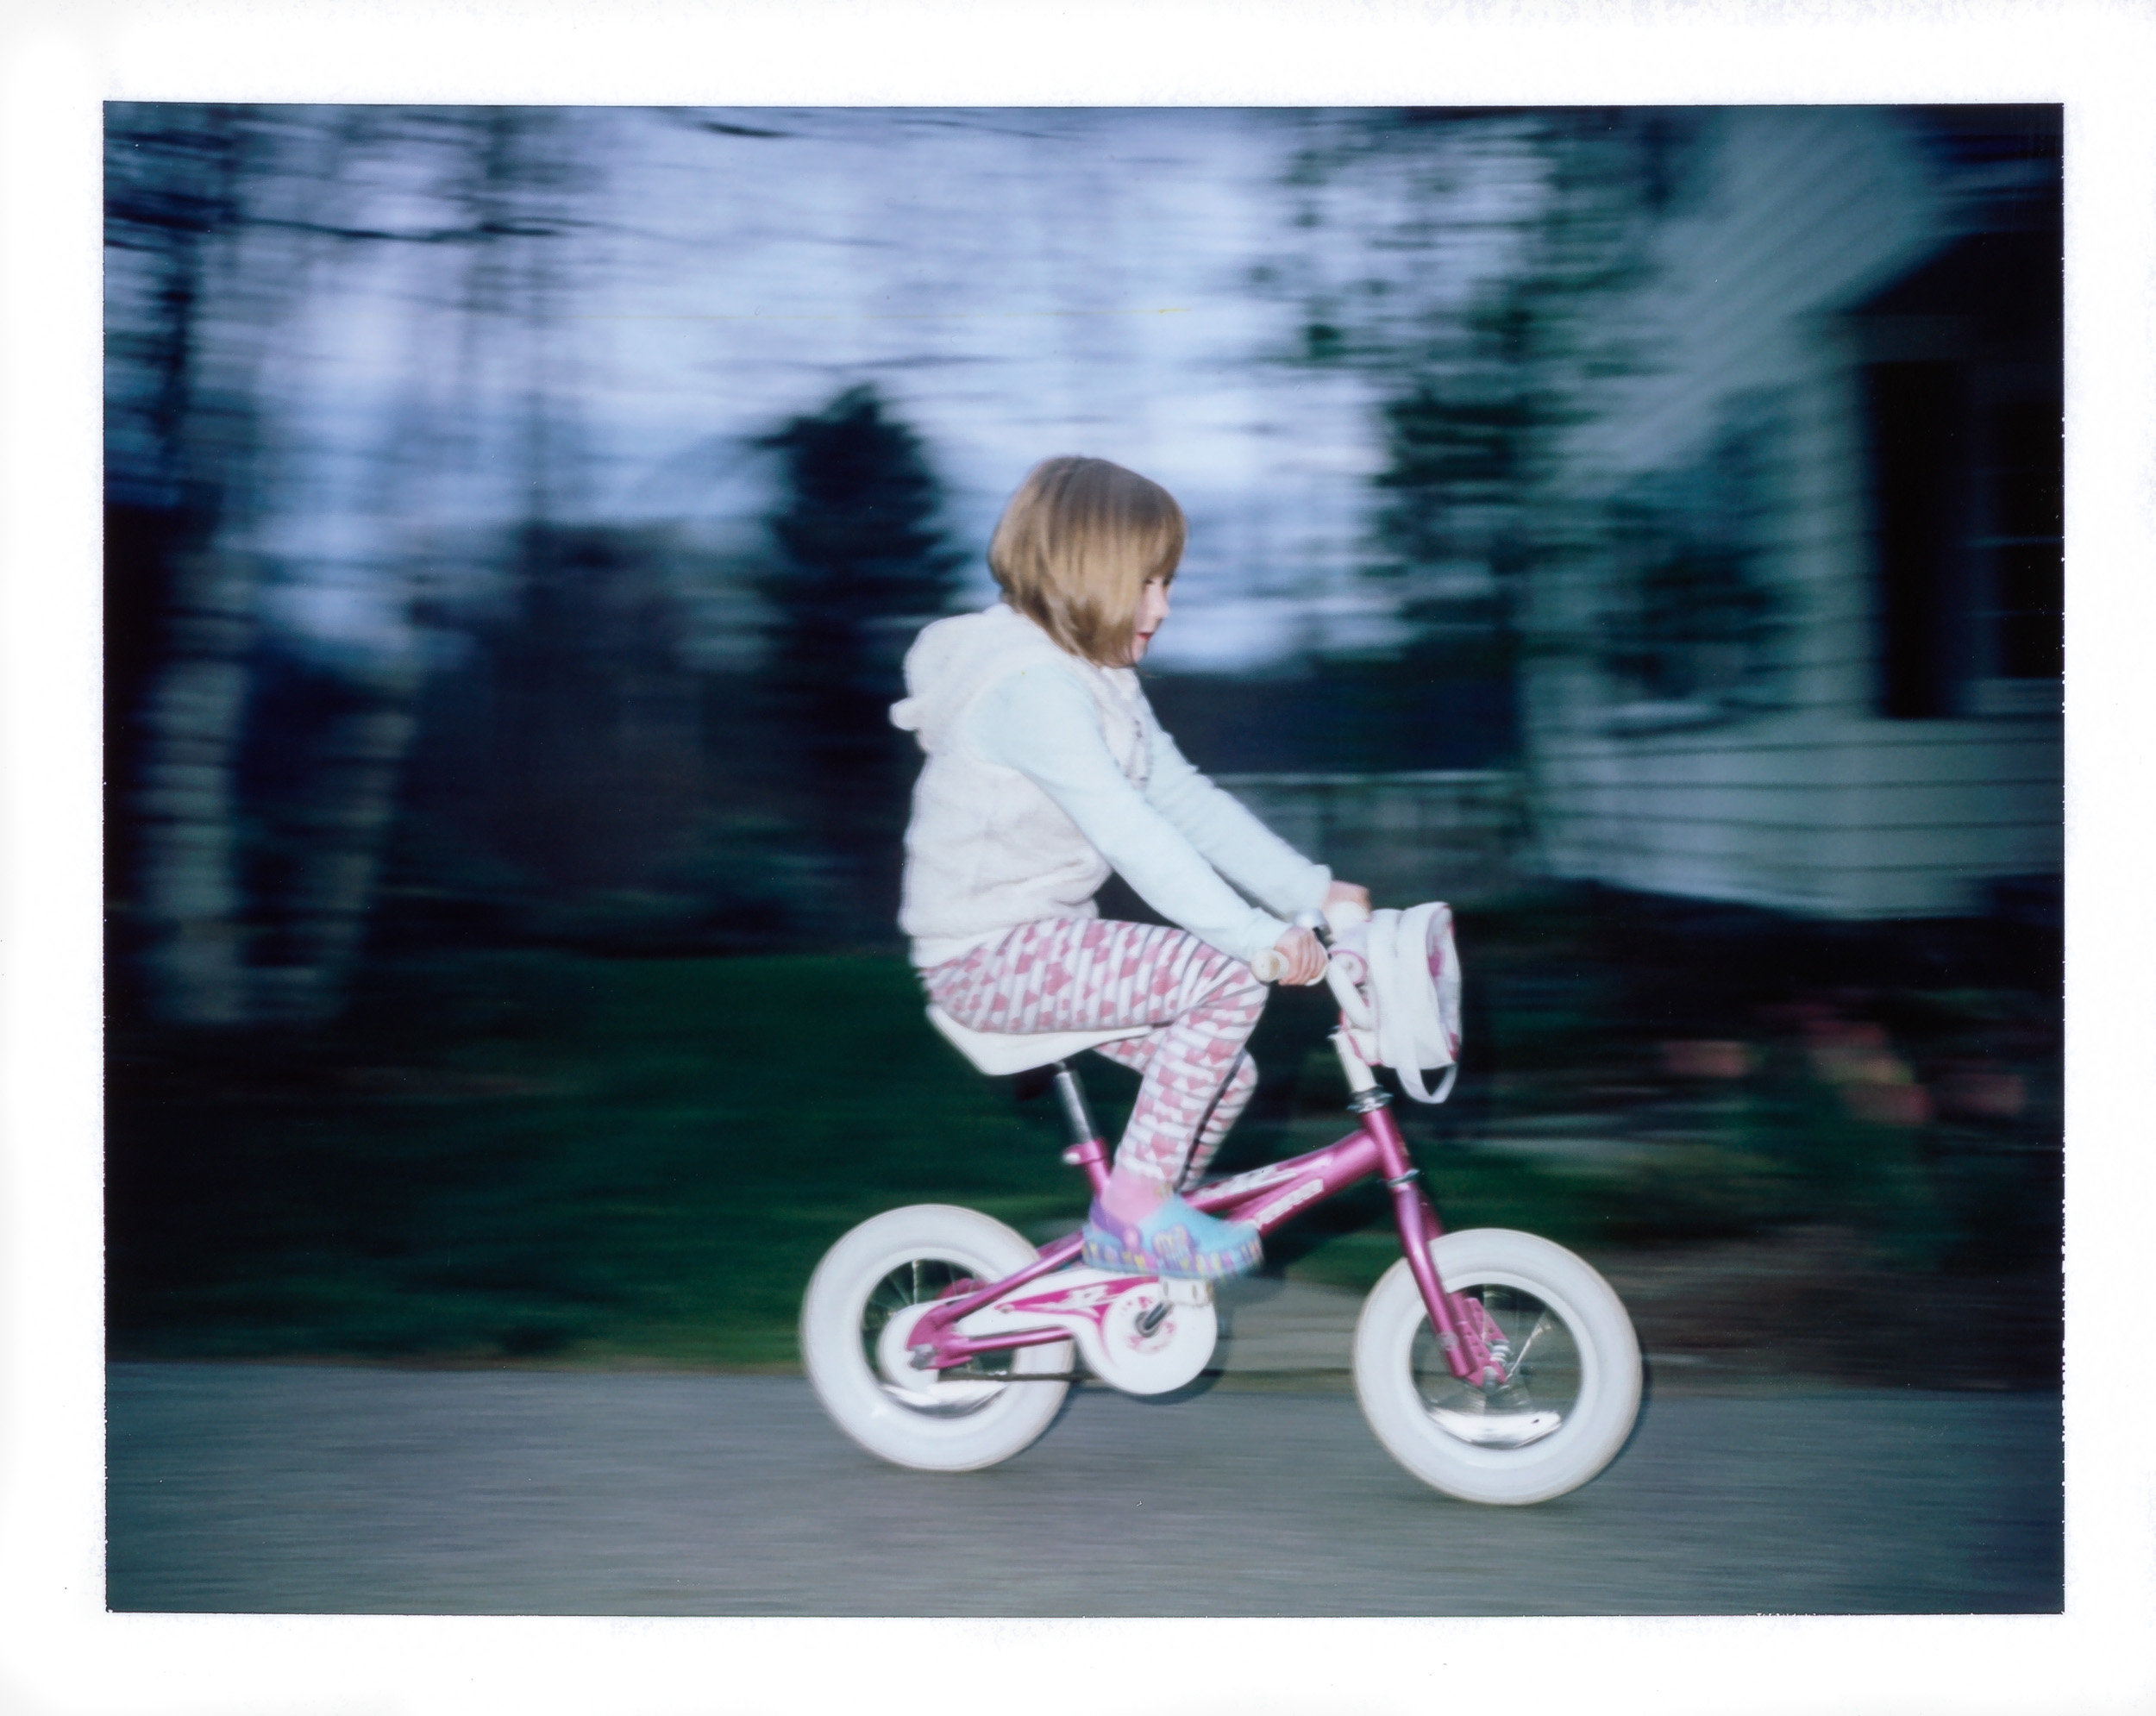
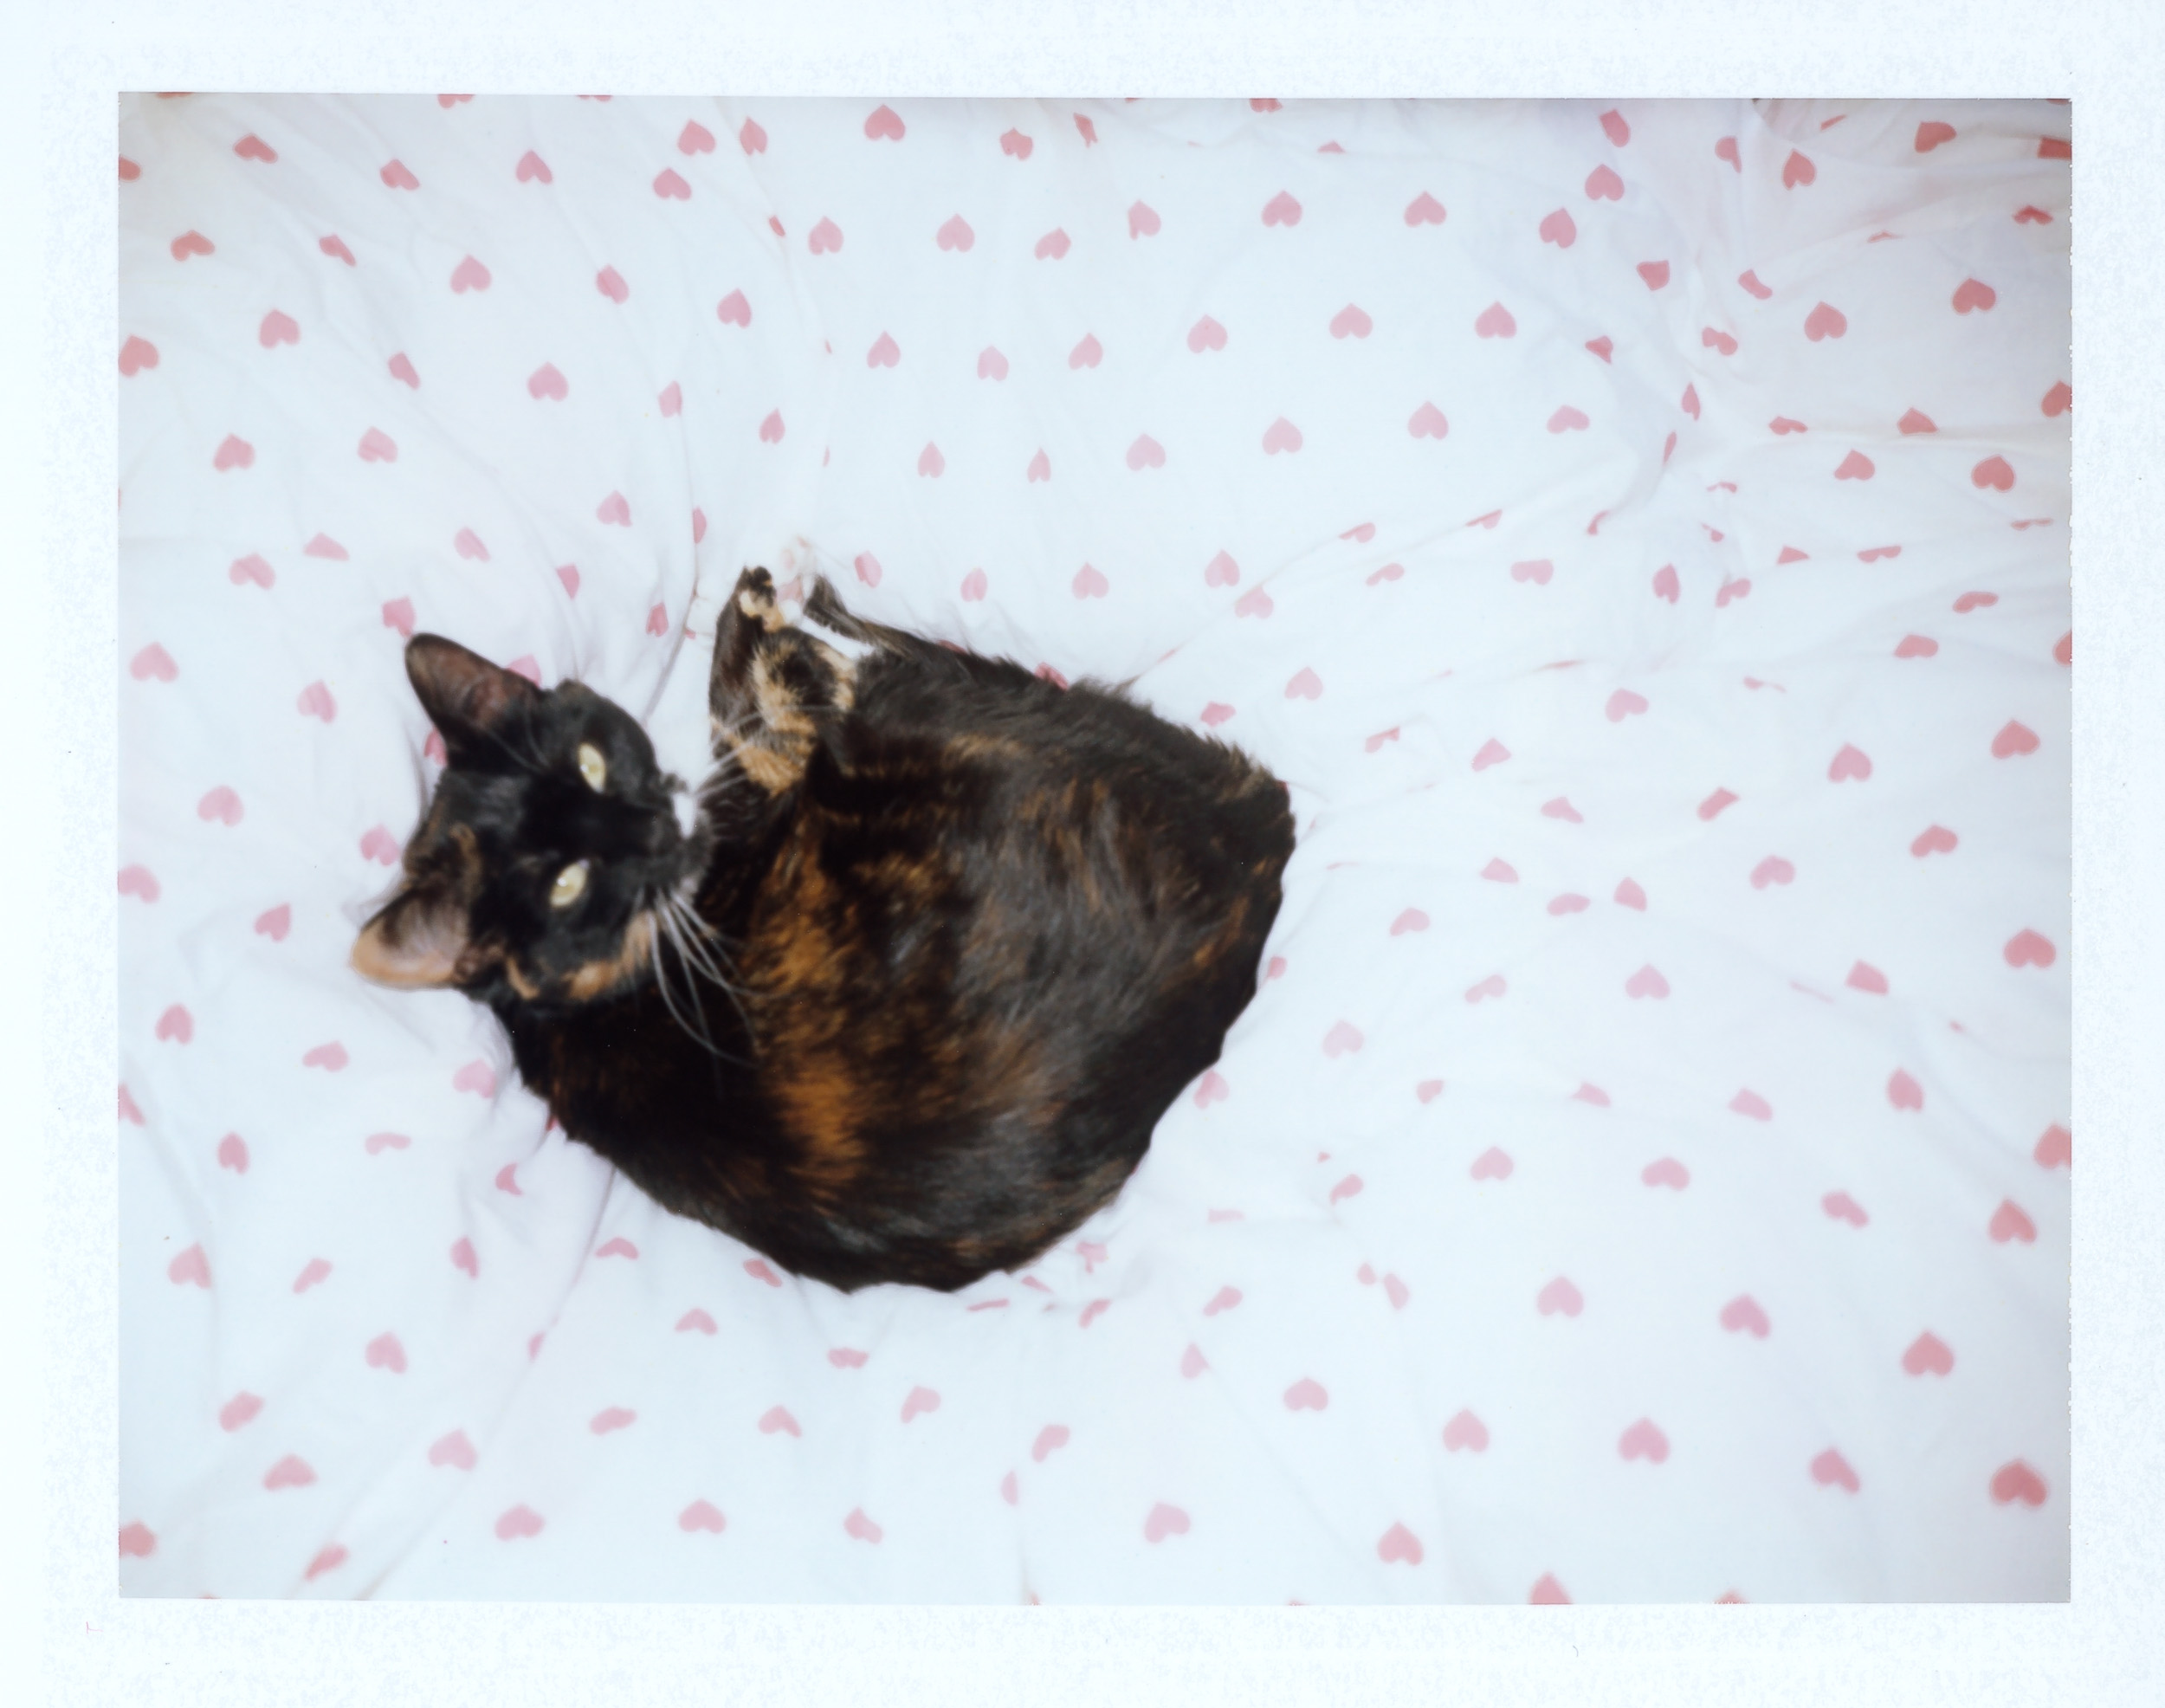
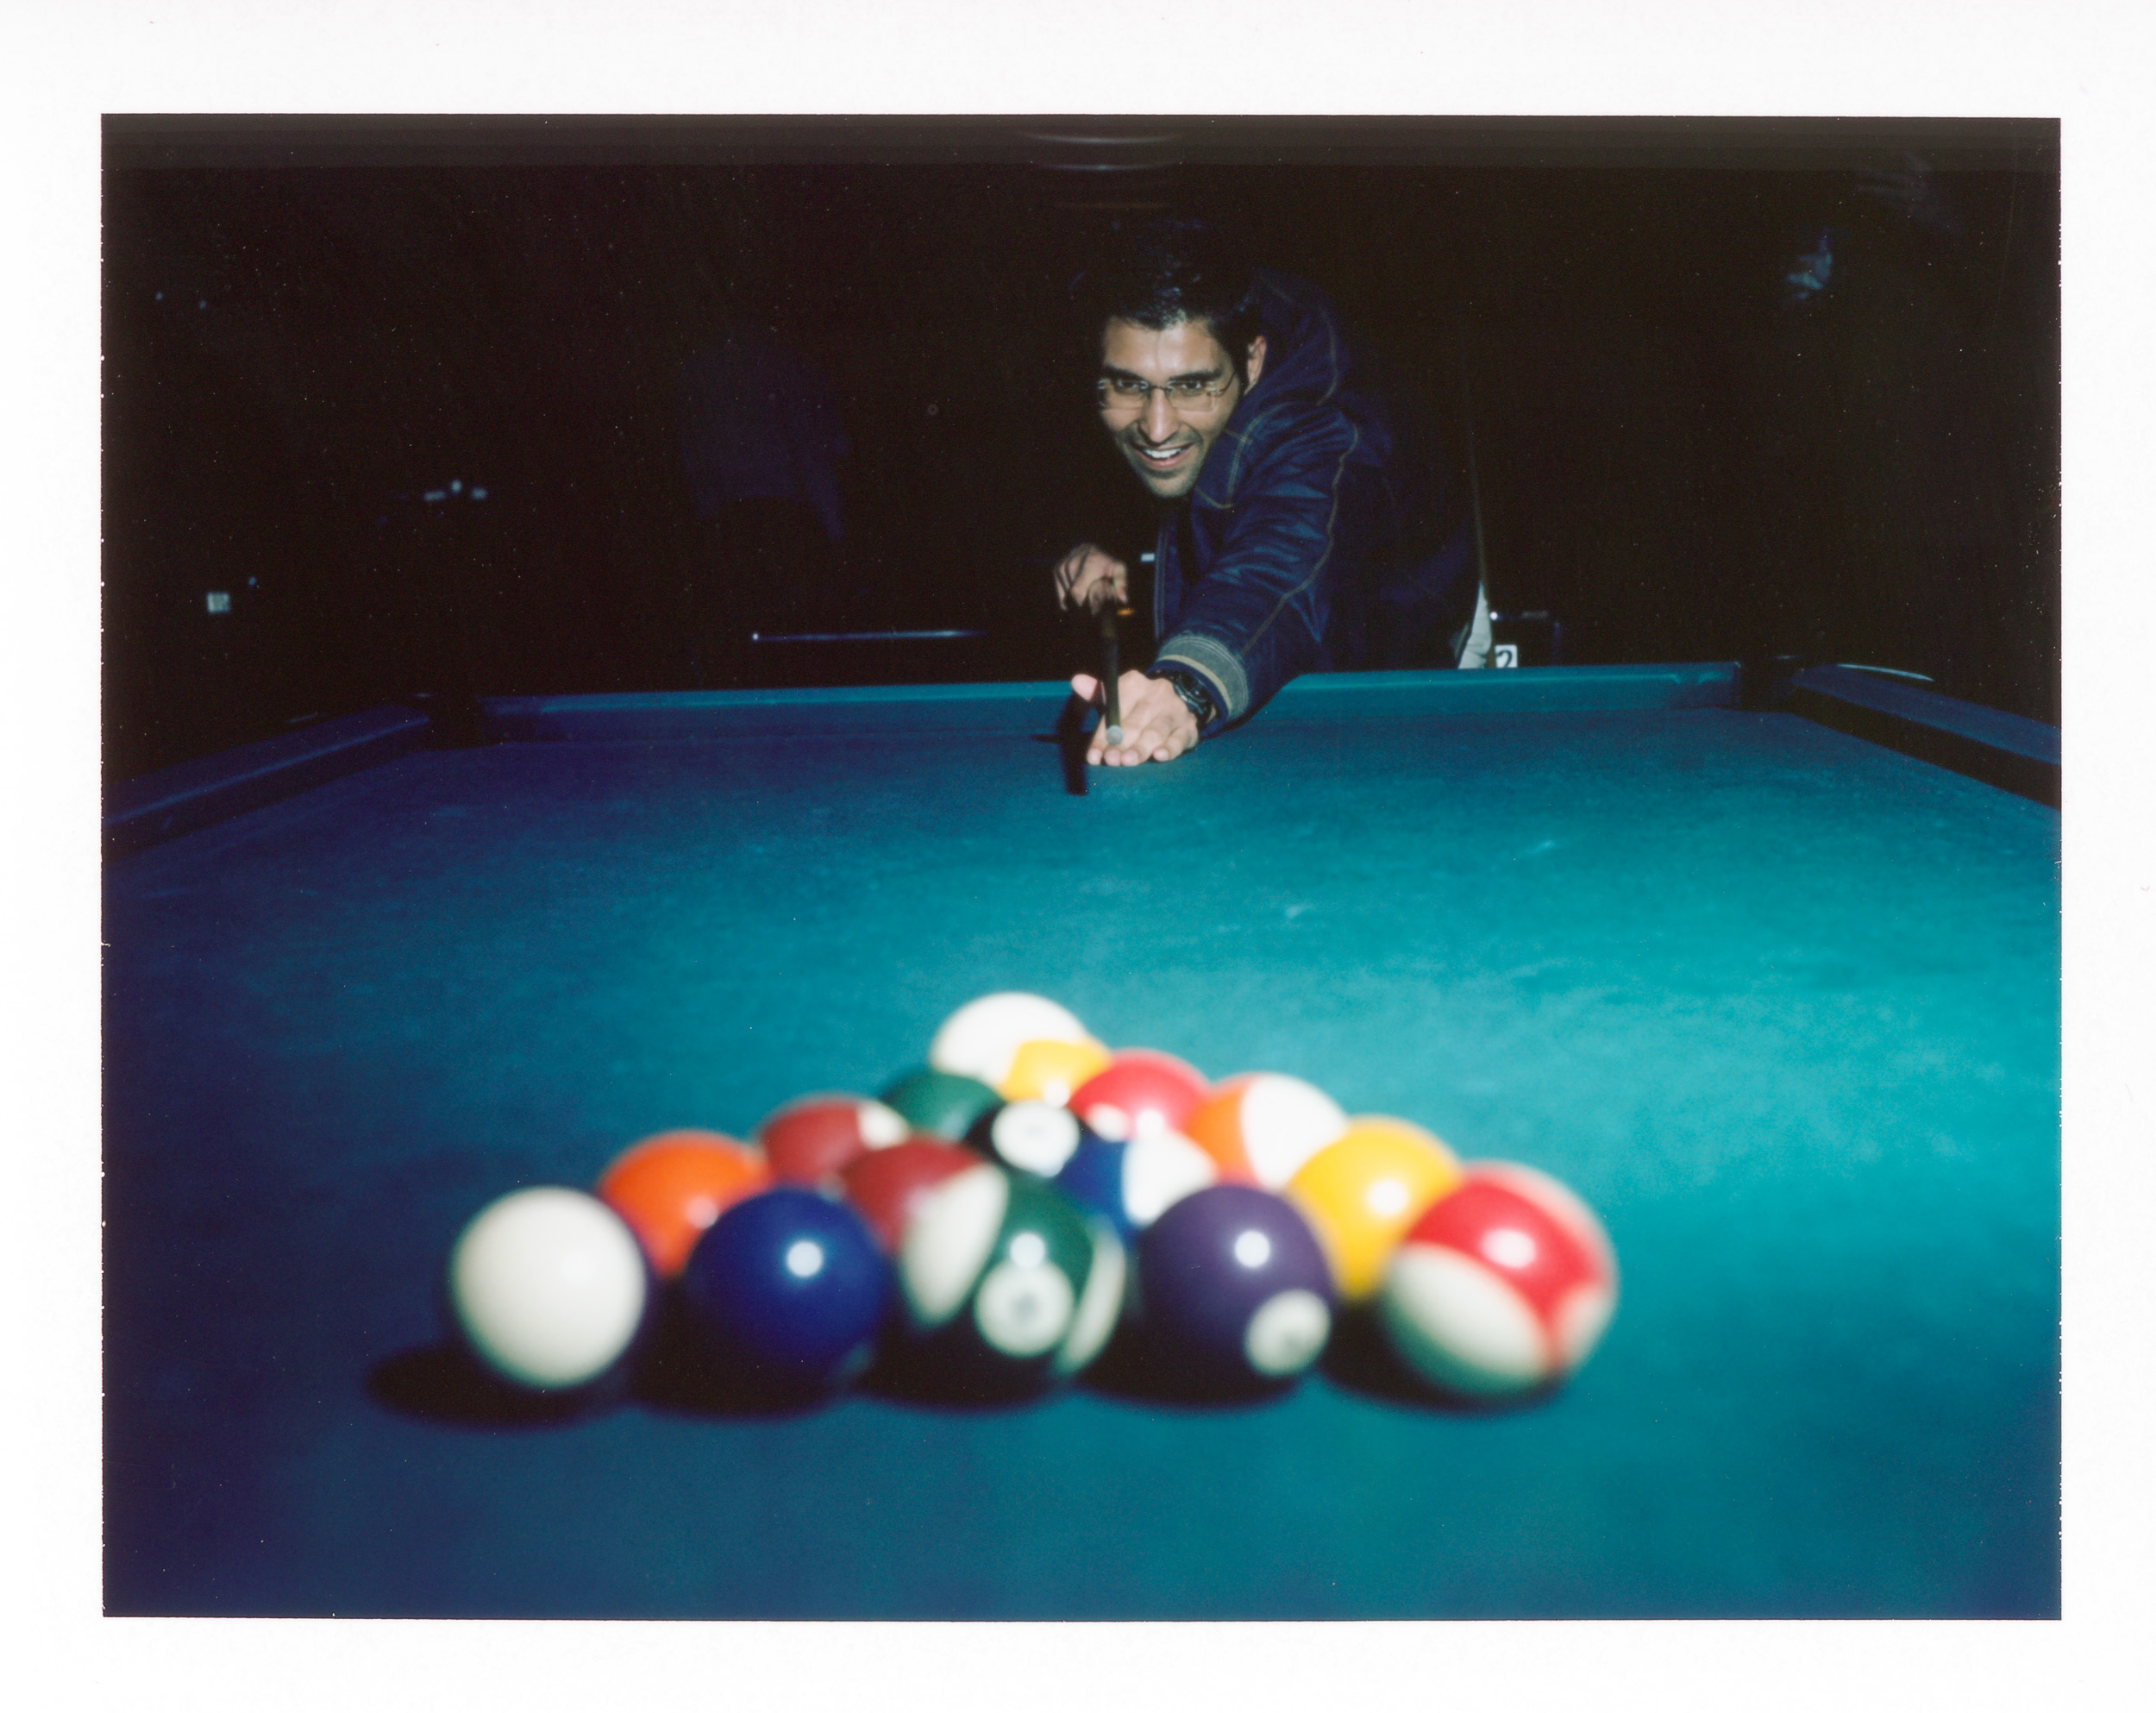
June Instant Photos
A small selection of my daily instant photos from June 2016.
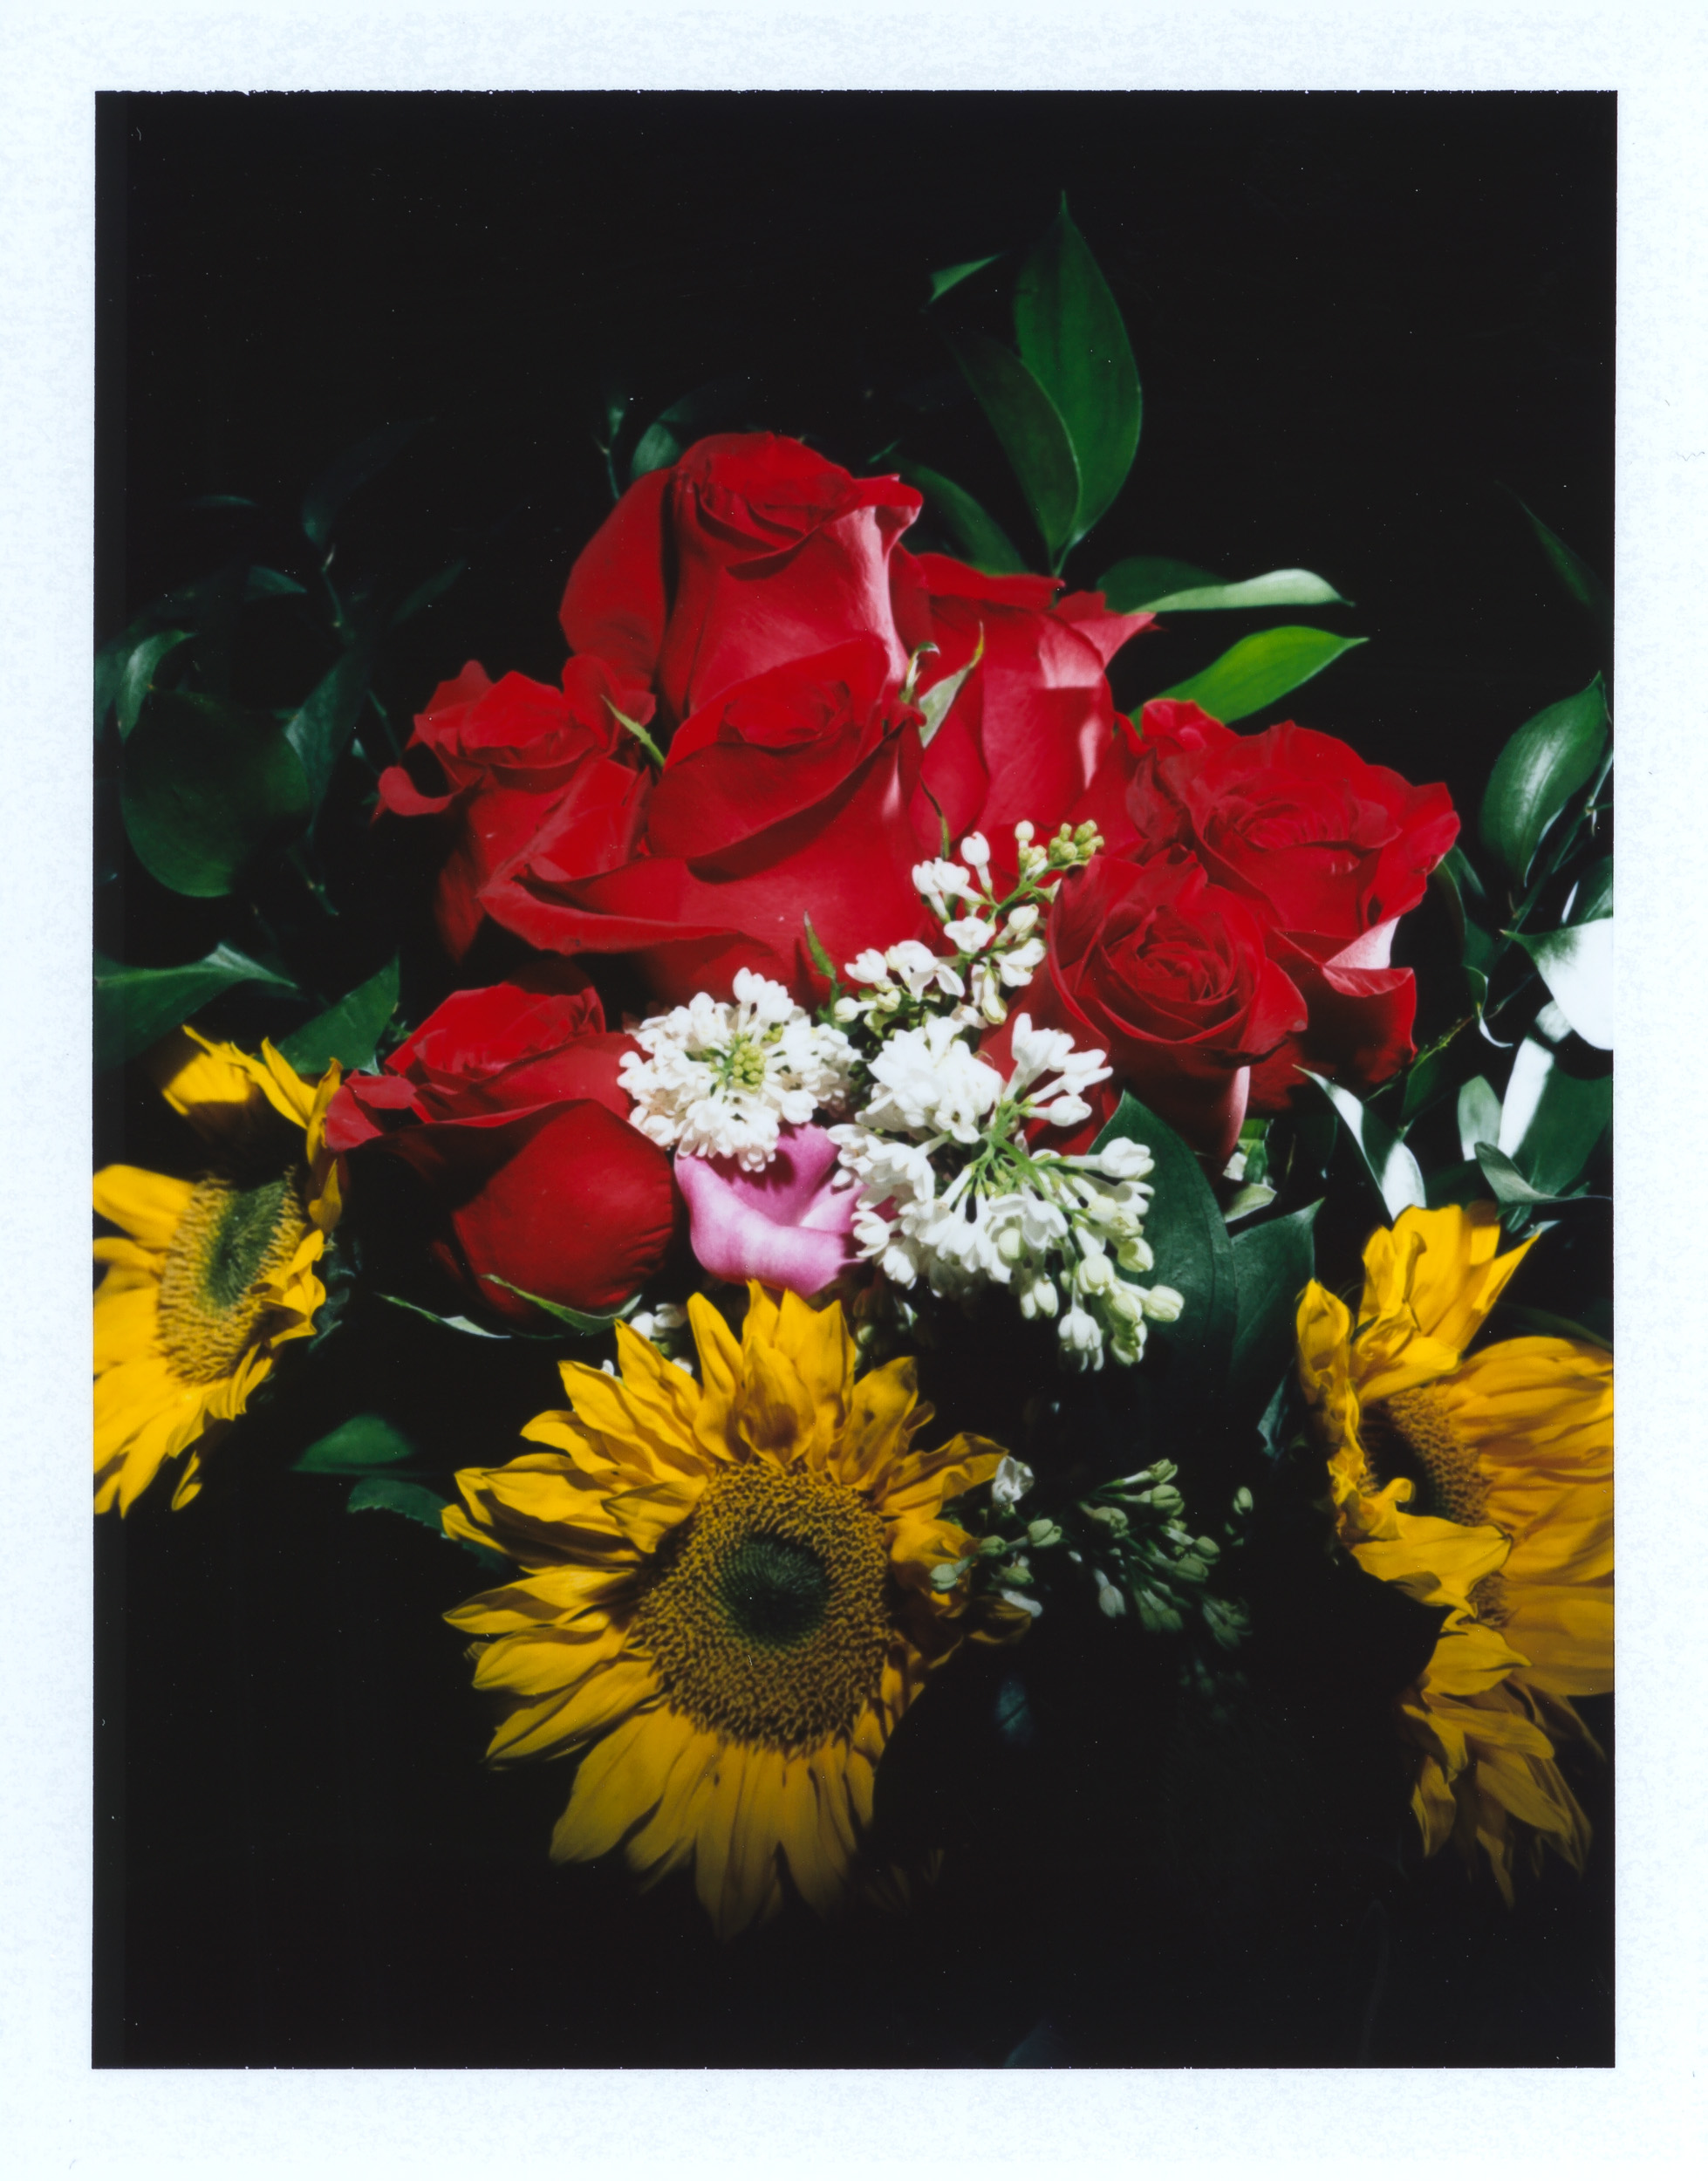
May Instant Photos
My favorites from May...
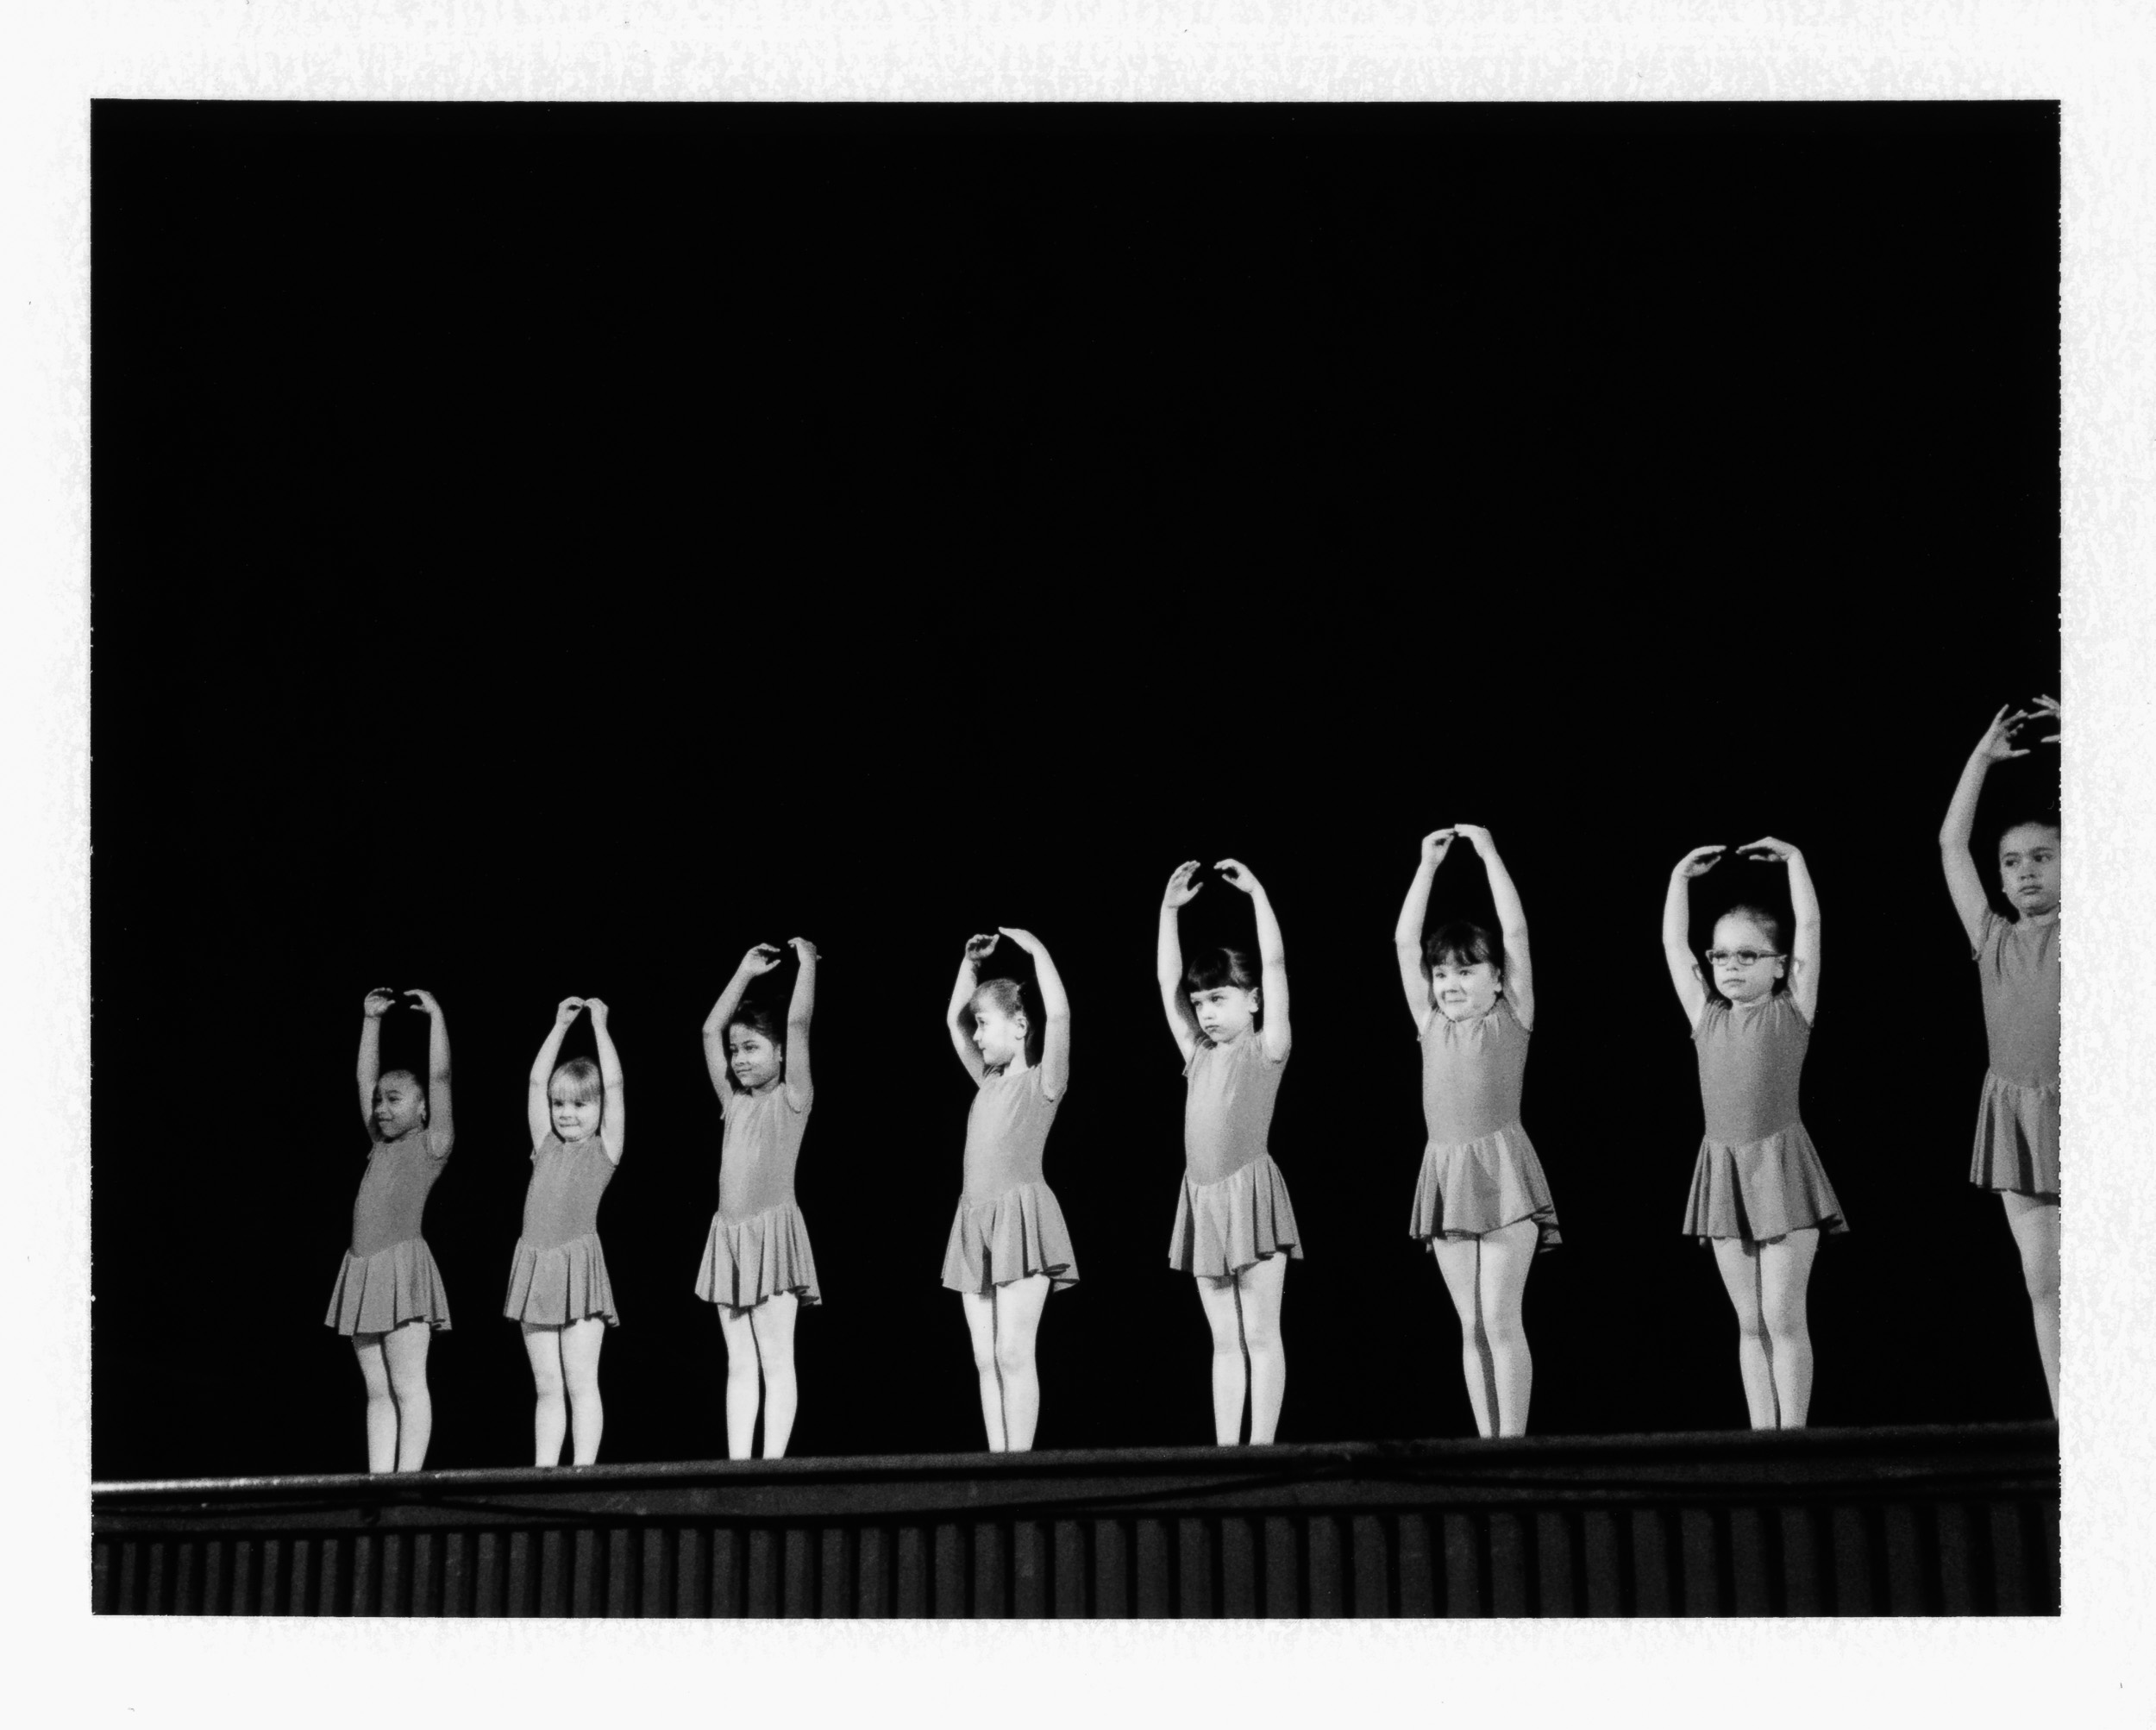

April Instant Photos
A selection of my daily instant photos from April...


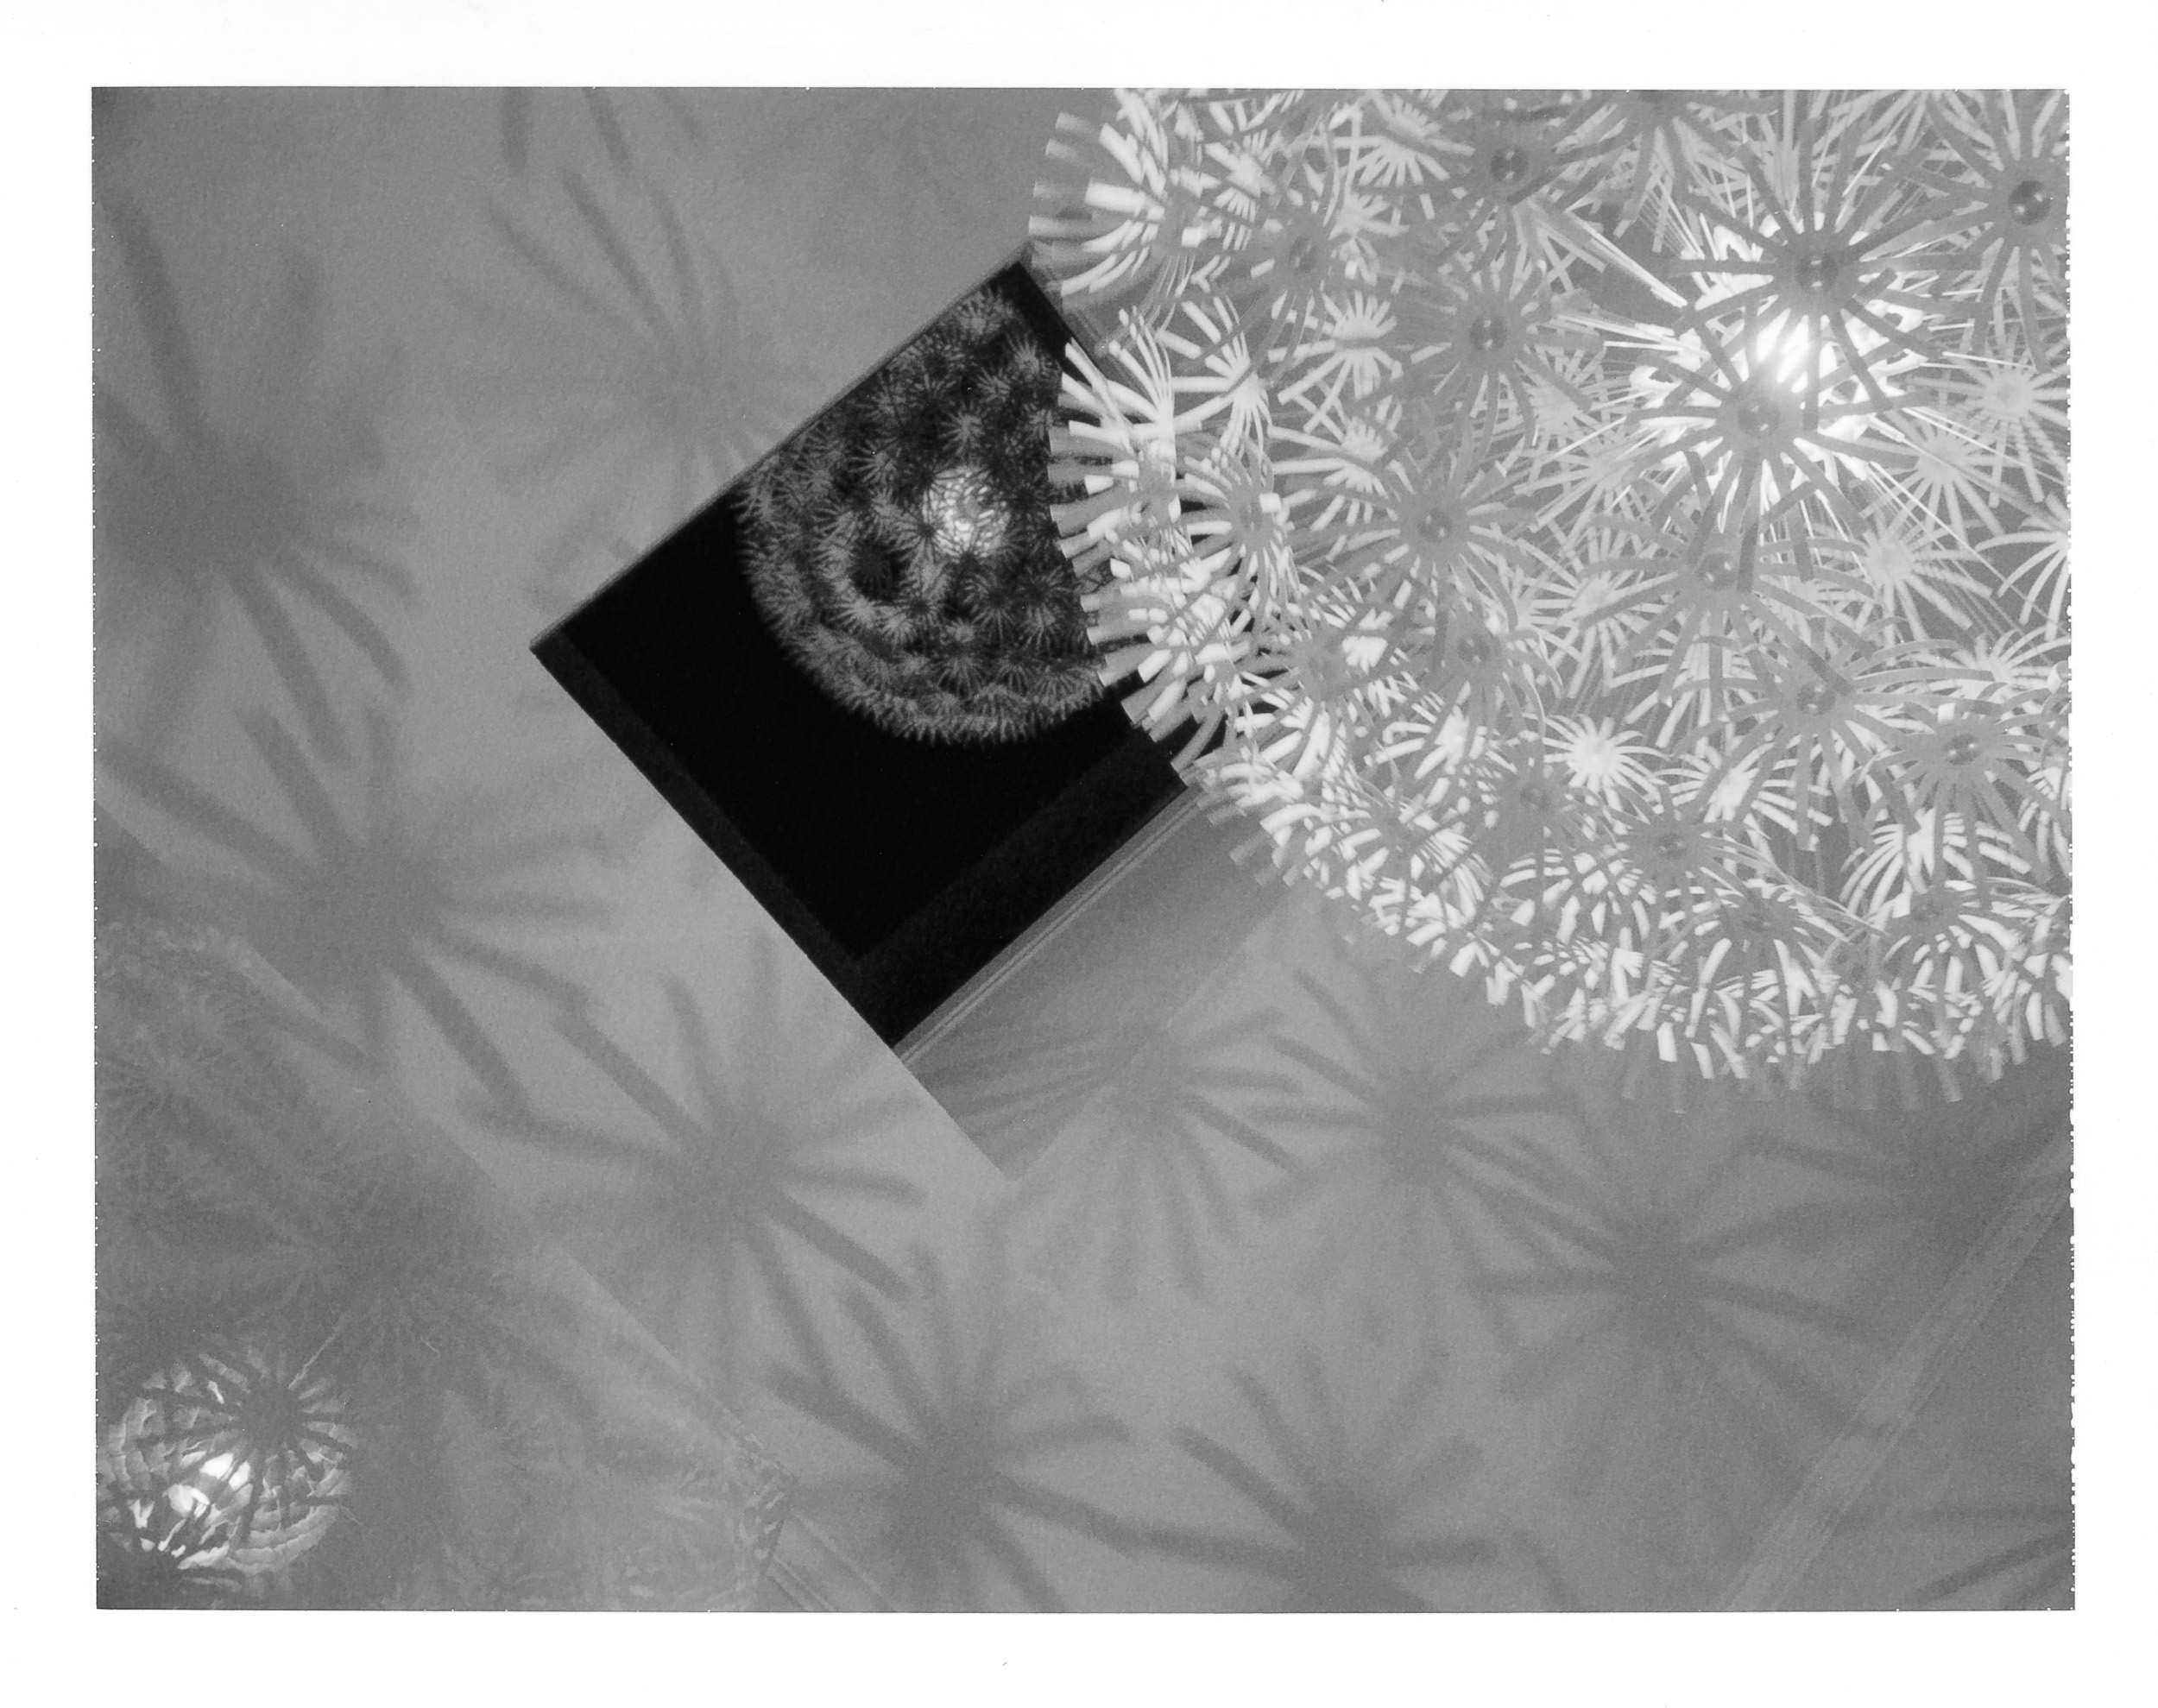
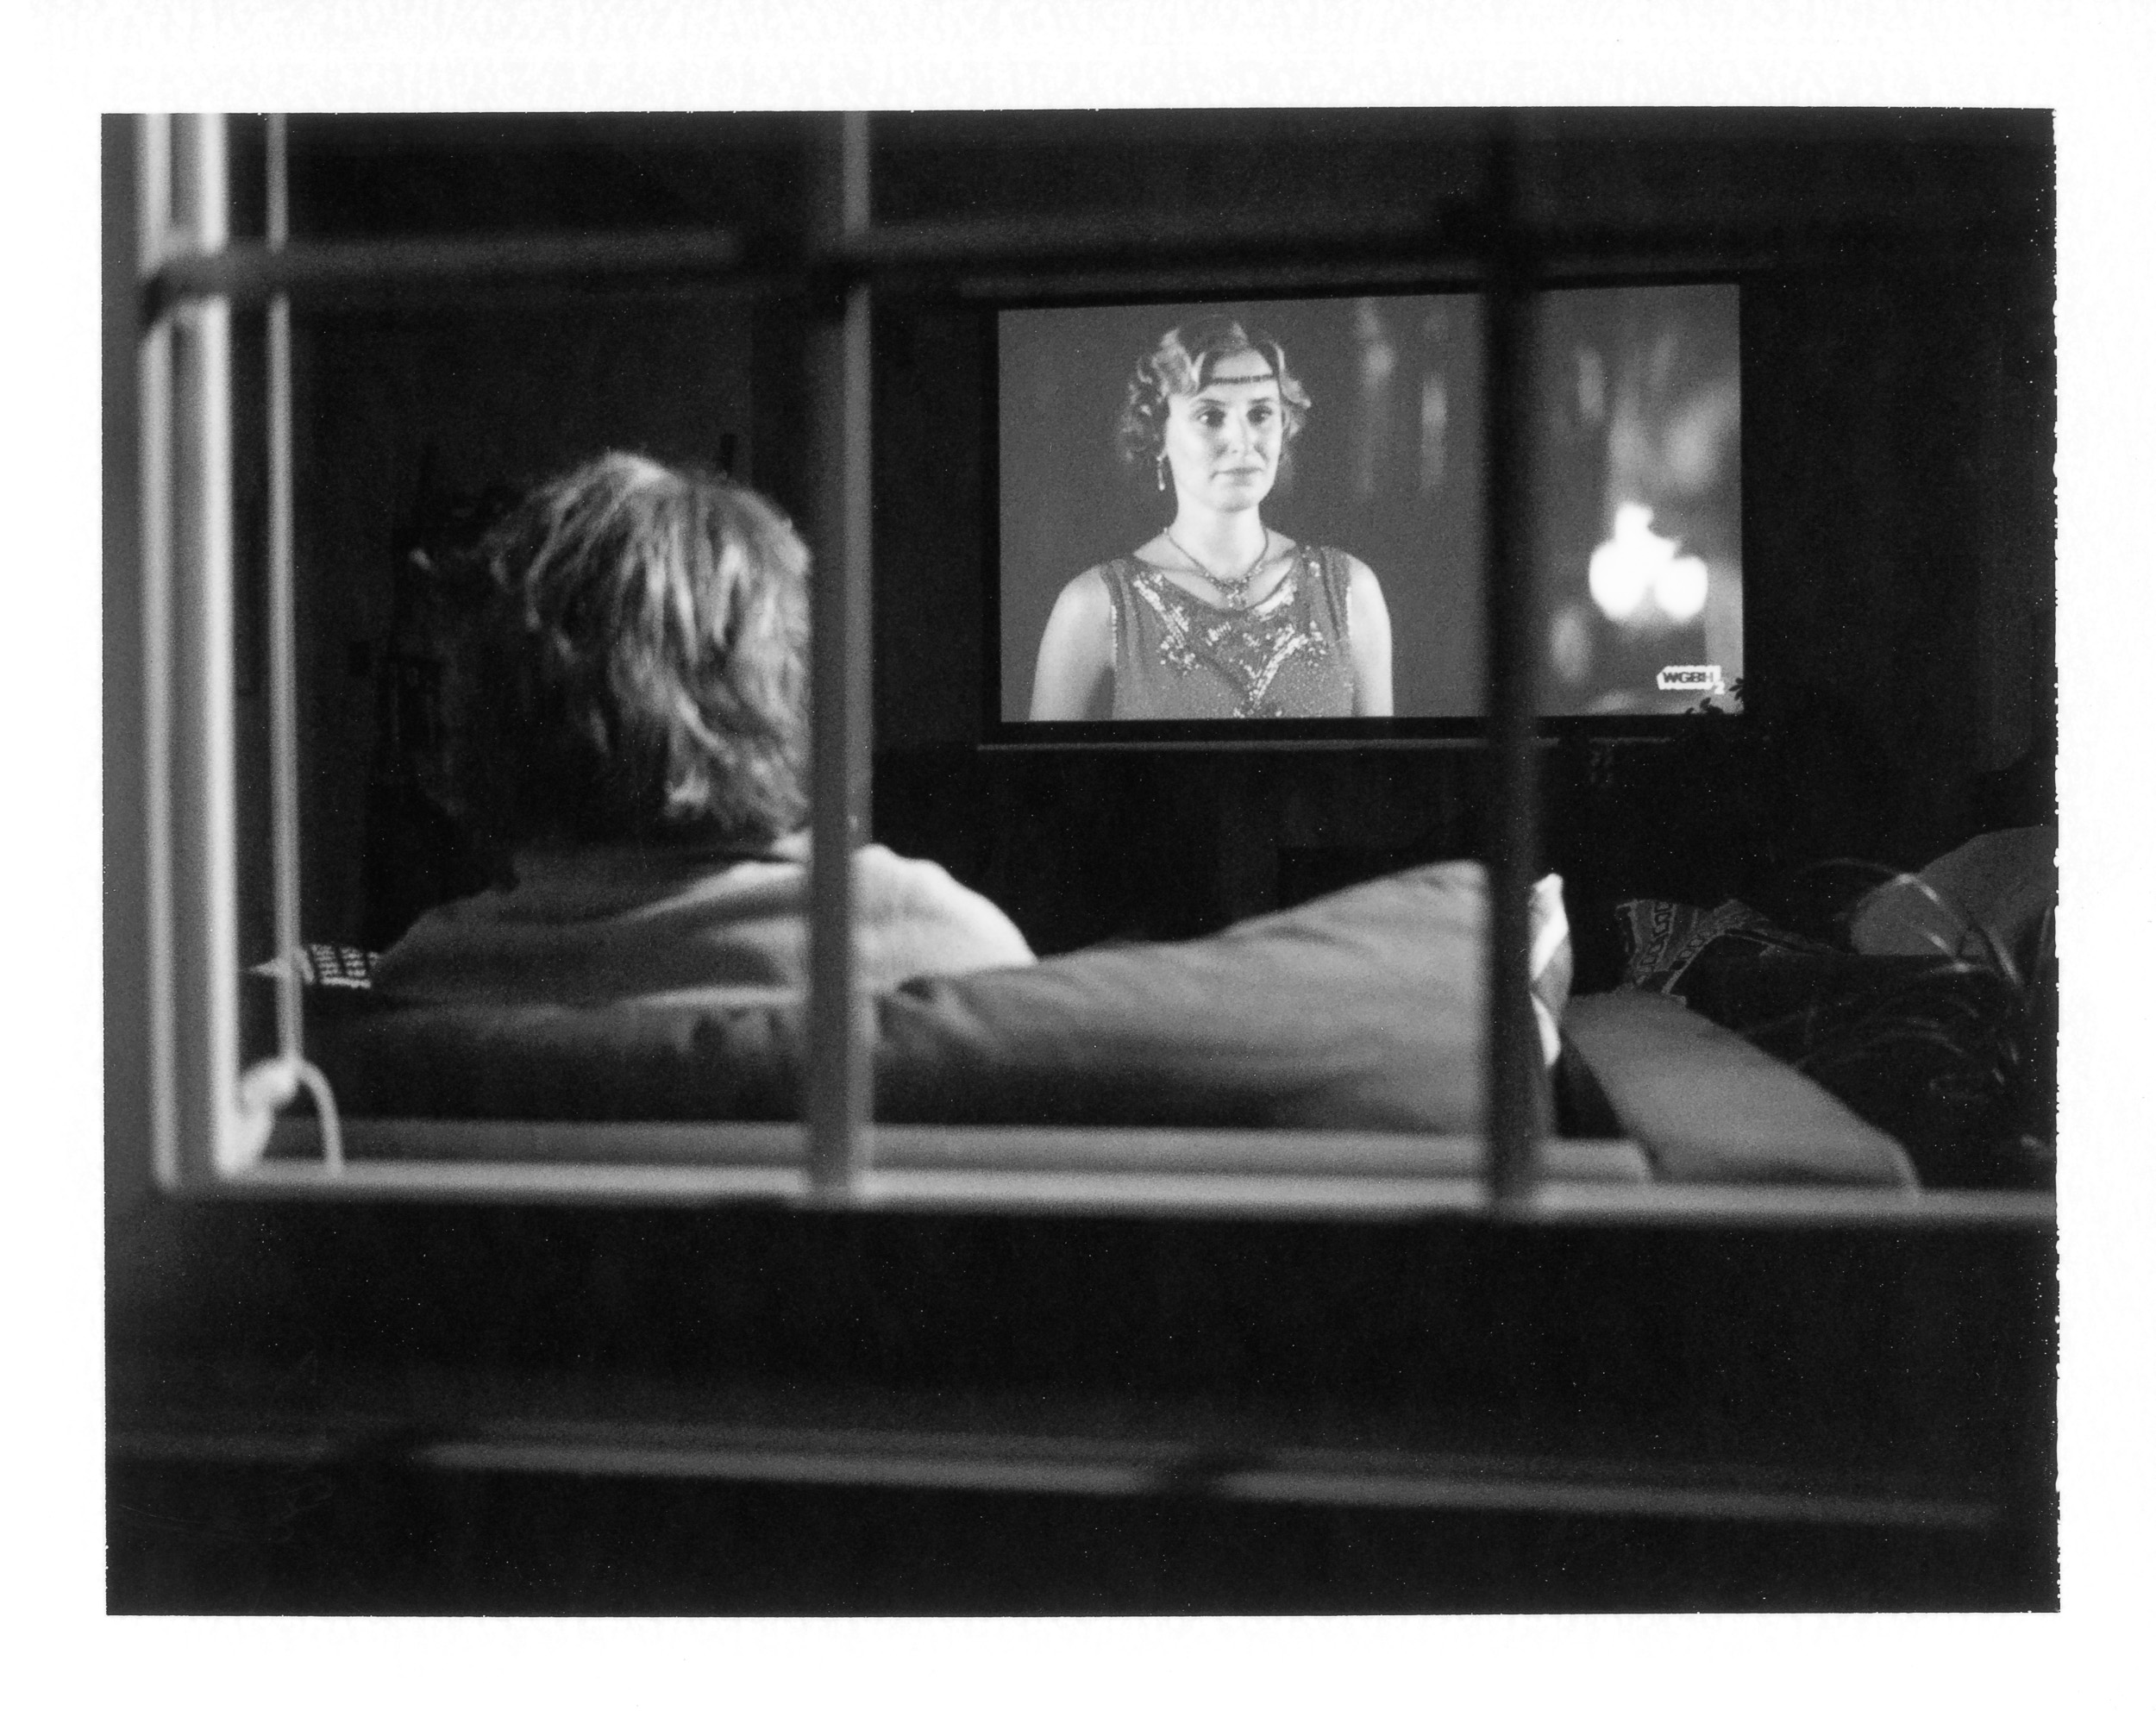
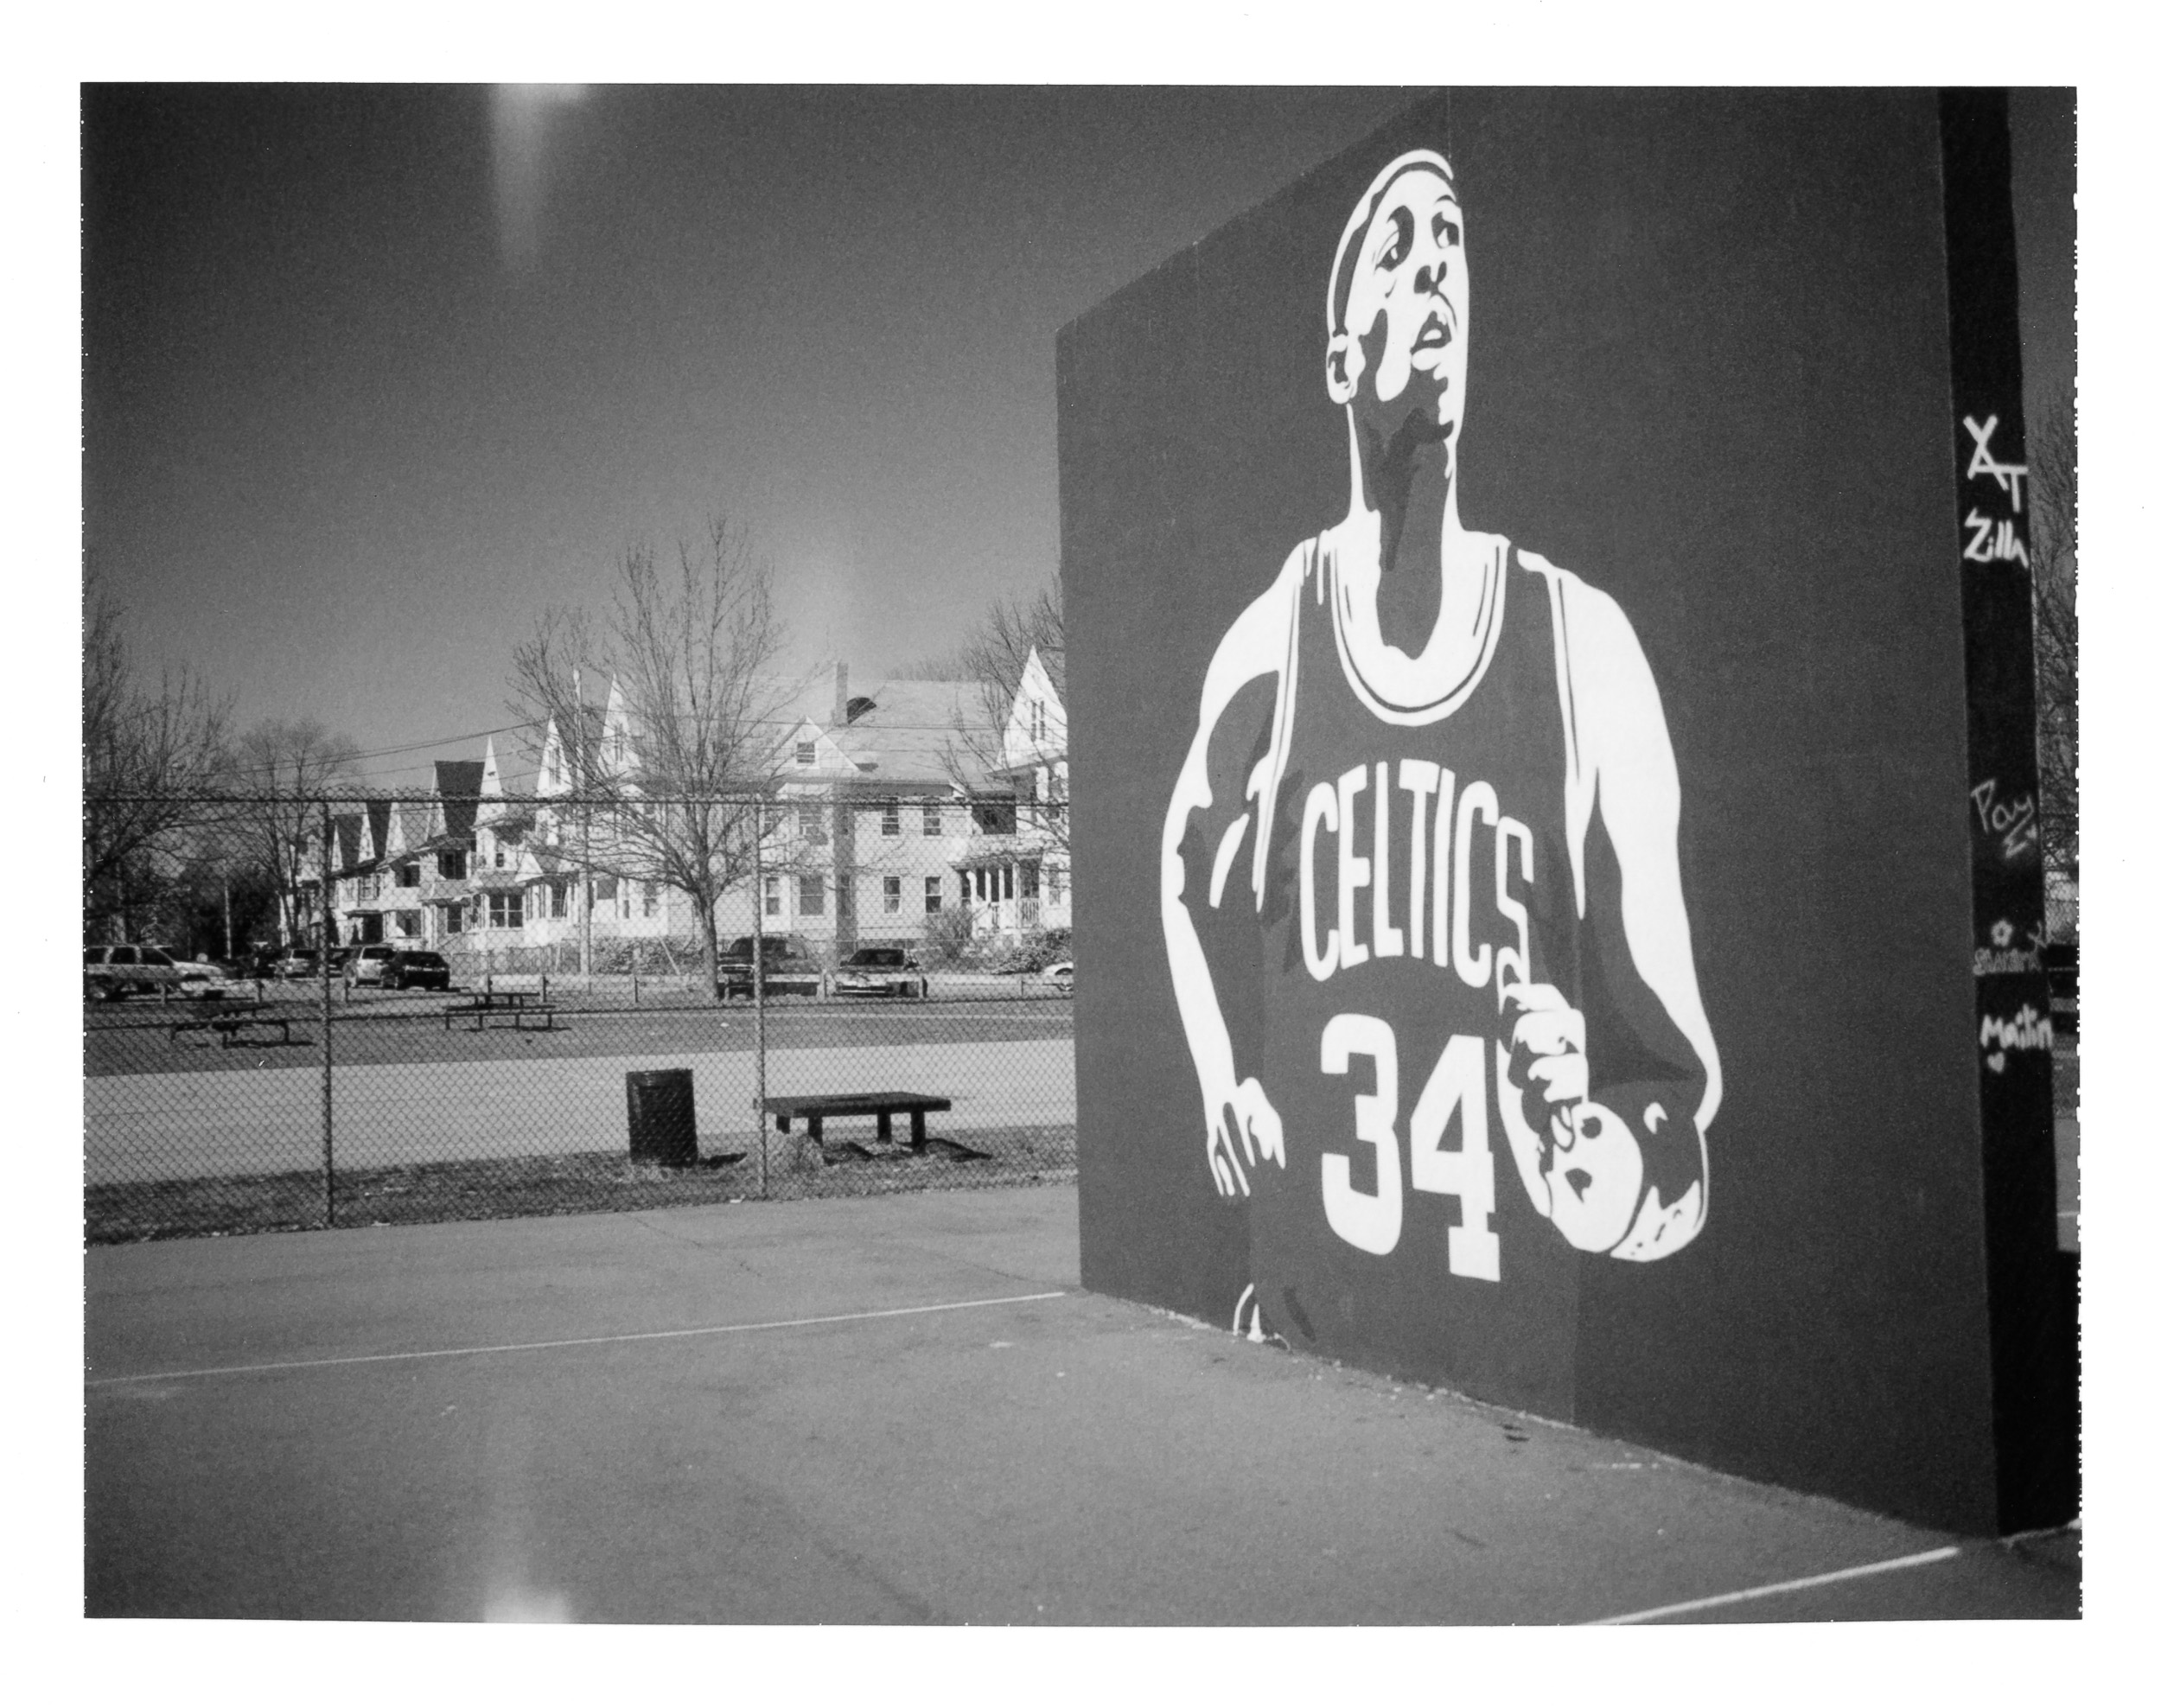
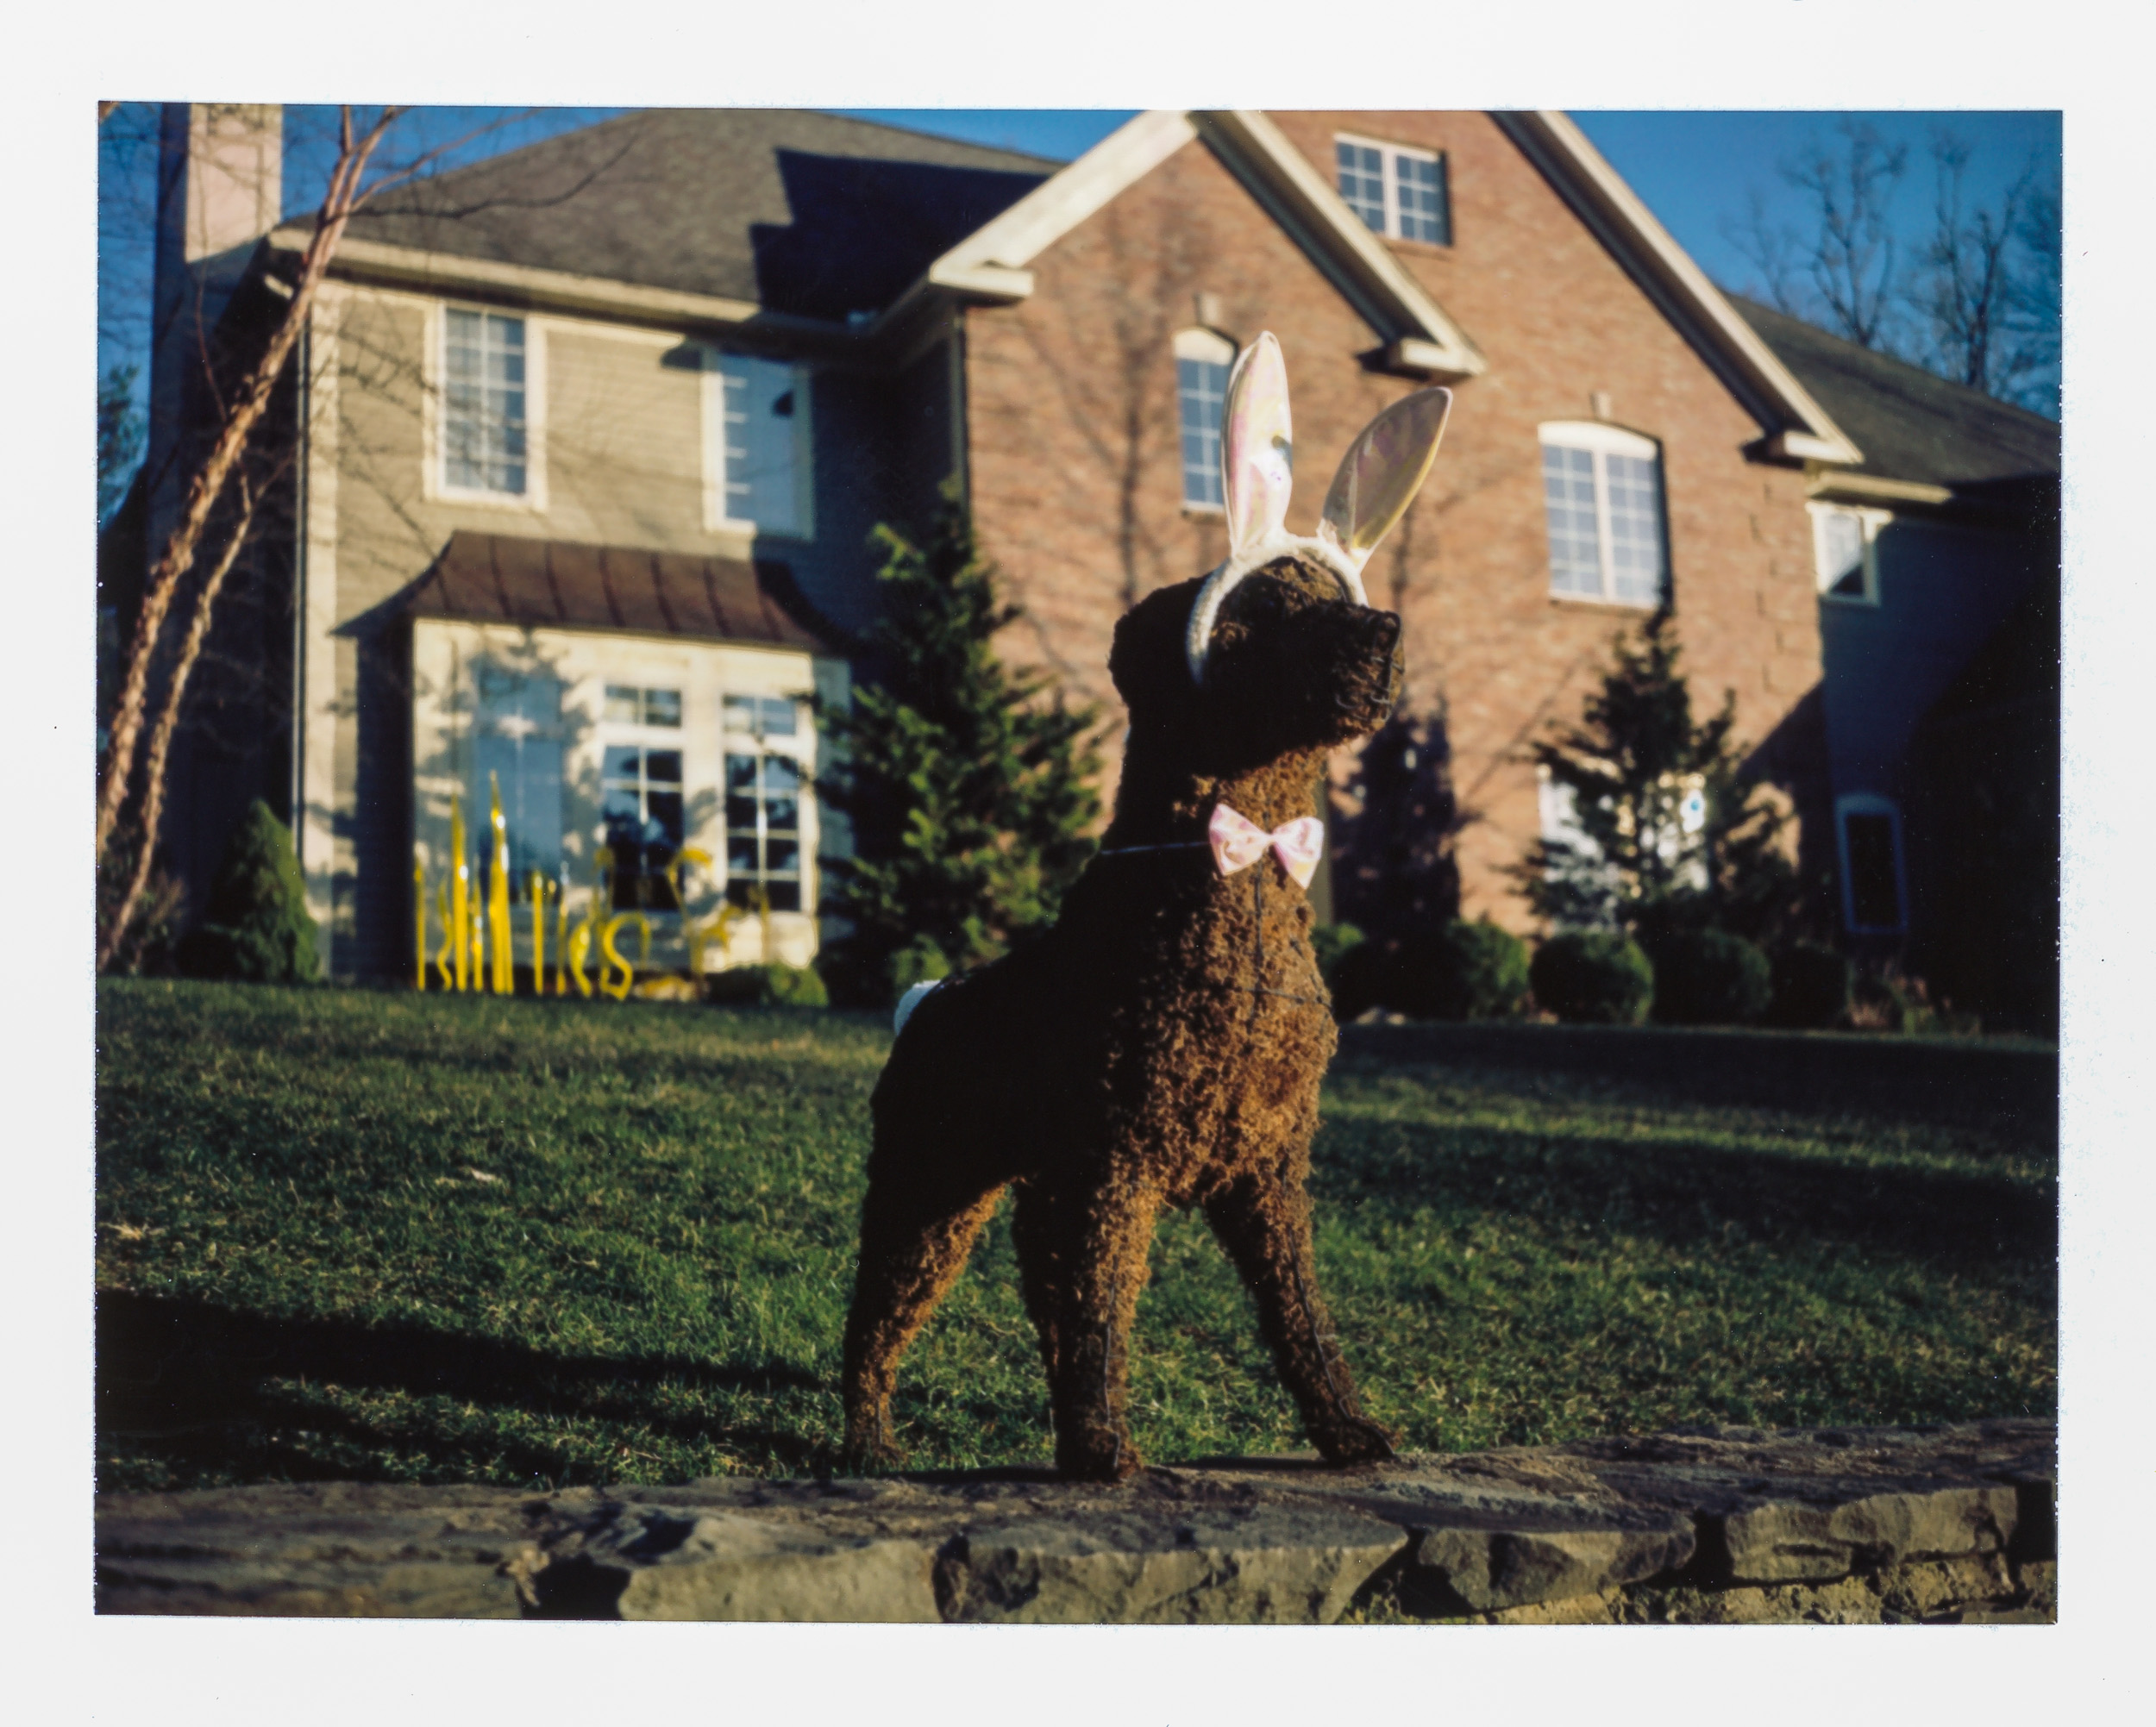
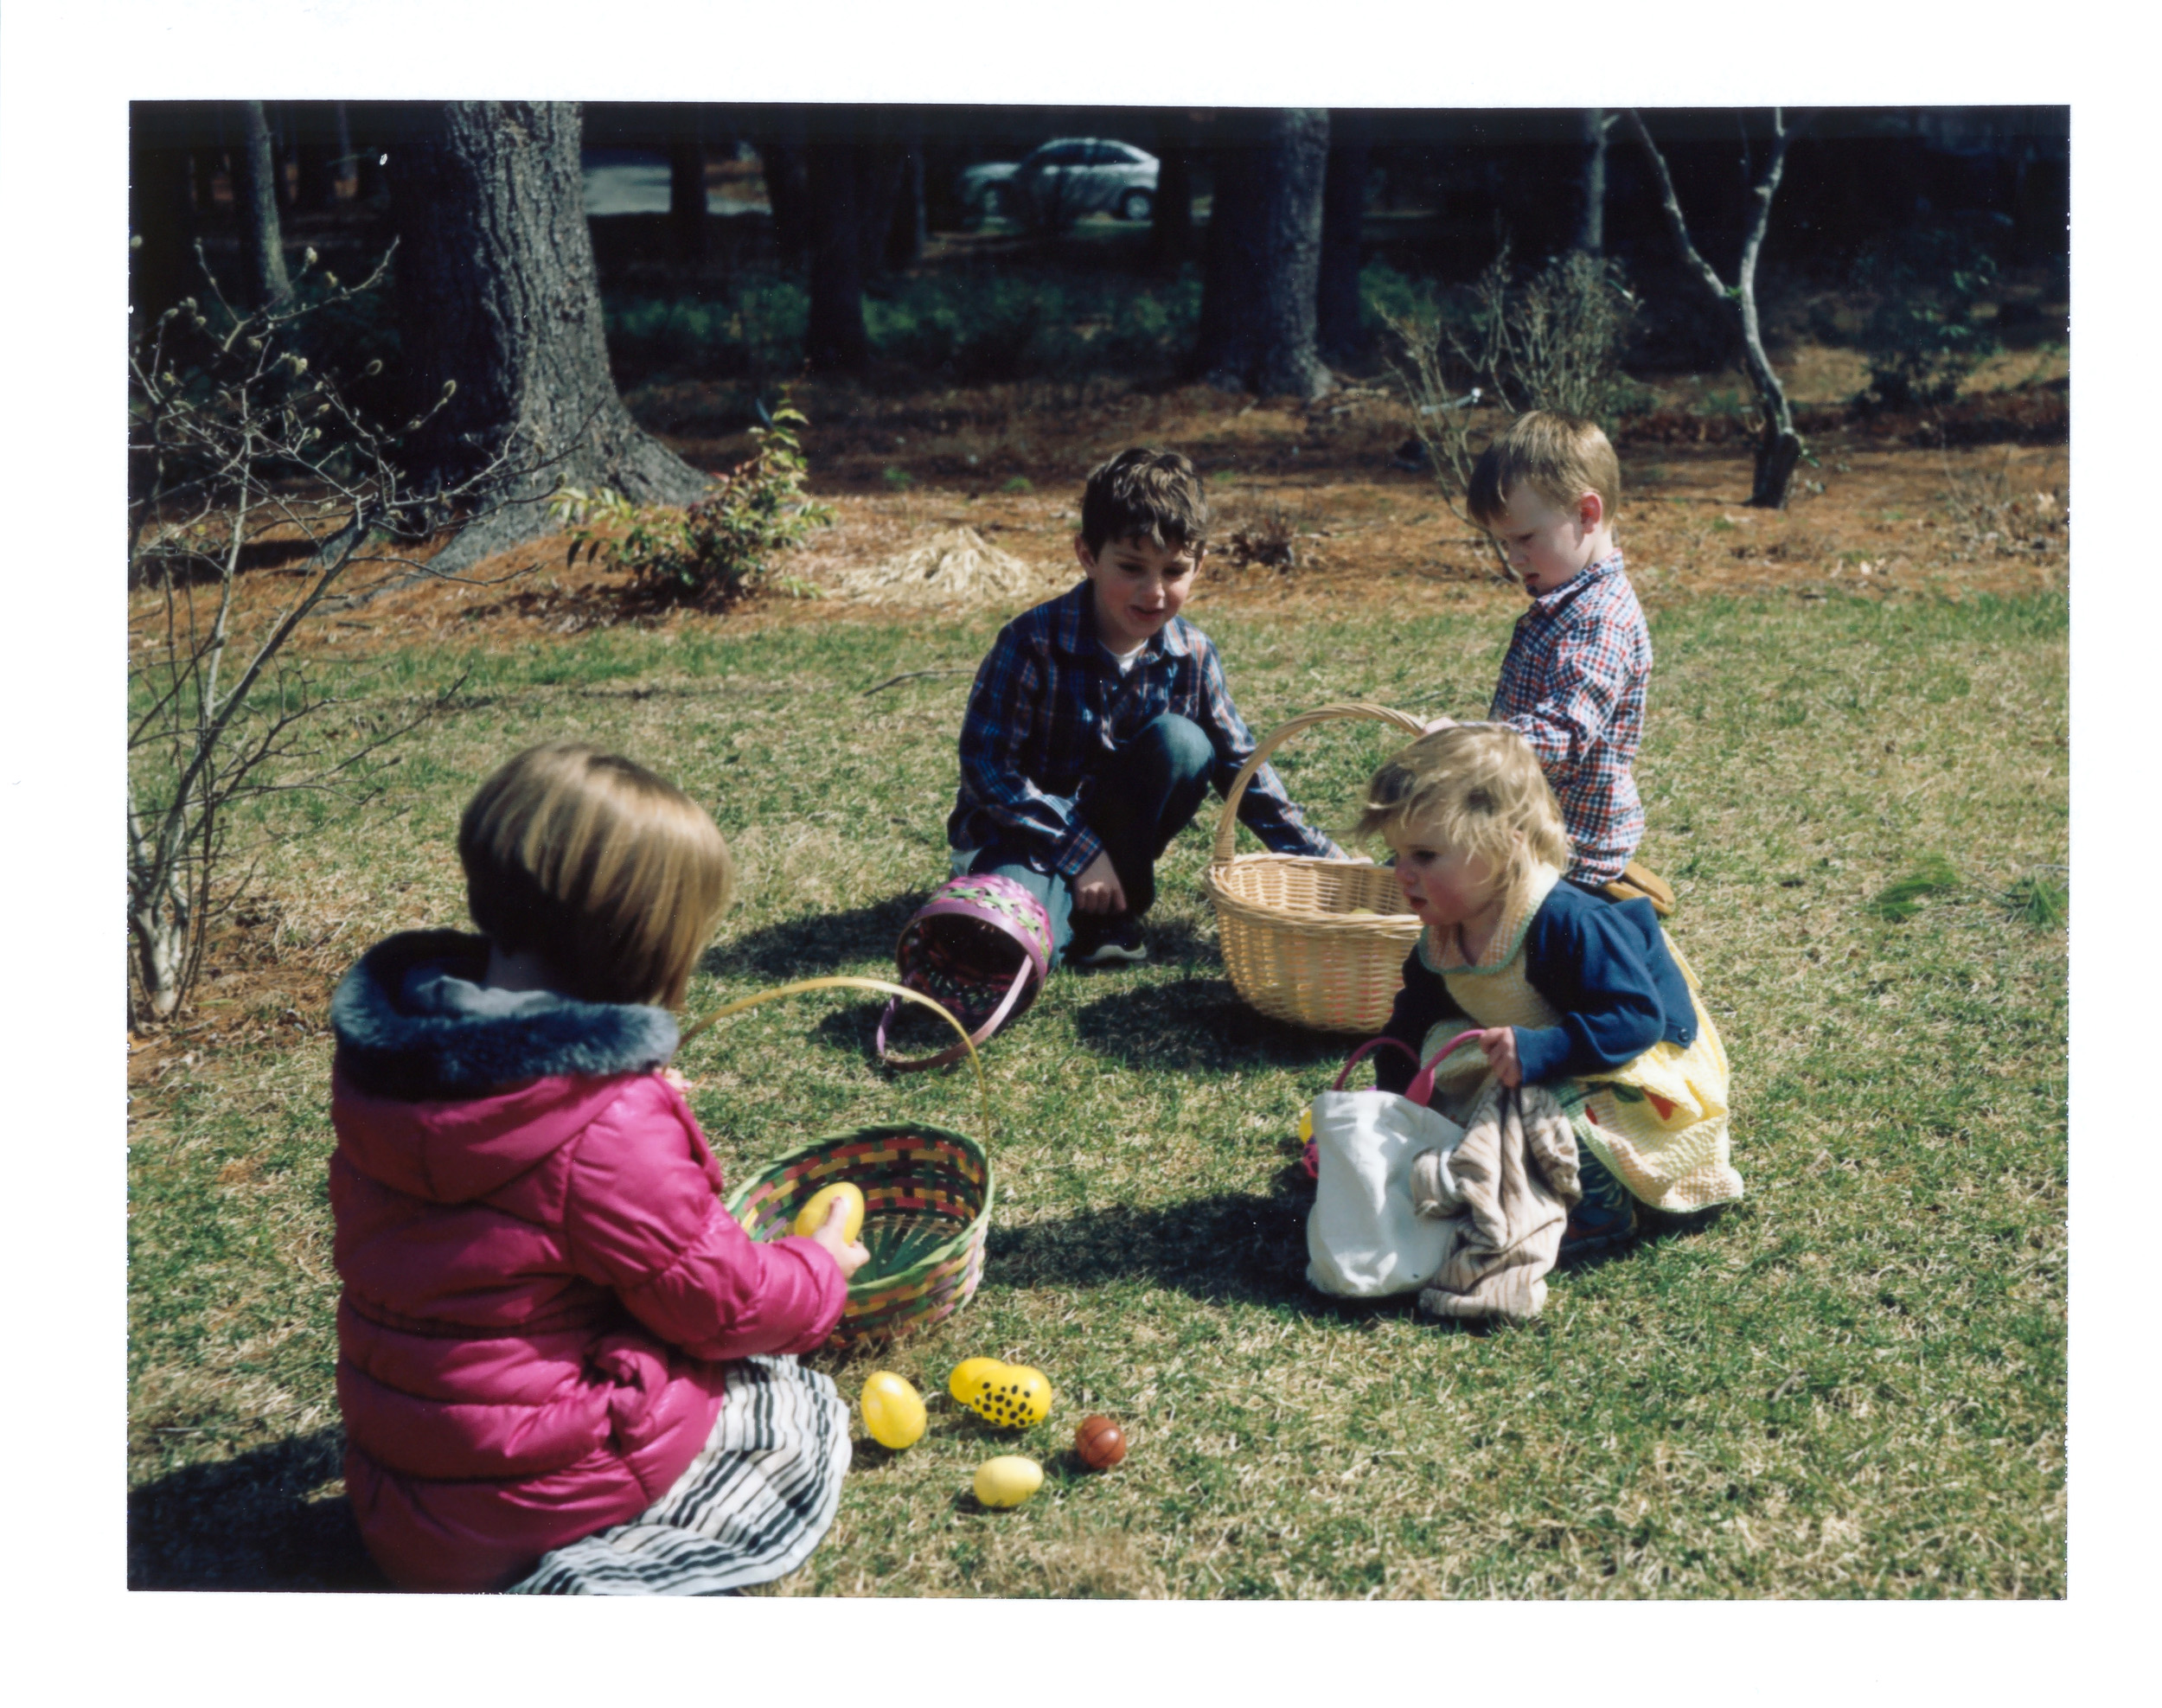
March Instant Photos
Some of my favorite instant photos taken in March 2016.
This includes Easter, a business trip to California, and the final show of Downton Abbey.
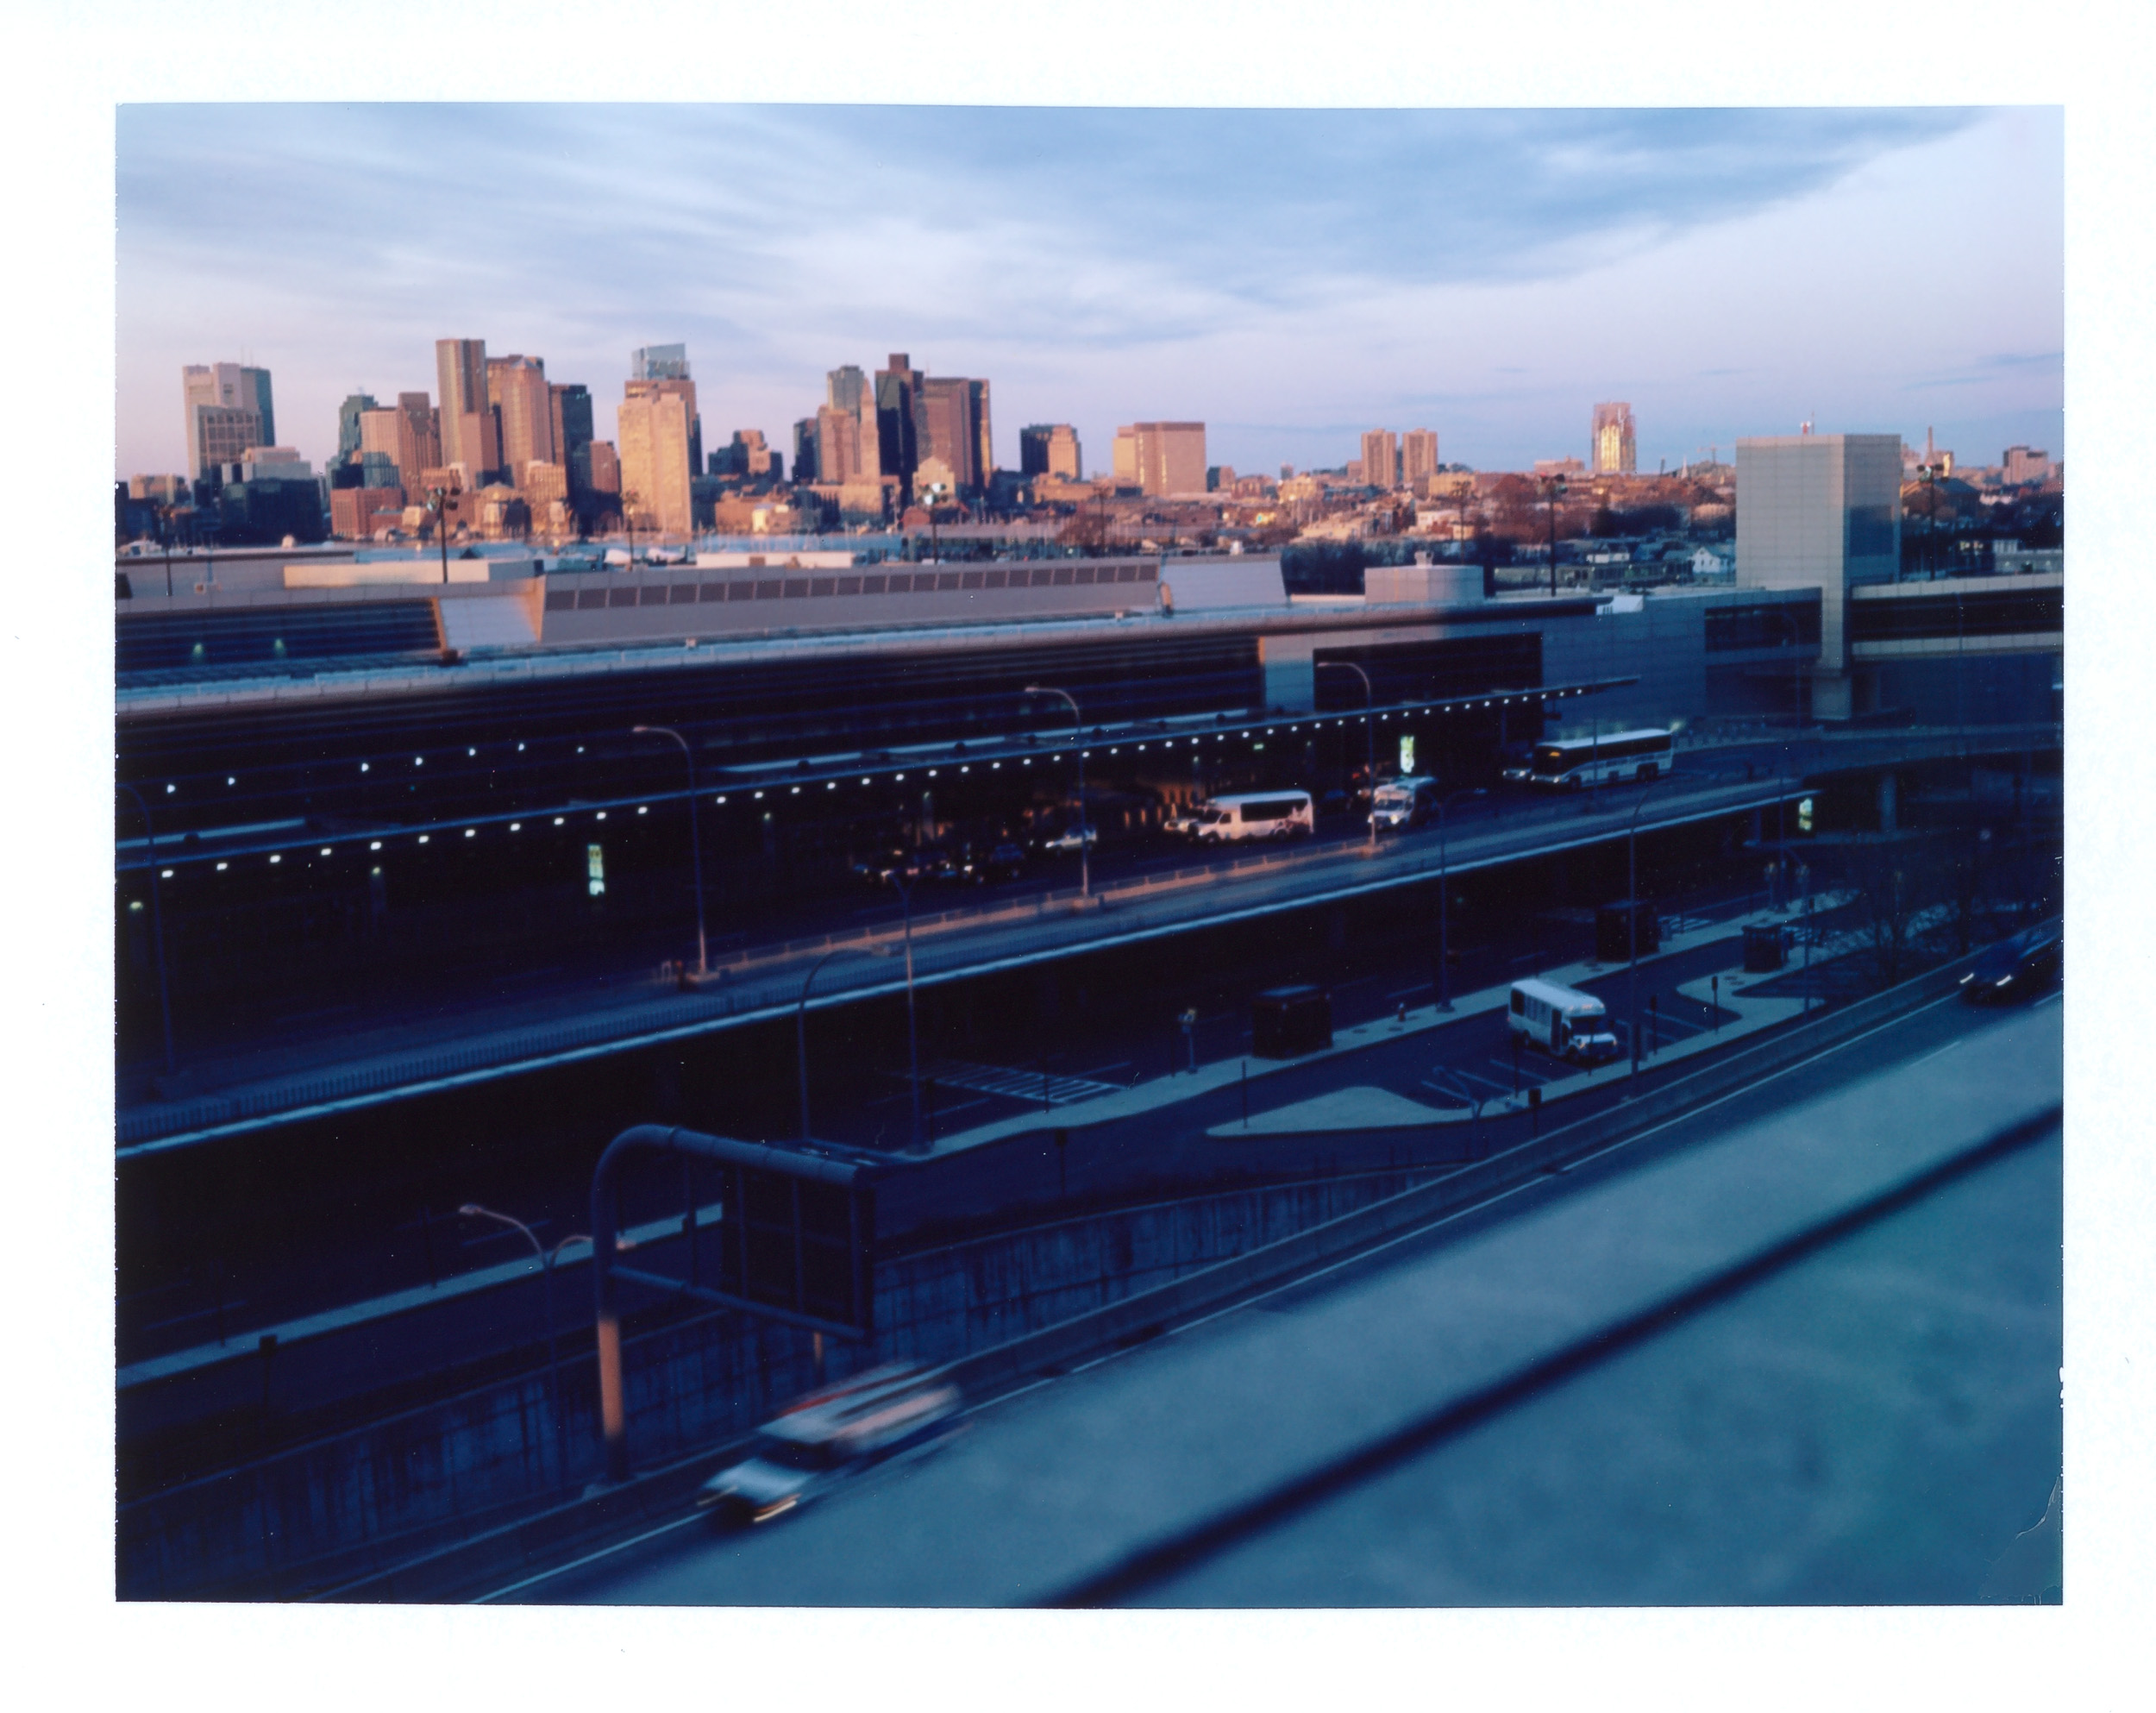
February Instant Photos
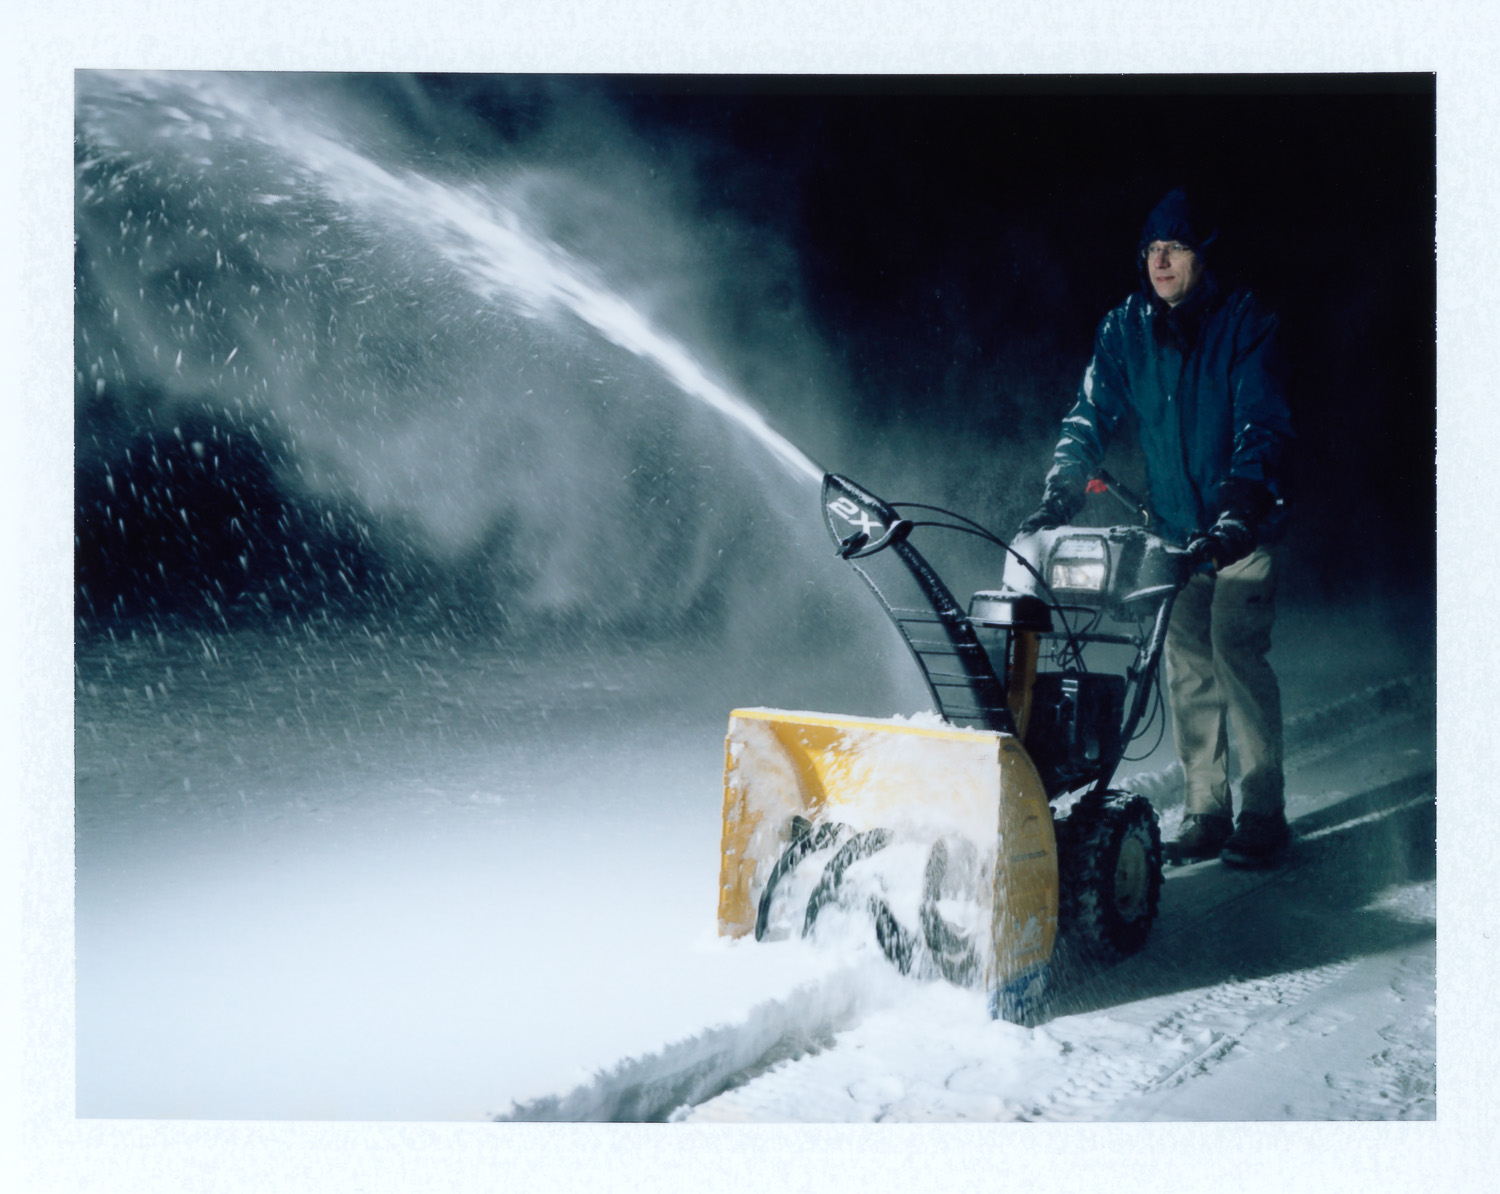
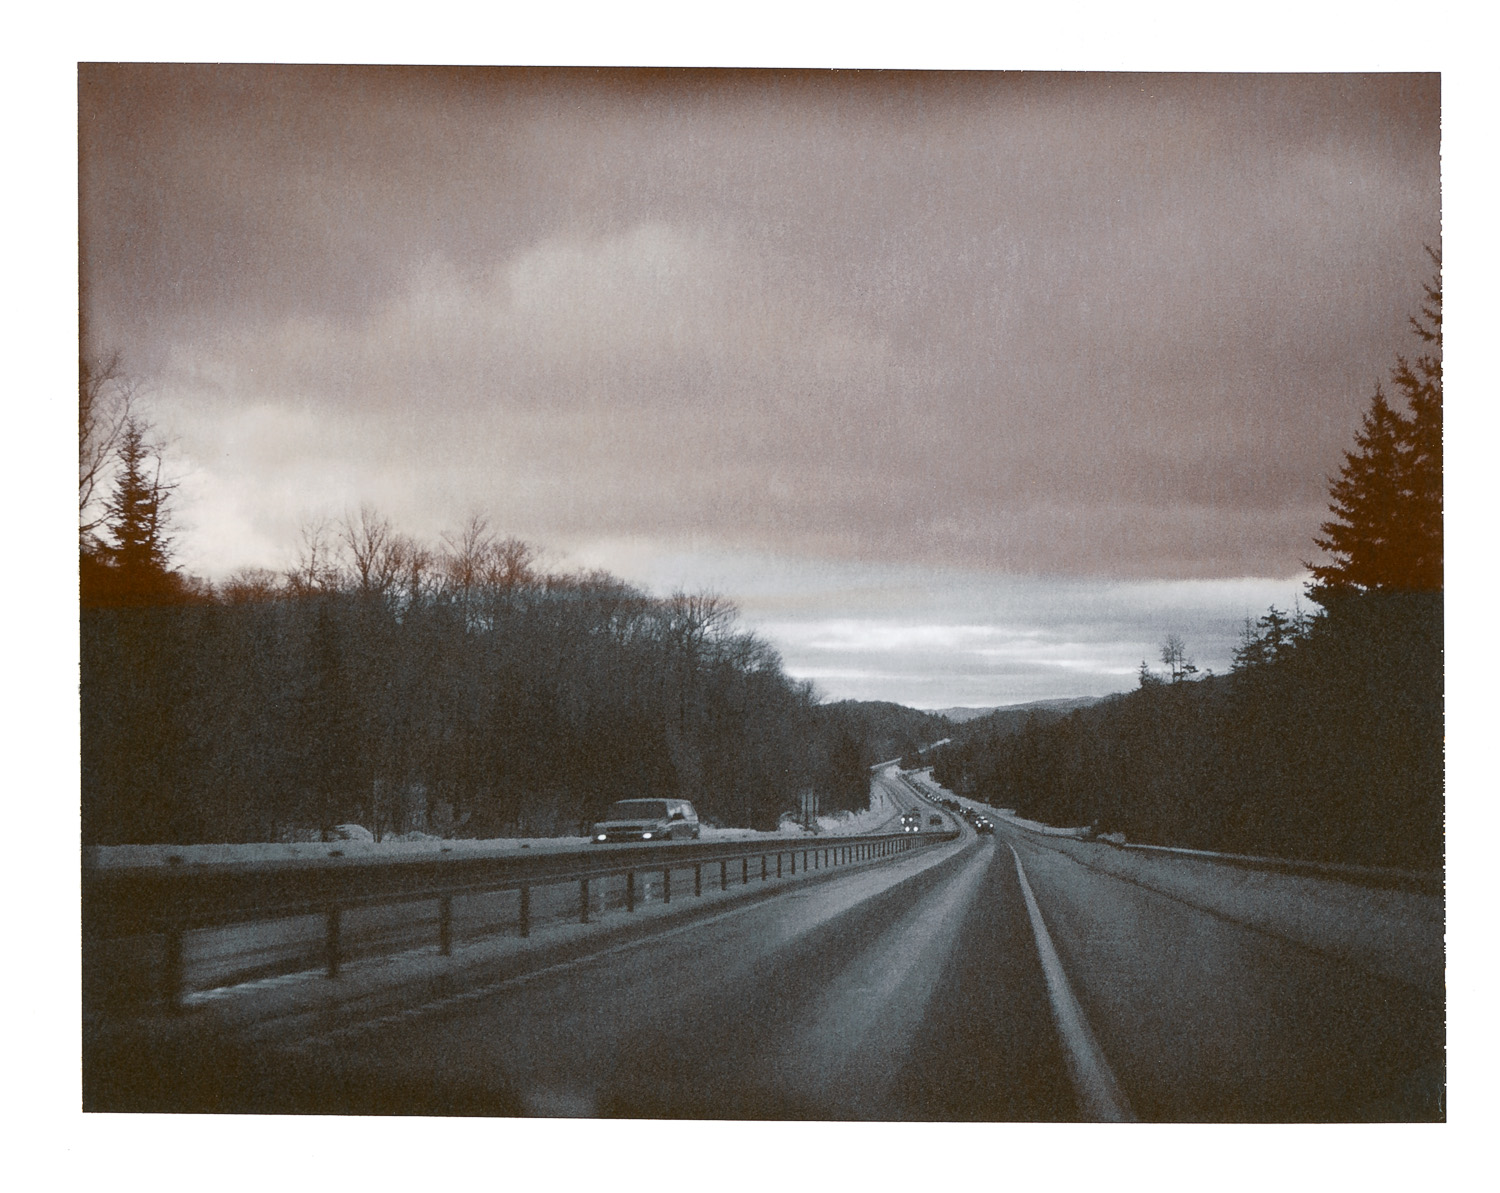
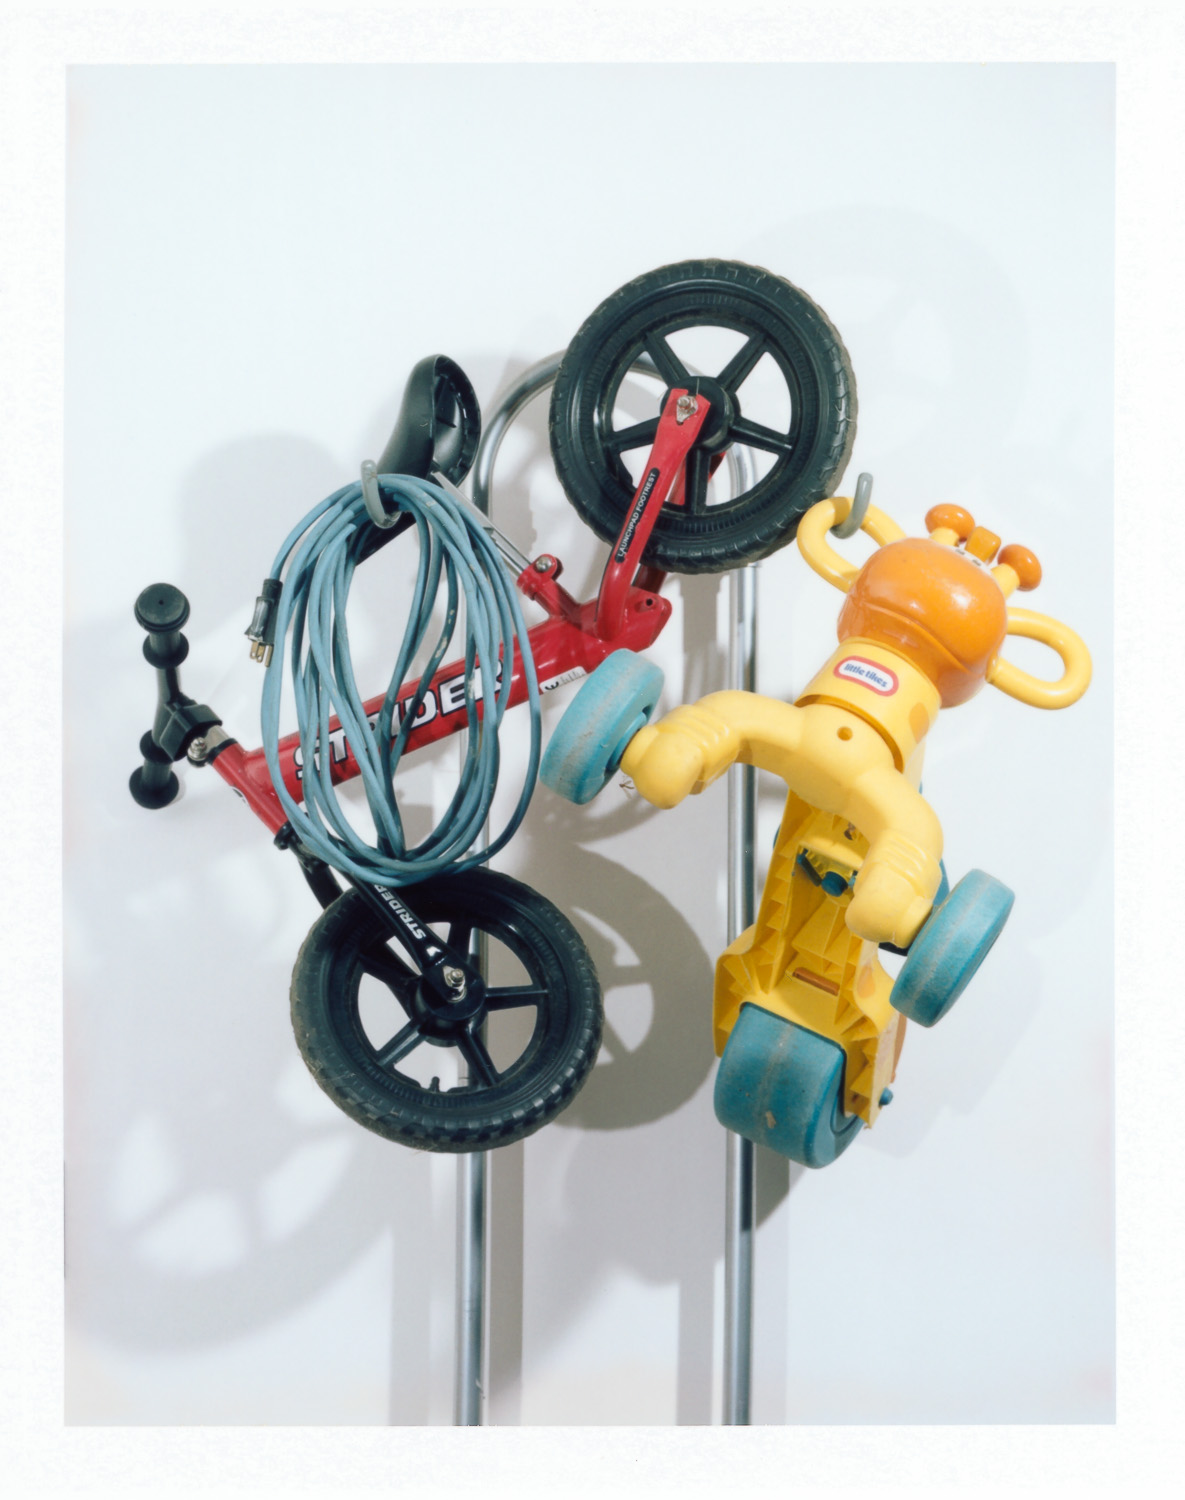
Here is a small selection of my favorite instant film photos taken in February 2016. We finally got some snow this winter!
The highway photo was taken in Franconia Notch, NH with expired Polaroid Sepia film. It wasn't working too well anymore: one of the two chemical pouches must have gone bad, so only the upper half (with the sky) actually has a sepia tone. I kind of like the effect, though.
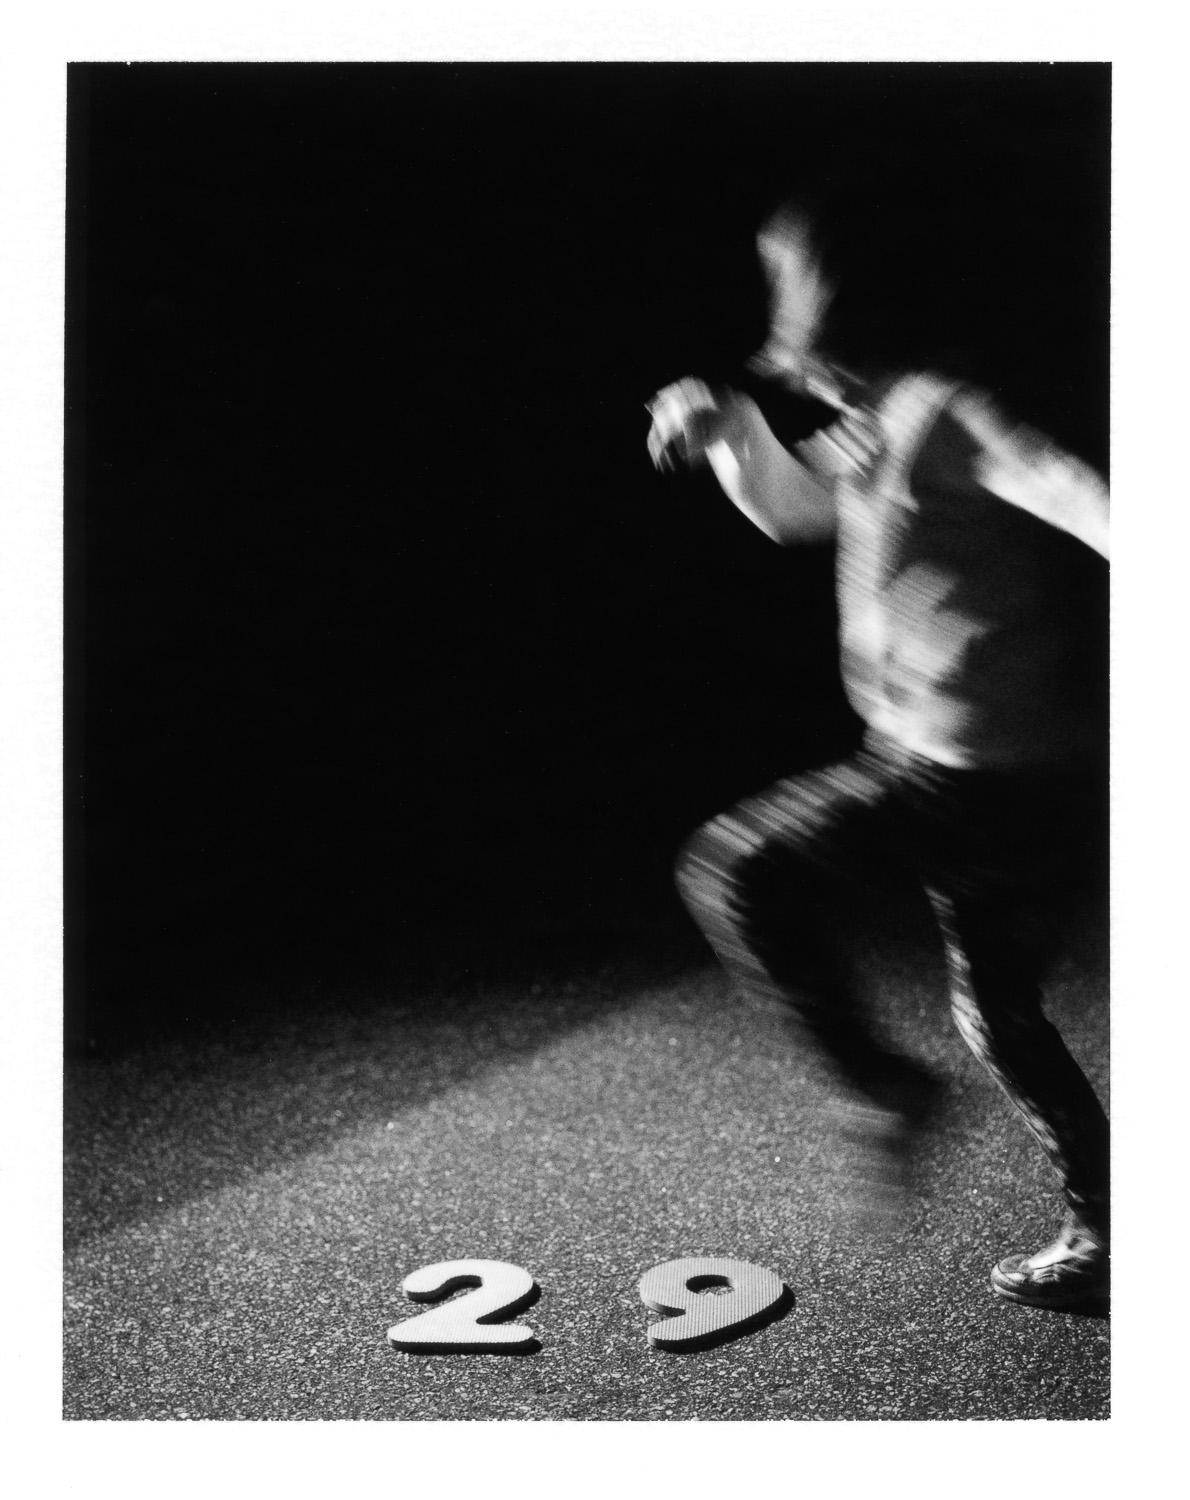
The last photo was taken on February 29th: leap day!


The Year of Instant Film
It's 2016 and I plan to take one instant film photo for every day of the year. I have done similar projects in the past in 2007 and 2011, but always with digital cameras. Now I am going to use vintage gear from the 1960's and 1970's. Chances are good these are going to fail with frequent use, so I will start out with a collection of three cameras, hoping that at least one will work at any point in time...
The film will be mostly Fuji FP-100c, the last peel-apart instant film (also known as "packfilm") still in production at the beginning of 2016. Sadly, in February, Fuji announced that they won't be making it any more and are now only selling off their existing stock. My fridge is loaded up, though. And I don't foresee any problem buying more during this year. It appears I picked an appropriate year for the project: the year packfilm is officially going away.
The other film I will use a lot is Fuji FP-3000b, which is a high-speed black & white film (ISO 3000). Fuji stopped production a while ago, but one can still buy recently expired boxes in various online stores.
My snapshot cameras are a Polaroid 440 and 450. The 400 series of packfilm cameras was the most recent one made by Polaroid. They are from the early 1970's and can use flashcubes. The 450 is the high-end model with a Zeiss Ikon combined viewfinder & rangefinder.
Both cameras are manually focused via their rangefinder but have an "electric eye" for automatically controlling the exposure time. This is done via very simple analog circuitry and works surprisingly well. I keep the 440 loaded with black&white and the 450 loaded with color film.
The Graflex "Super Graphic" large format camera came on the market in 1958, though I believe my model was produced in the early 1960s. It can accept a packfilm holder instead of the usual 4x5 sheet film, and so that is my third camera for this project.
It's a professional camera with interchangeable lenses and full manual control of everything. The only modern-day luxury is an electric shutter release, so one can push a button on the camera to take the picture instead of having to squeeze a cable release.
I'm using flashbulbs with this camera which do produce an amazing amount of light. The drawback is that one bulb is only good for a single shot, and there is no easy way to adjust the light output: exposure control is done by varying the distance to the subject or by varying the lens aperture.
And below is my favorite photo for the month of January, taken with the lowly 440 bought on eBay for $20. I have used the Polaroid "cloud filter" (an orange filter) to improve the sky/cloud contrast:

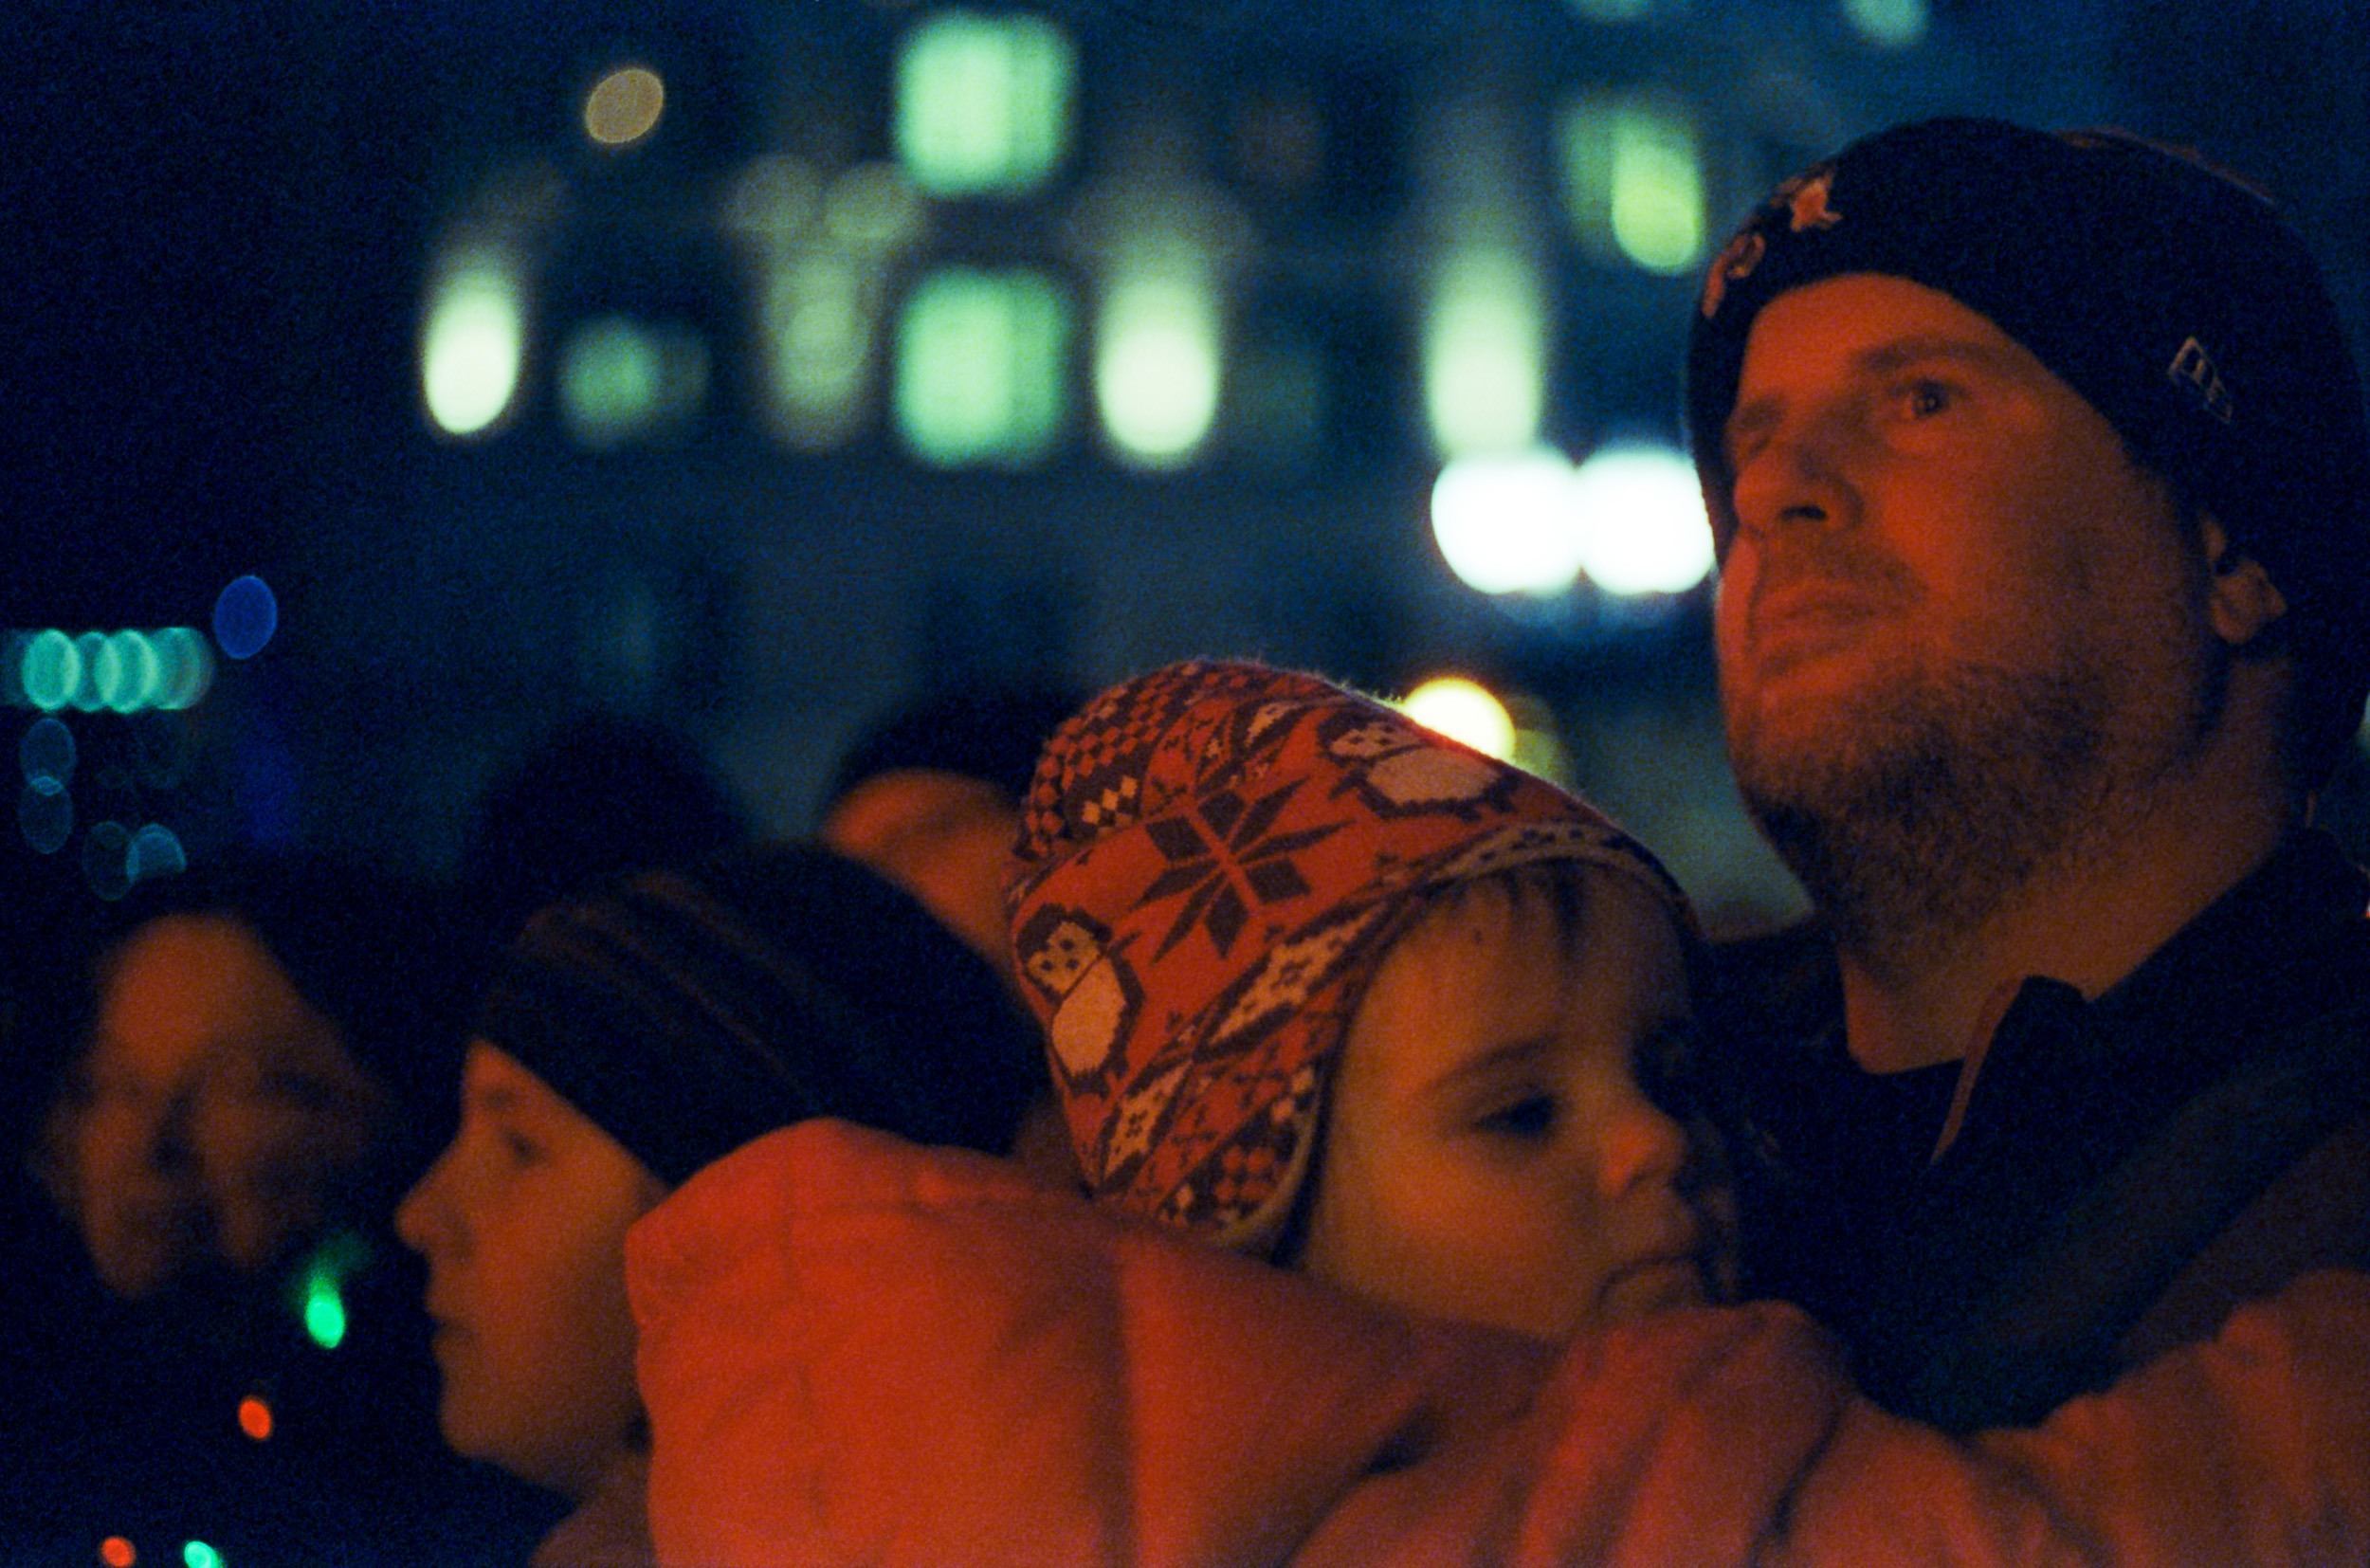
New Year's Eve
We went to First Night in Boston again this year and watched the 7pm family fireworks. I had one roll of CineStill 800Tungsten film in my camera (Leica M3 with 50mm Summicron lens). This is Kodak movie film with the black "rem-jet" layer removed, so it can be developed using the C-41 process like any other color negative film. But as a side effect, this film has no anti-halation layer. That can create a bright red halo when there is a point light source in the picture. When photographing the fireworks, I got plenty of that. It did create some rather surreal photos...


Halloween Wedding
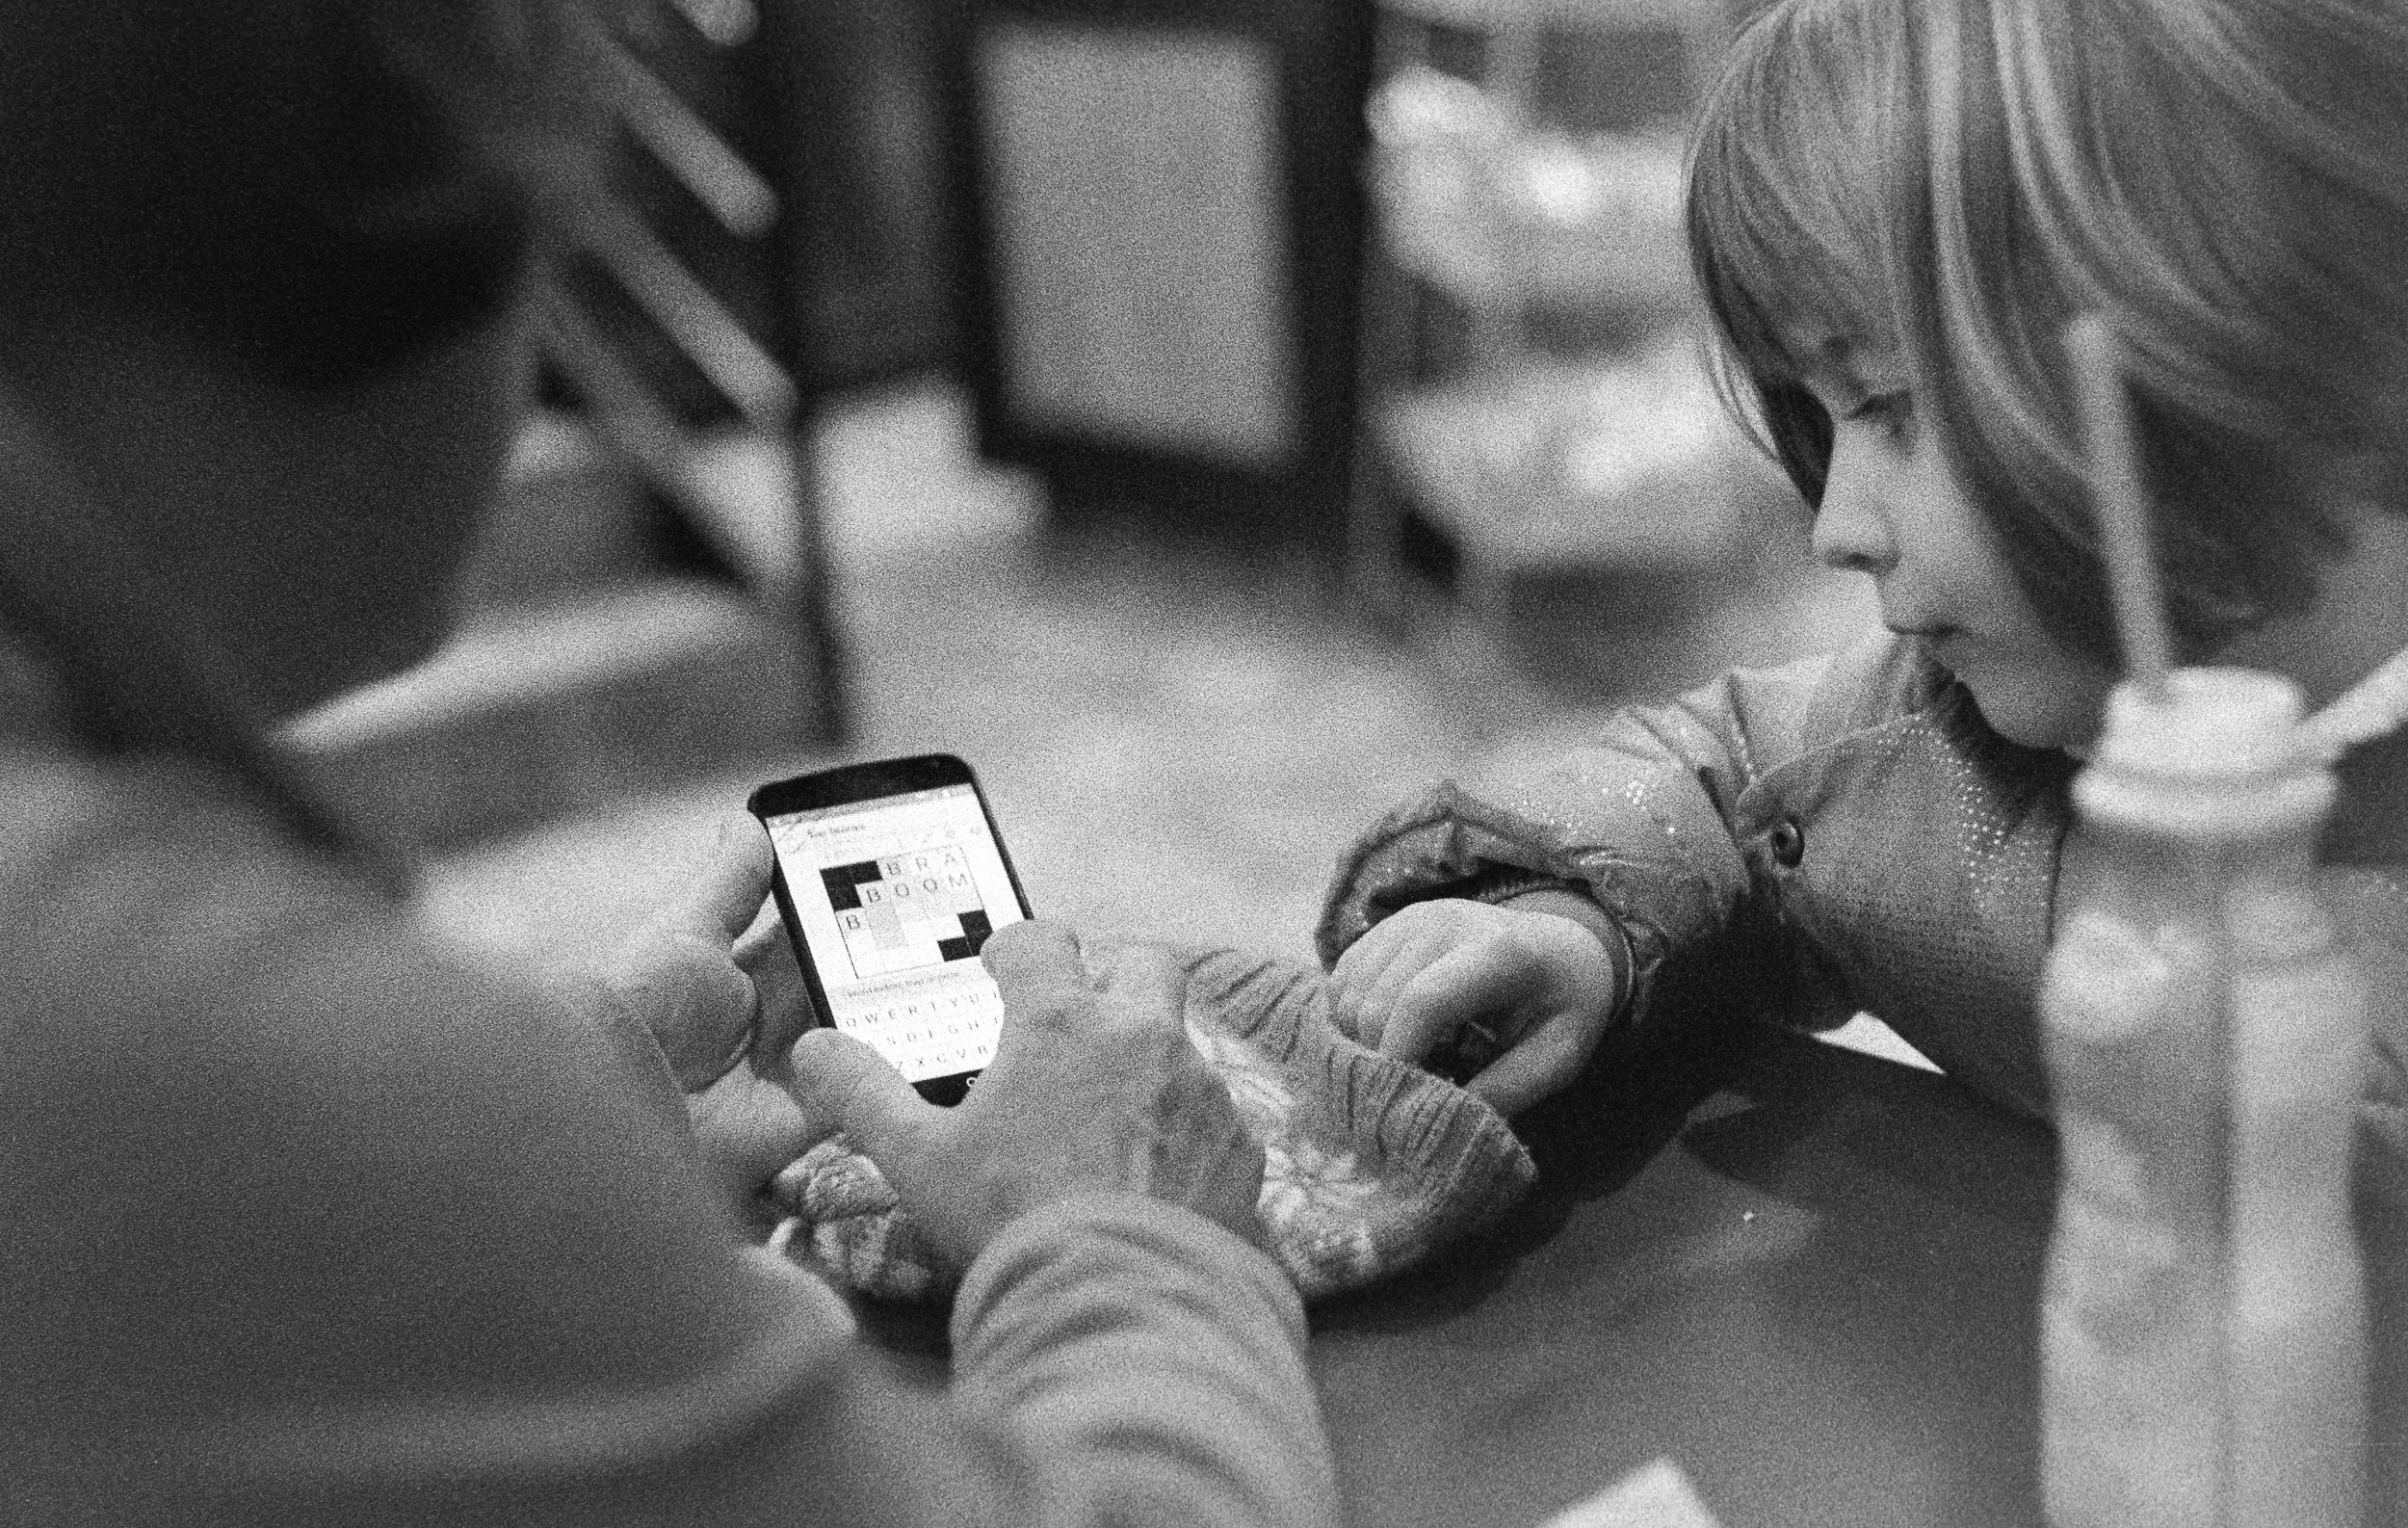
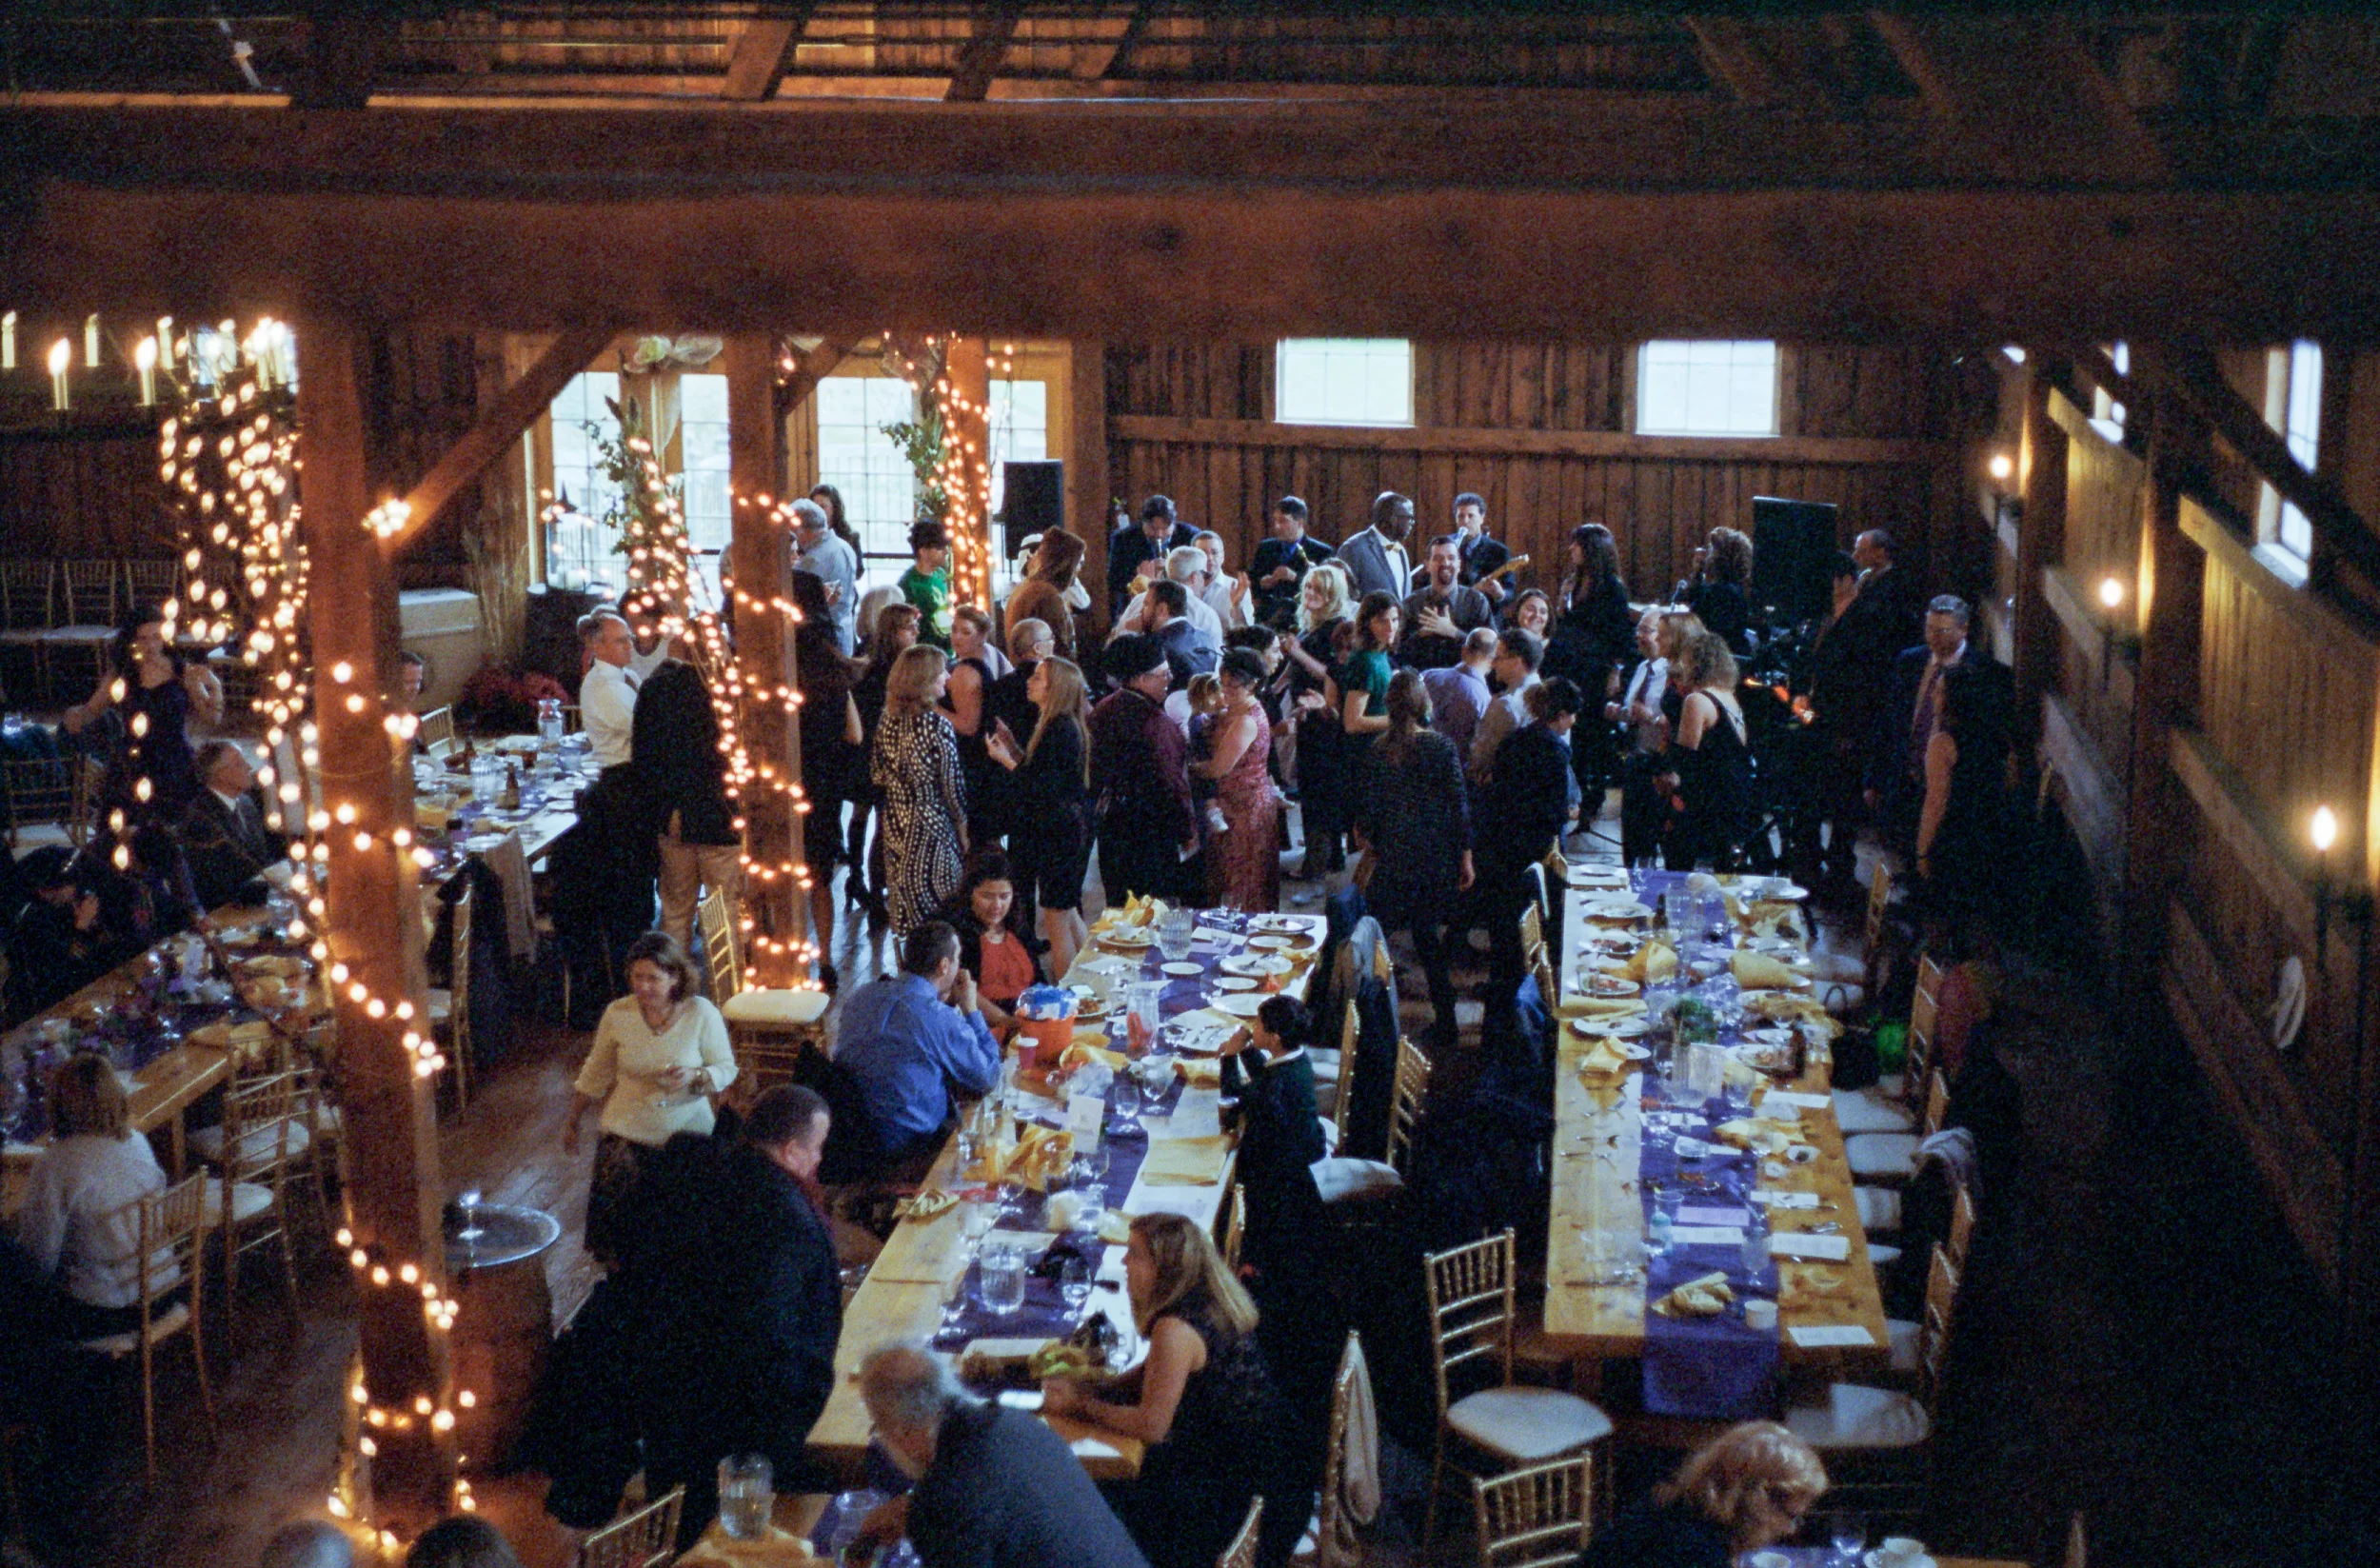
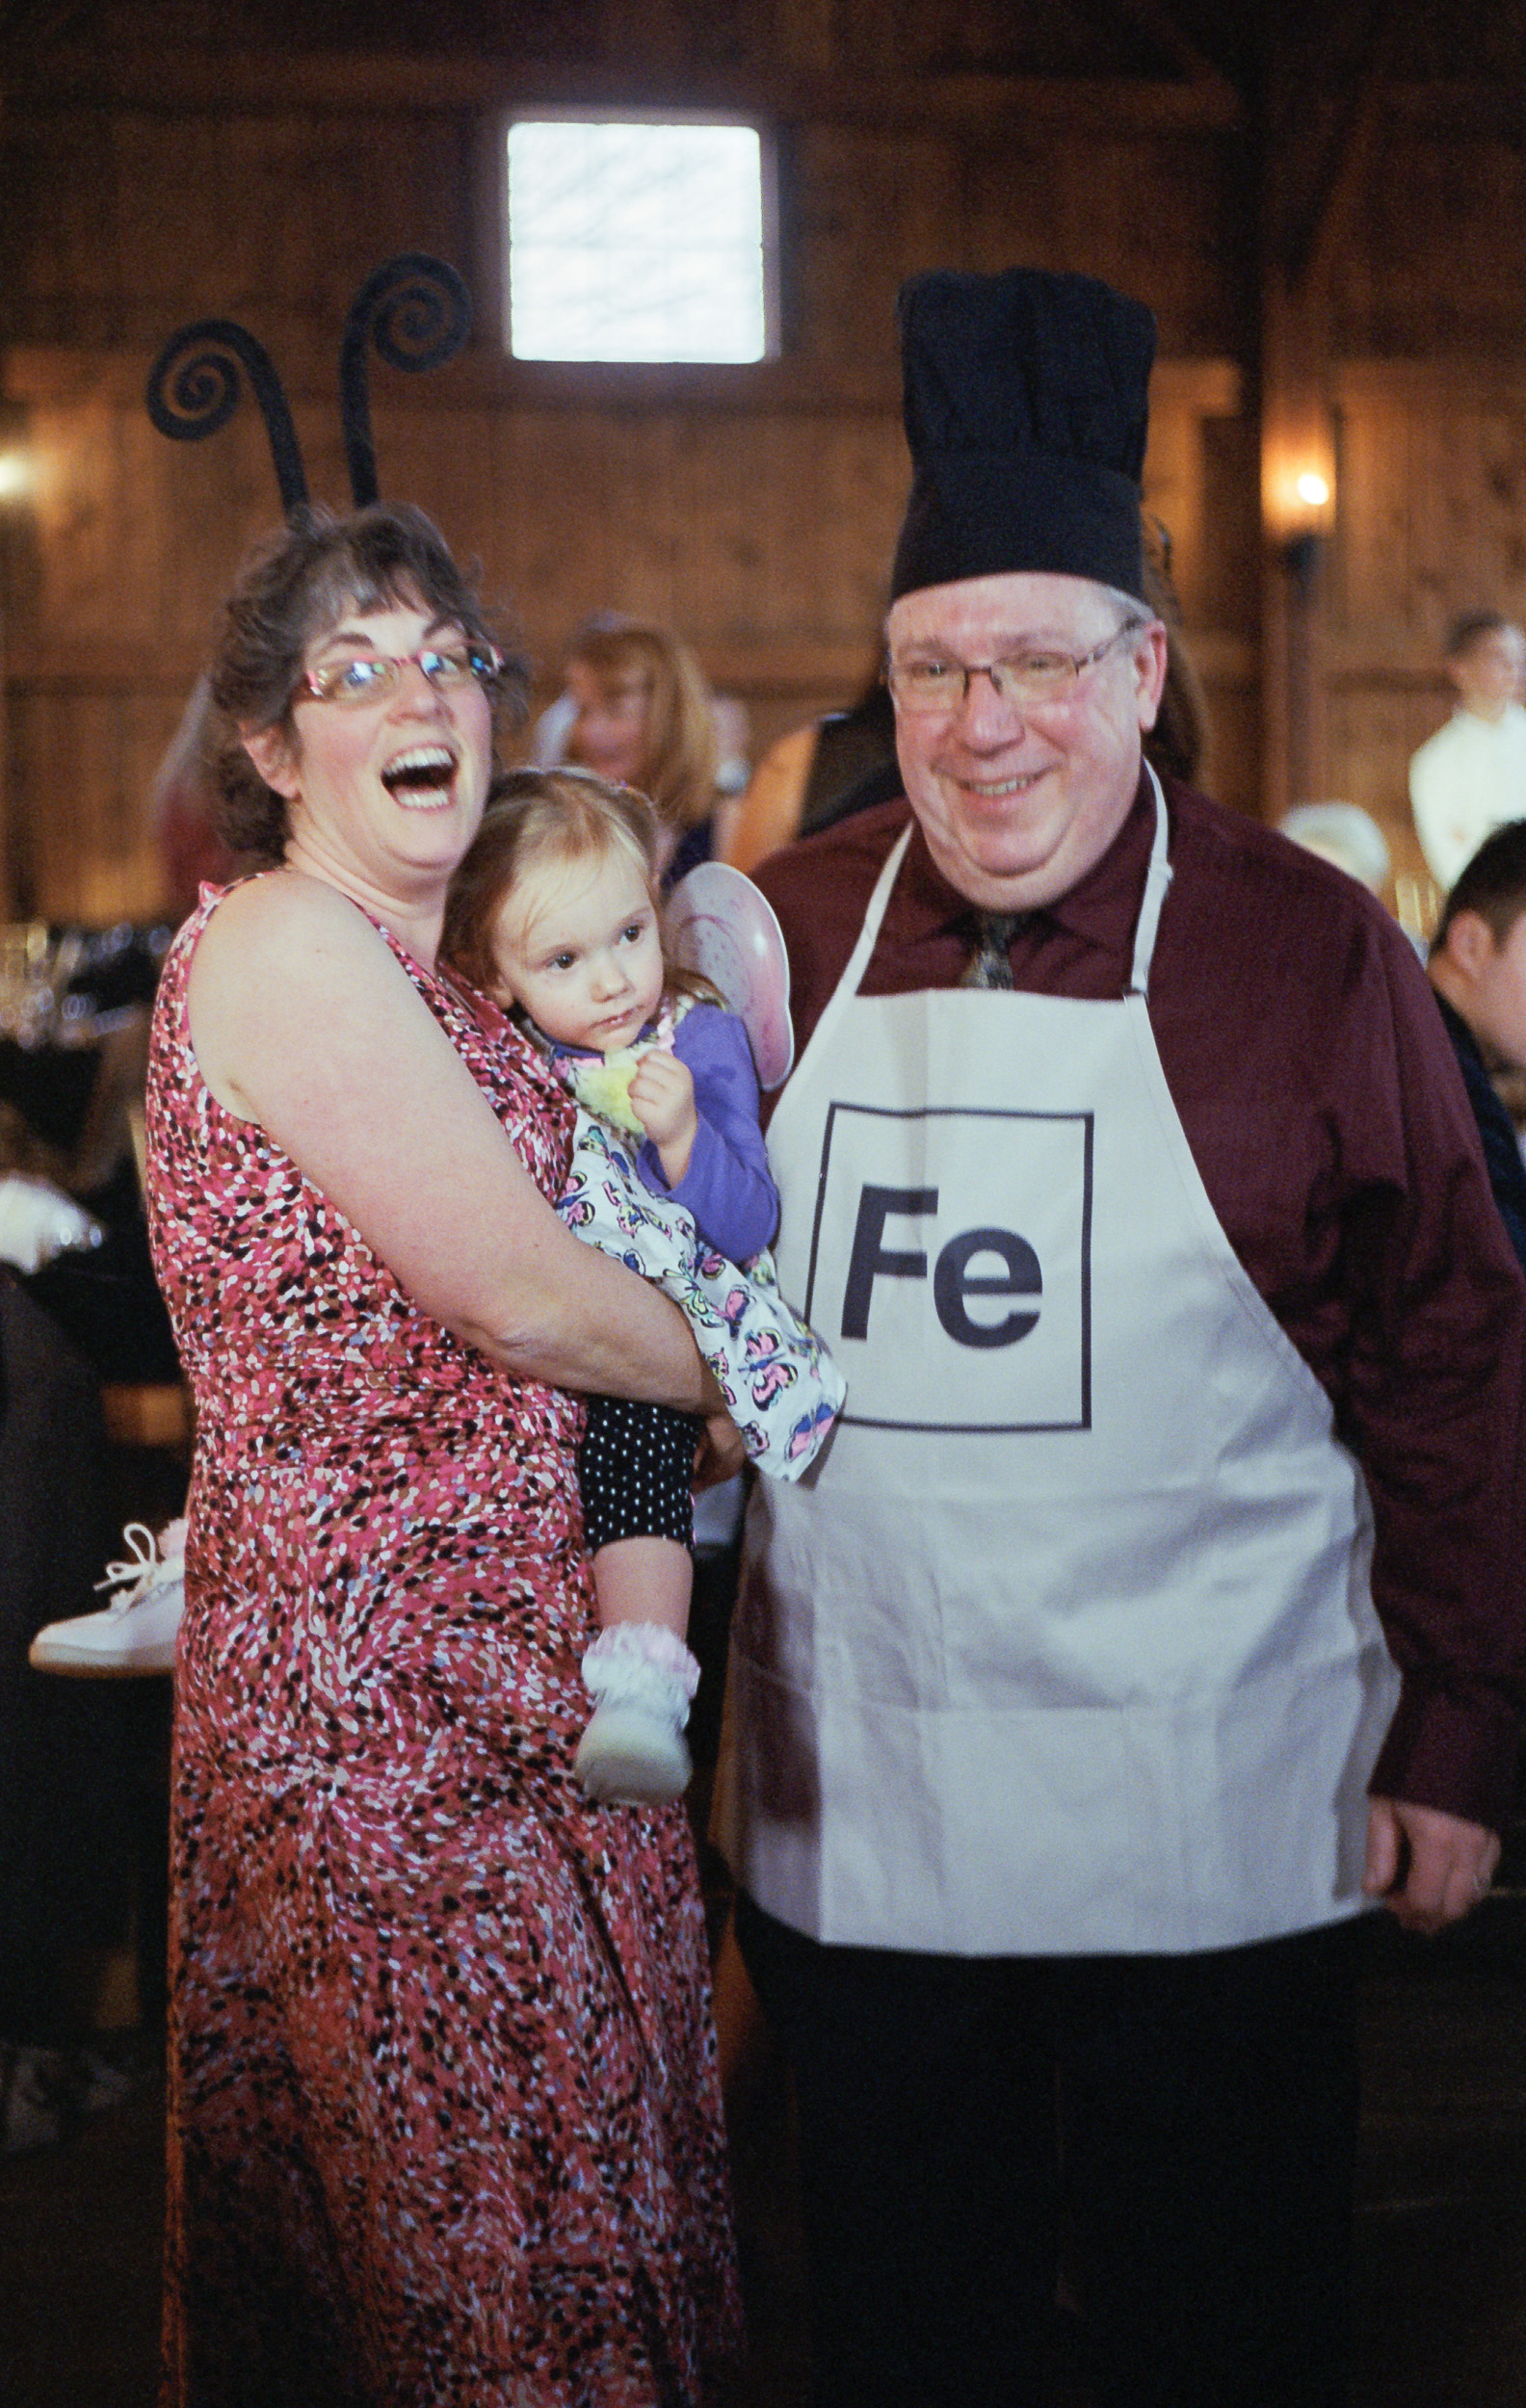
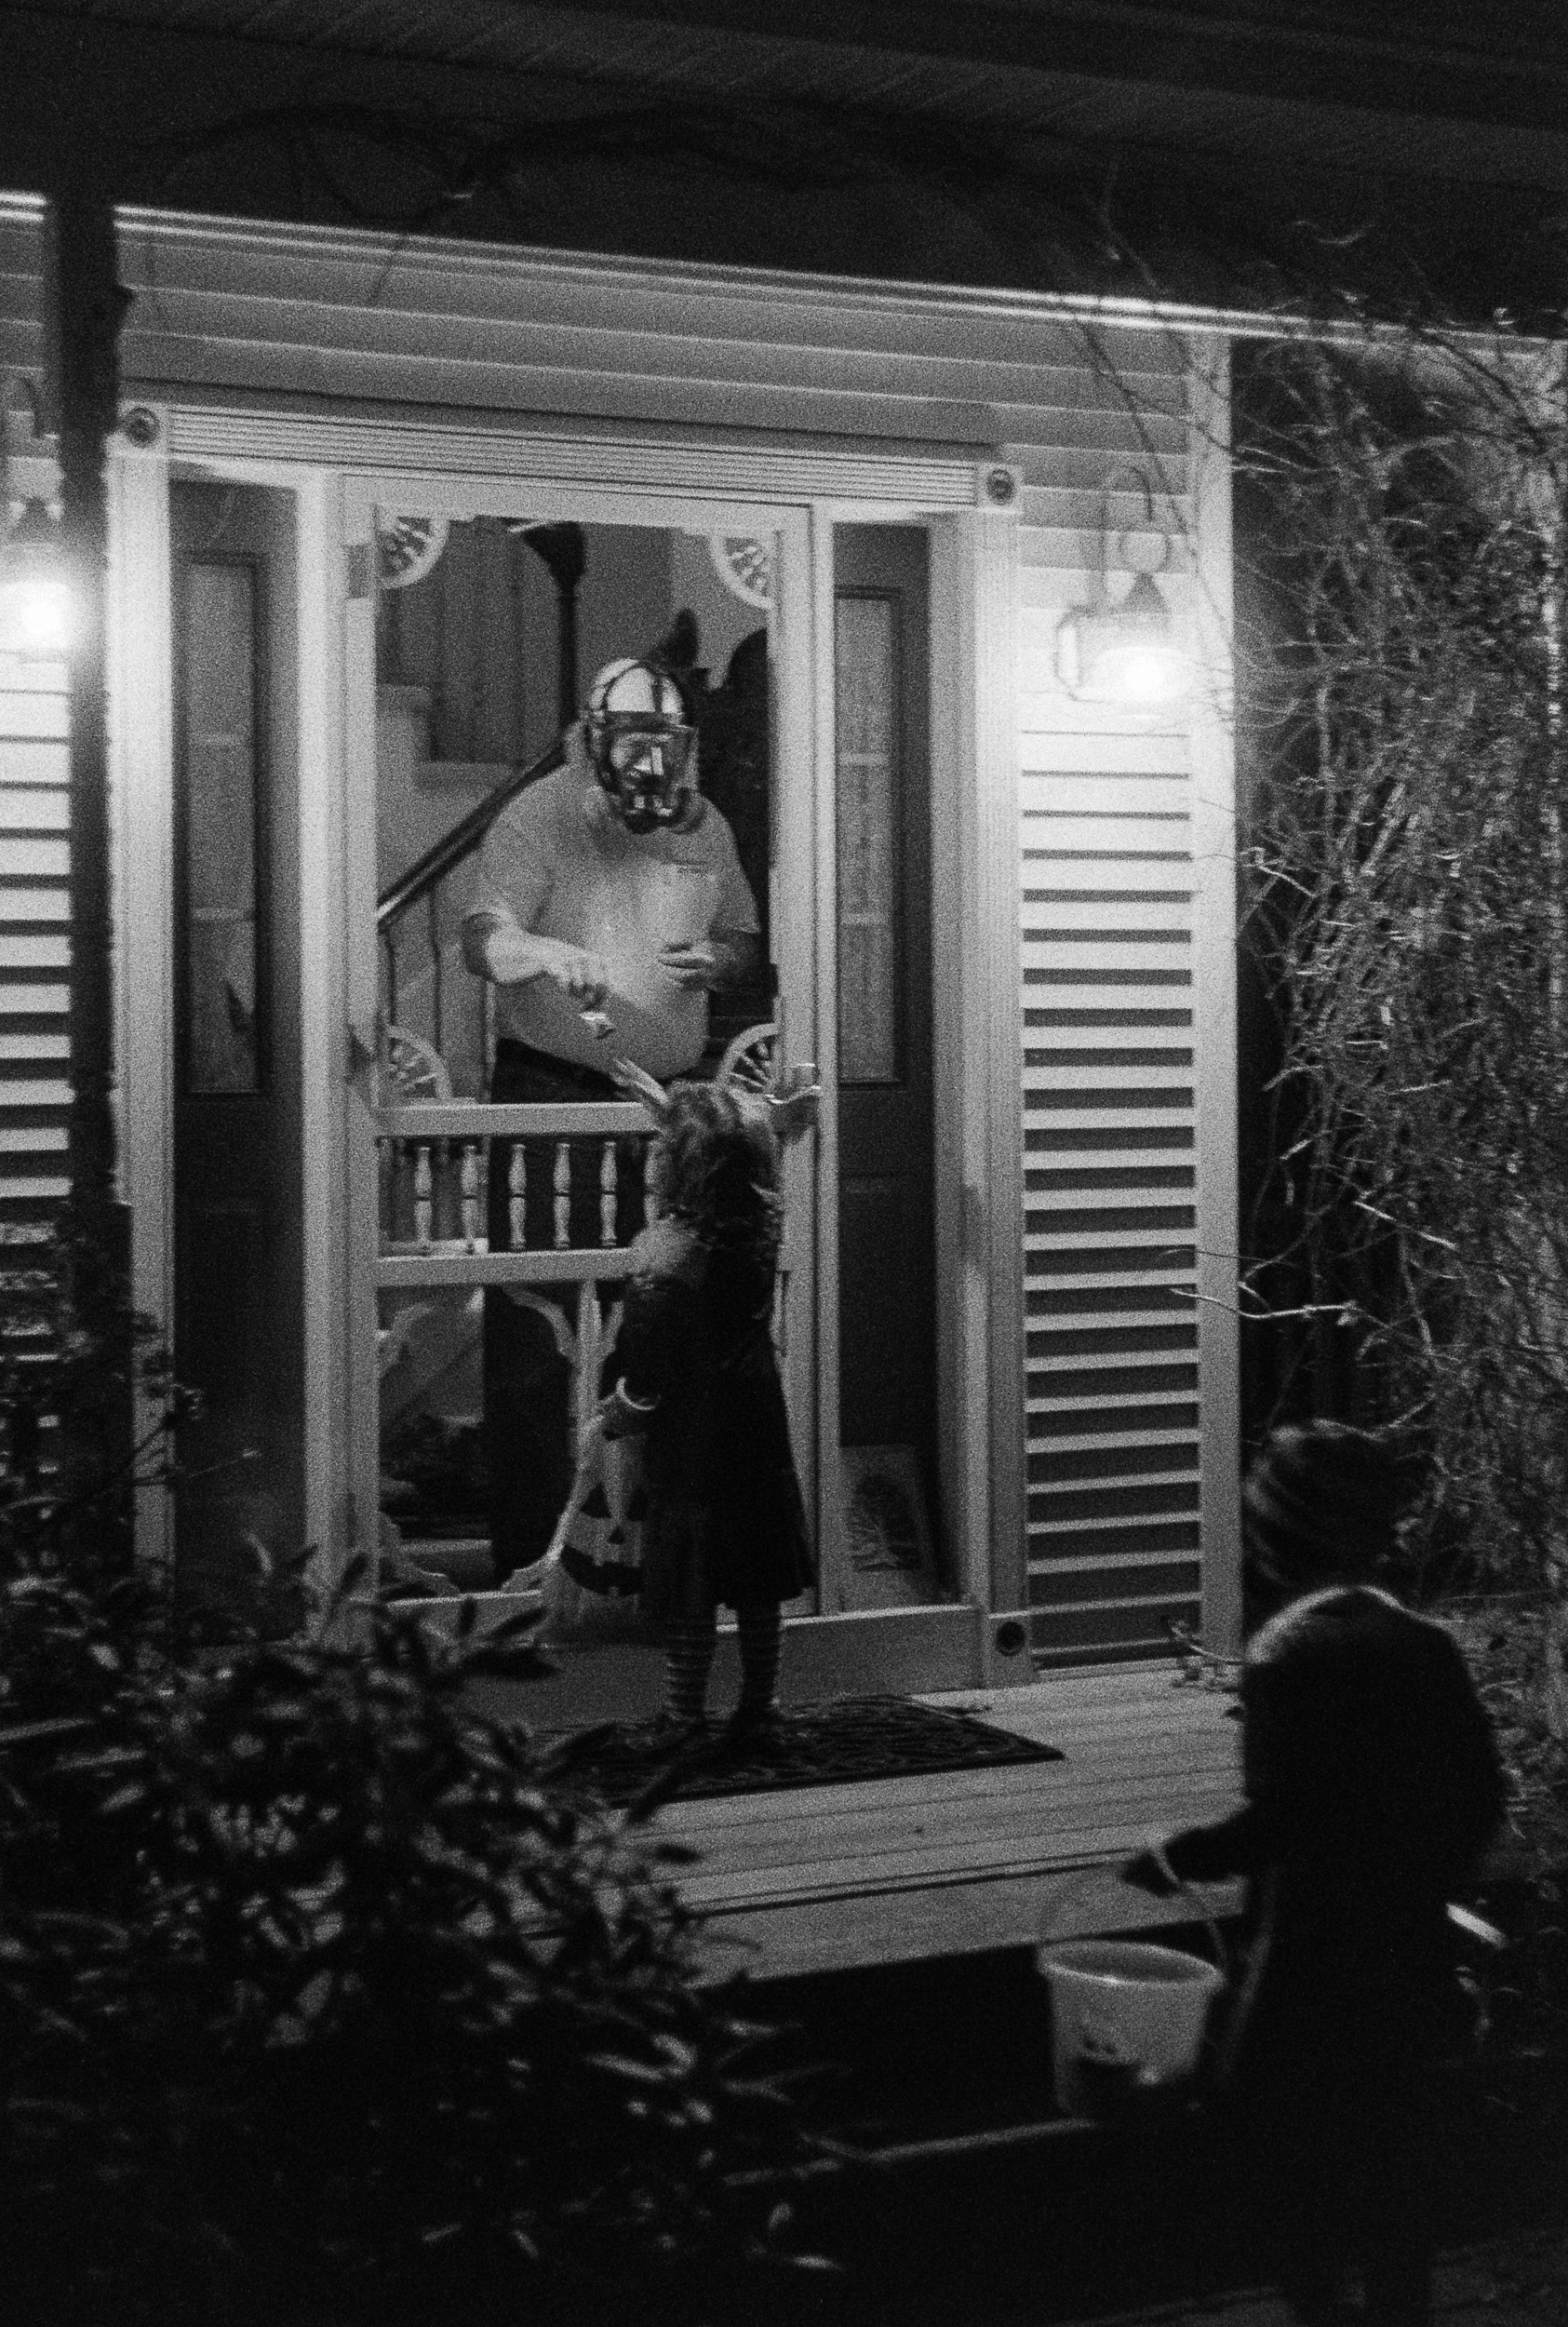
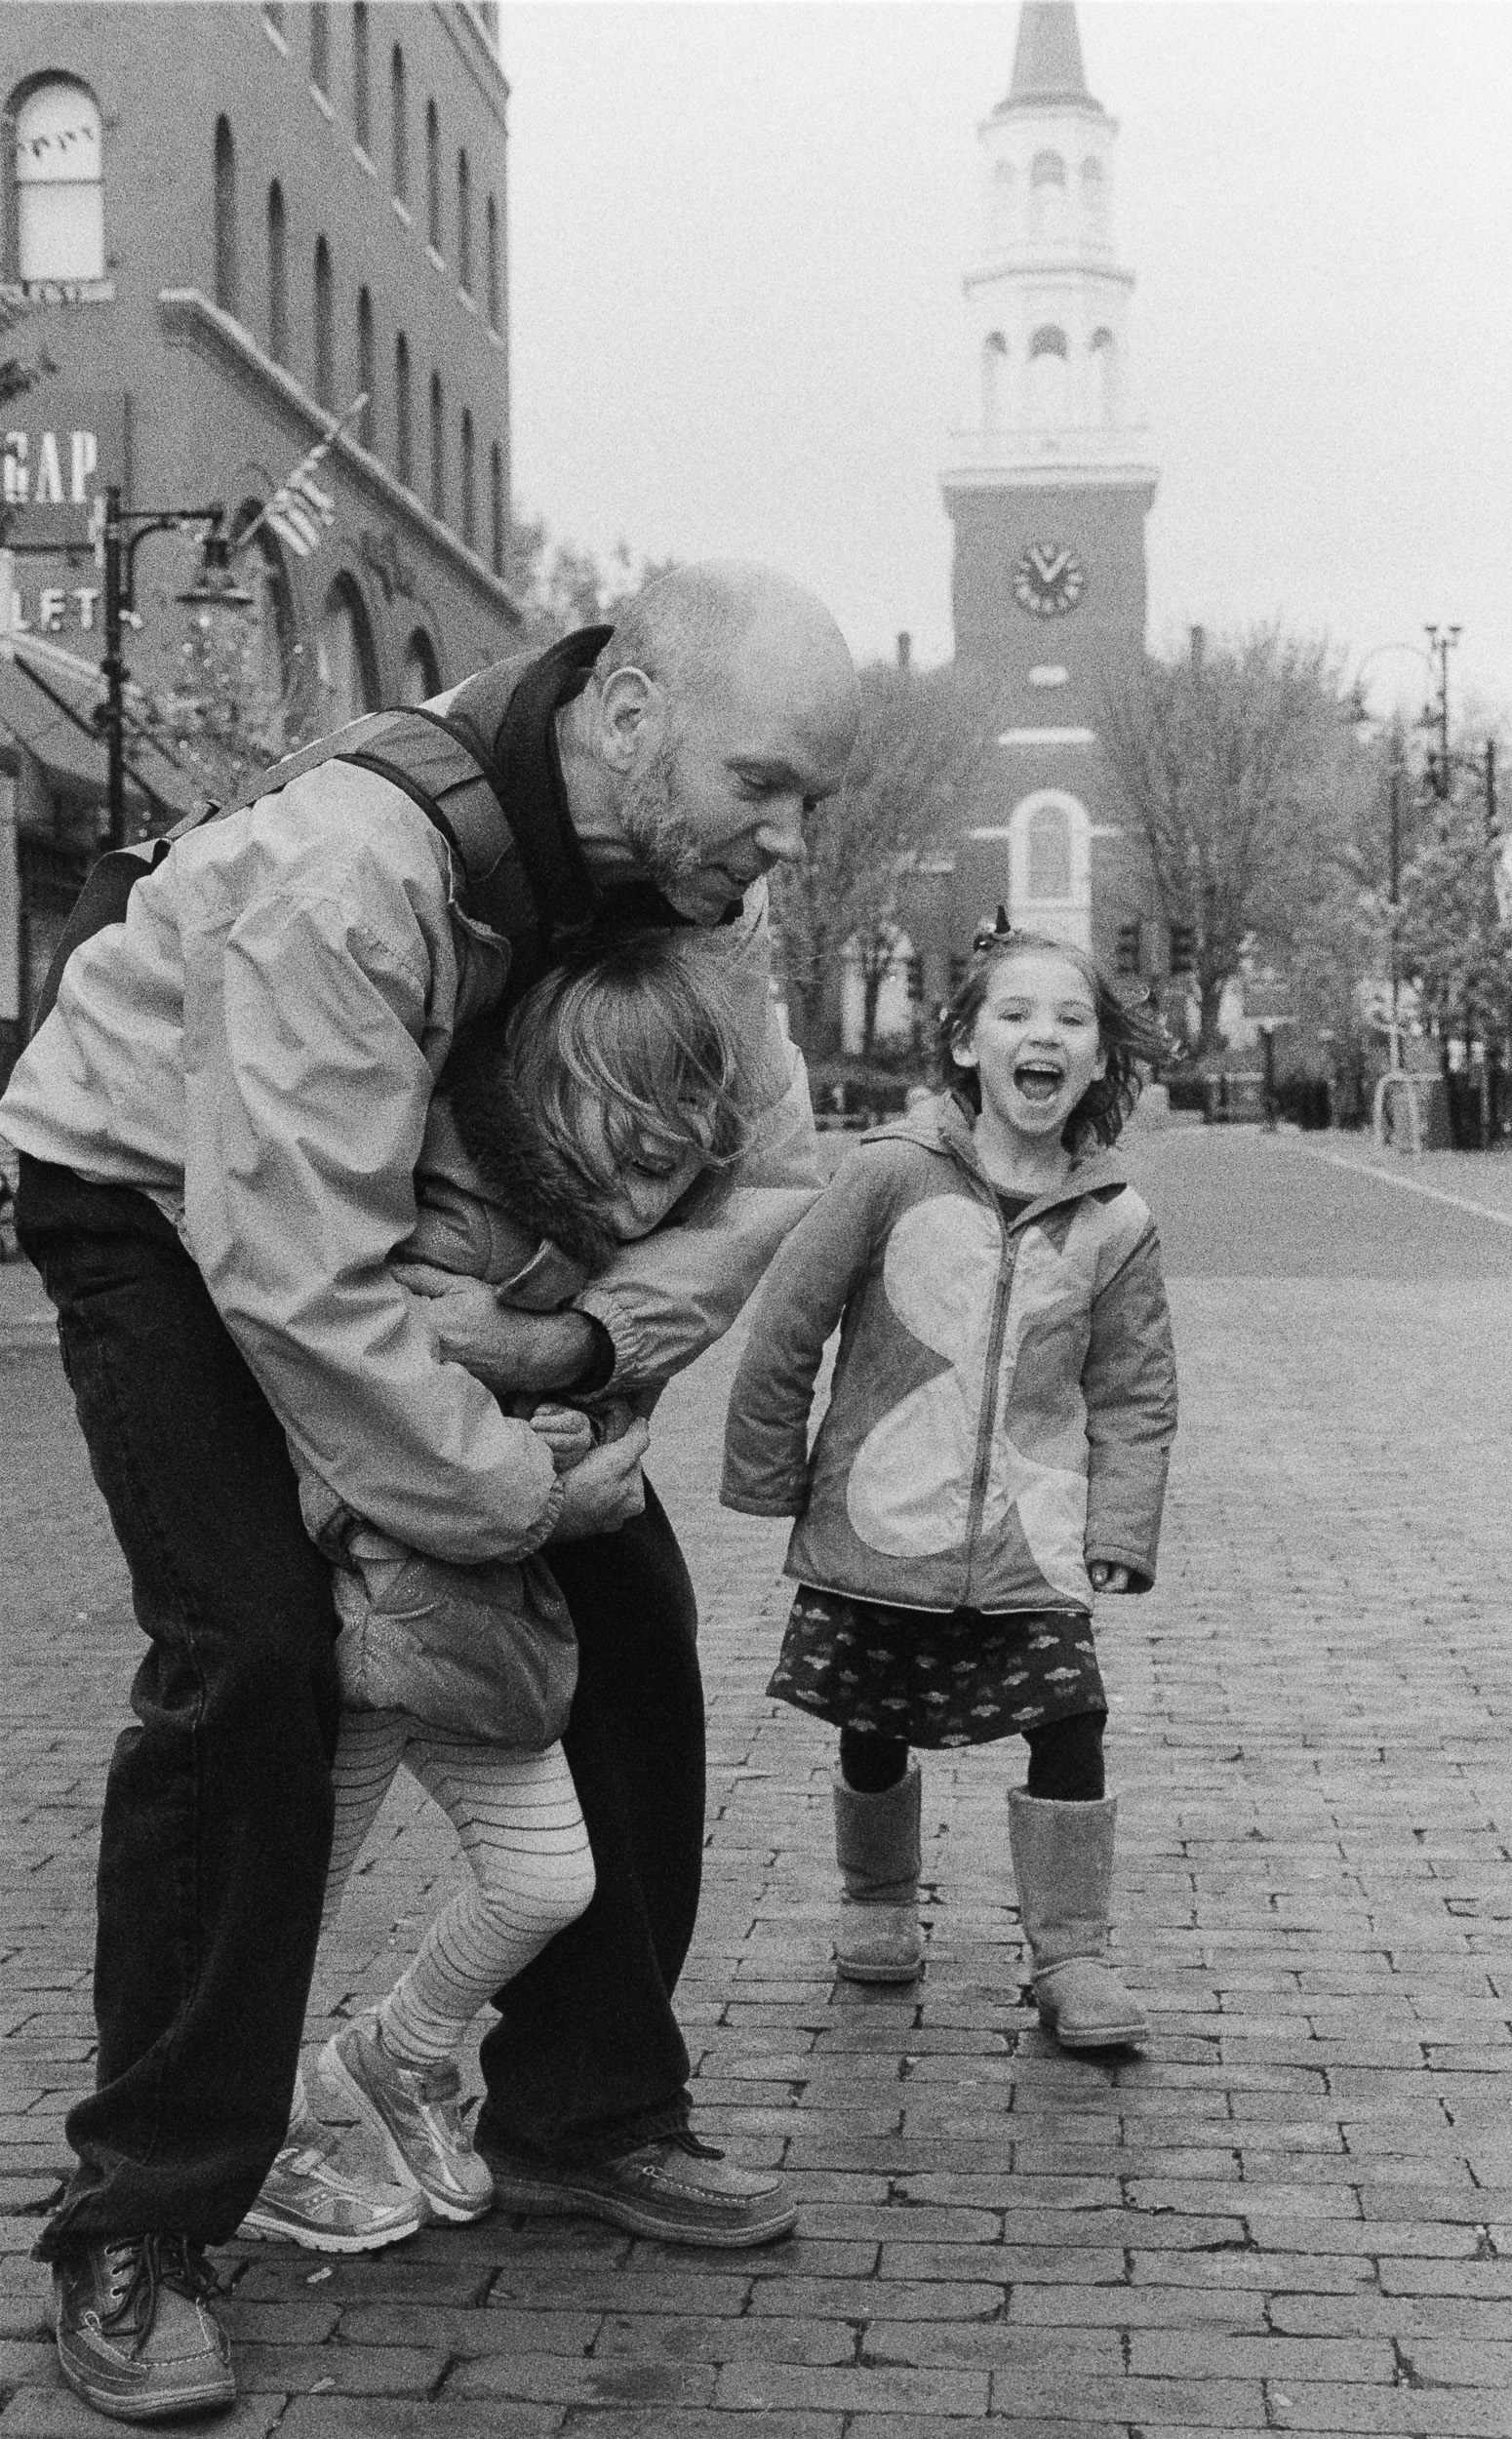
Over the Halloween weekend, we were invited to Sierra & Nick's wedding in Essex Junction, VT. Here is a random collection of photos from wandering around Burlington downtown, the wedding reception, and the trick-or-treating right afterwards.
A few days before this, I received the 90mm Summicron lens for my Leica M3. This lens was made in 1959 in Canada and I got it at a reasonable price from a guy in Portugal. So naturally I was excited to try it out. All photos taken with the Leica M3 on either Kodak Portra 400 color negative or Ilford Delta 3200 black&white film.


Super-Sized Sprocket Hole Photography
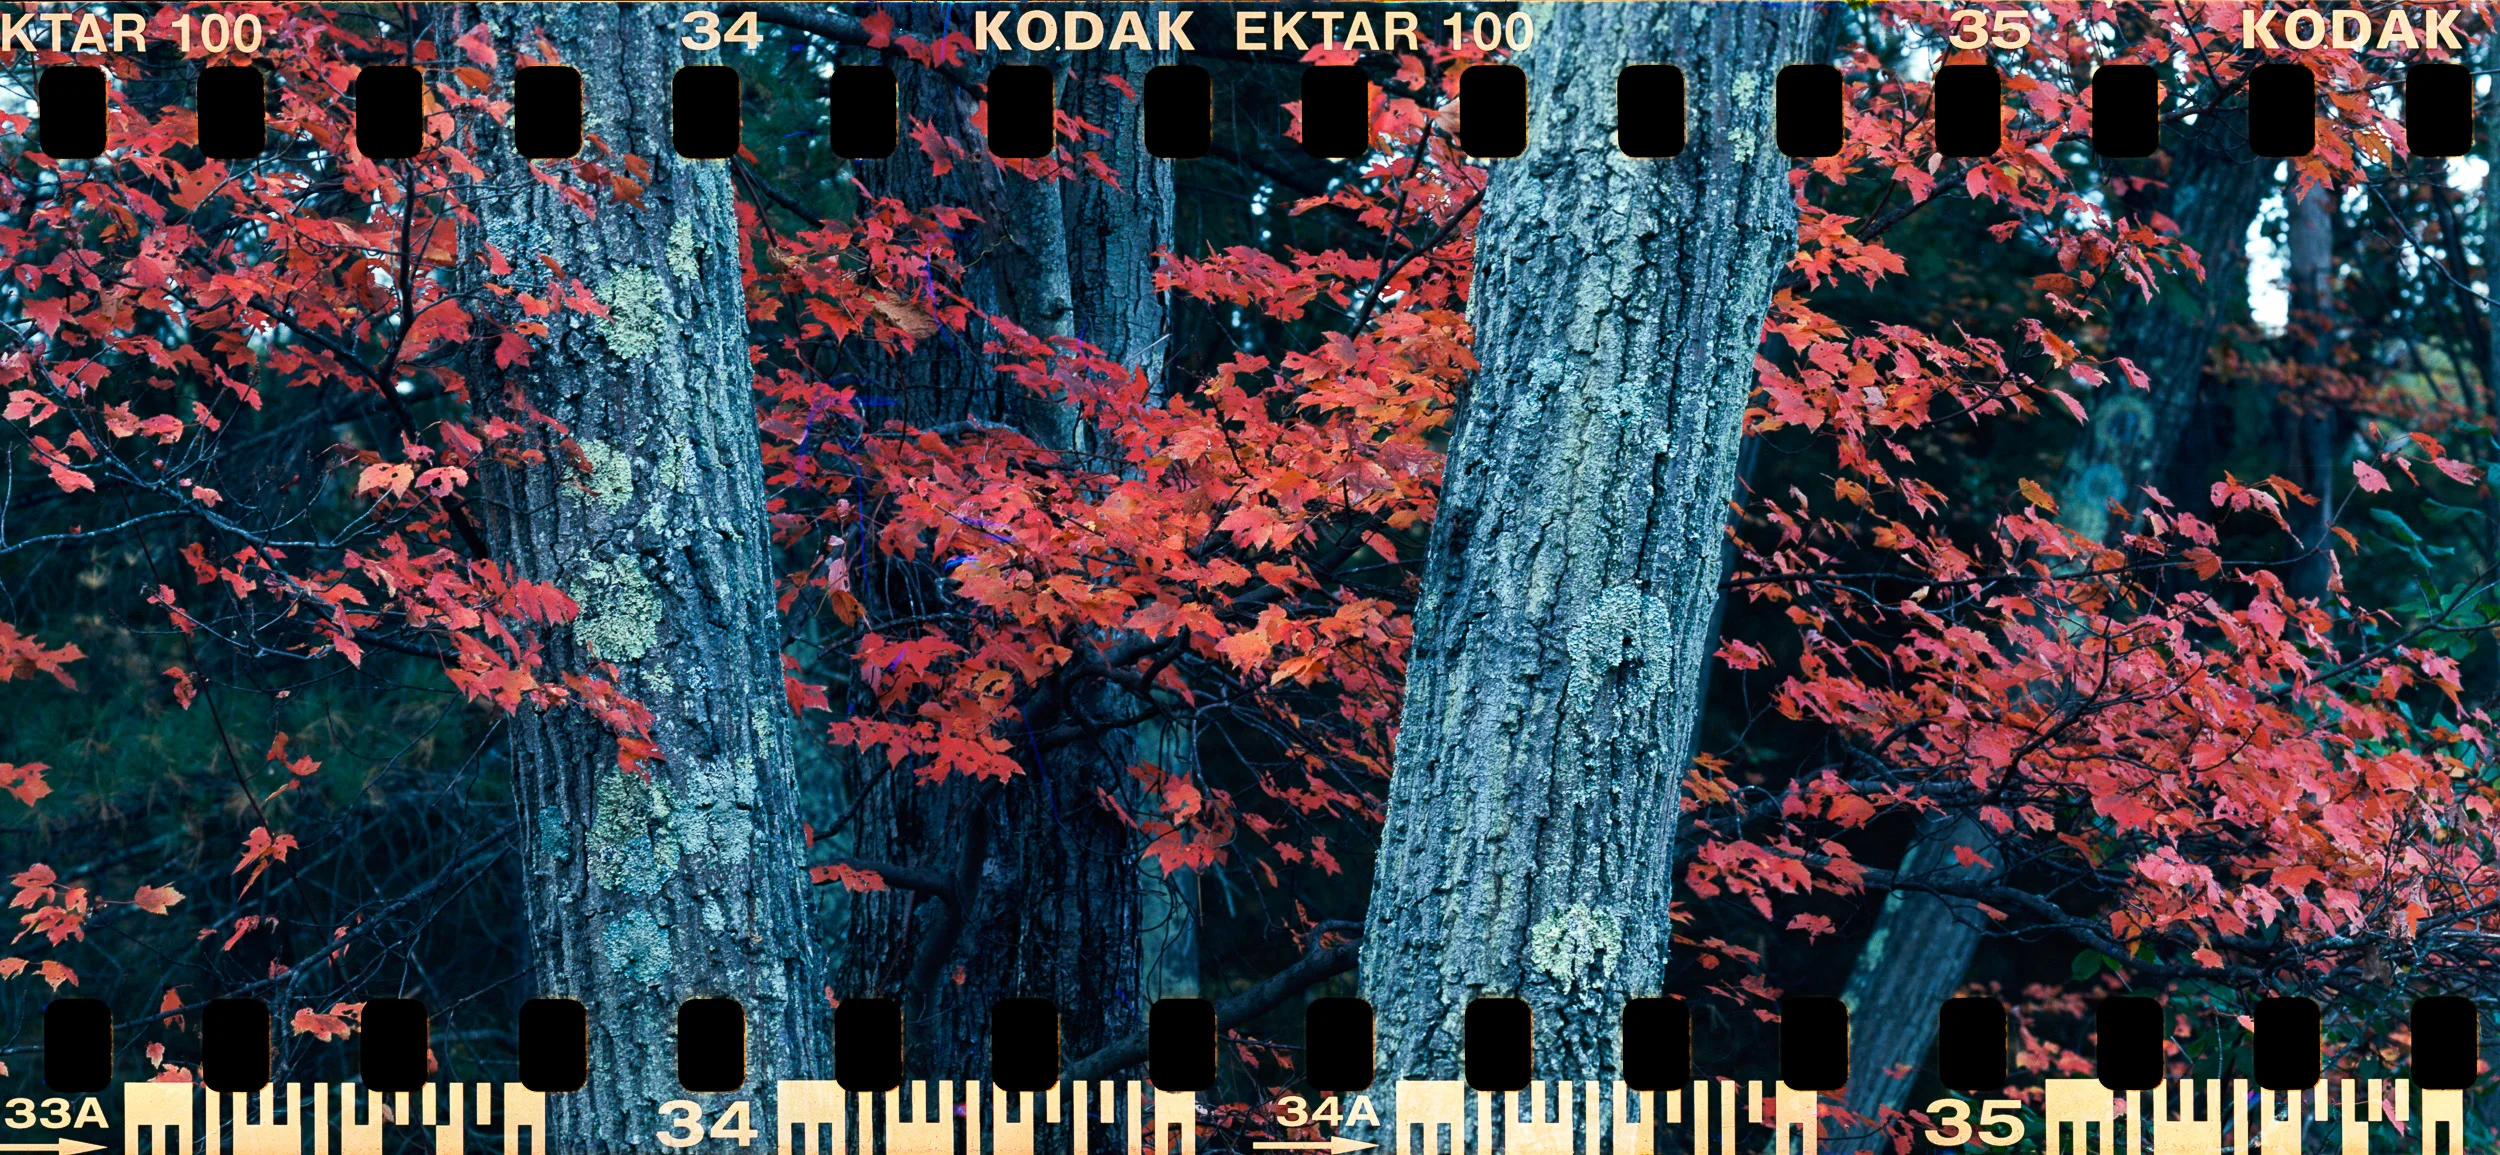
It's fall in New England and rather easy to find some nice scenery for taking photos. Though this time I decided to experiment and complicate things a bit. I wanted to include the film's sprocket holes as part of the picture area to achieve some nice framing effect. That's typically done by loading 35mm film into a medium format camera. So I found some 135 to 120 film format adapters on eBay that let me do that. Though then I also wanted to get as much of a panoramic effect as possible. That means my 6x6 medium format camera wasn't quite up to the task.
I happen to have a 6x9 roll film back for my Graflex Super Graphic large format camera. So the final setup was: Kodak Ektar 35mm film in a 120 film adapter in a 6x9 roll film back attached to a 4x5 large format camera! The nice thing about this is that I can shoot panoramic images with sprocket holes. And I can also use the front standard movement of the Super Graphic camera to move the focus plane to where I need it. I typically used front tilt to get both the foreground and background elements in focus.
As shown on the setup photo above, I created templates for both the ground glass and the "sports finder" of the camera to show me the actual area of the image.
Below are my favorites from the one roll of film I shot last Sunday while exploring some conservation land areas in Andover, MA.


Hersheypark
Photos from our August 2015 family trip to Hersheypark and Gifford Pinchot State Park in Pennsylvania. All taken with my father's old Mamiya C330 medium format camera and Ilford HP5 Plus black&white film.


