Dry Plates in Letchworth State Park

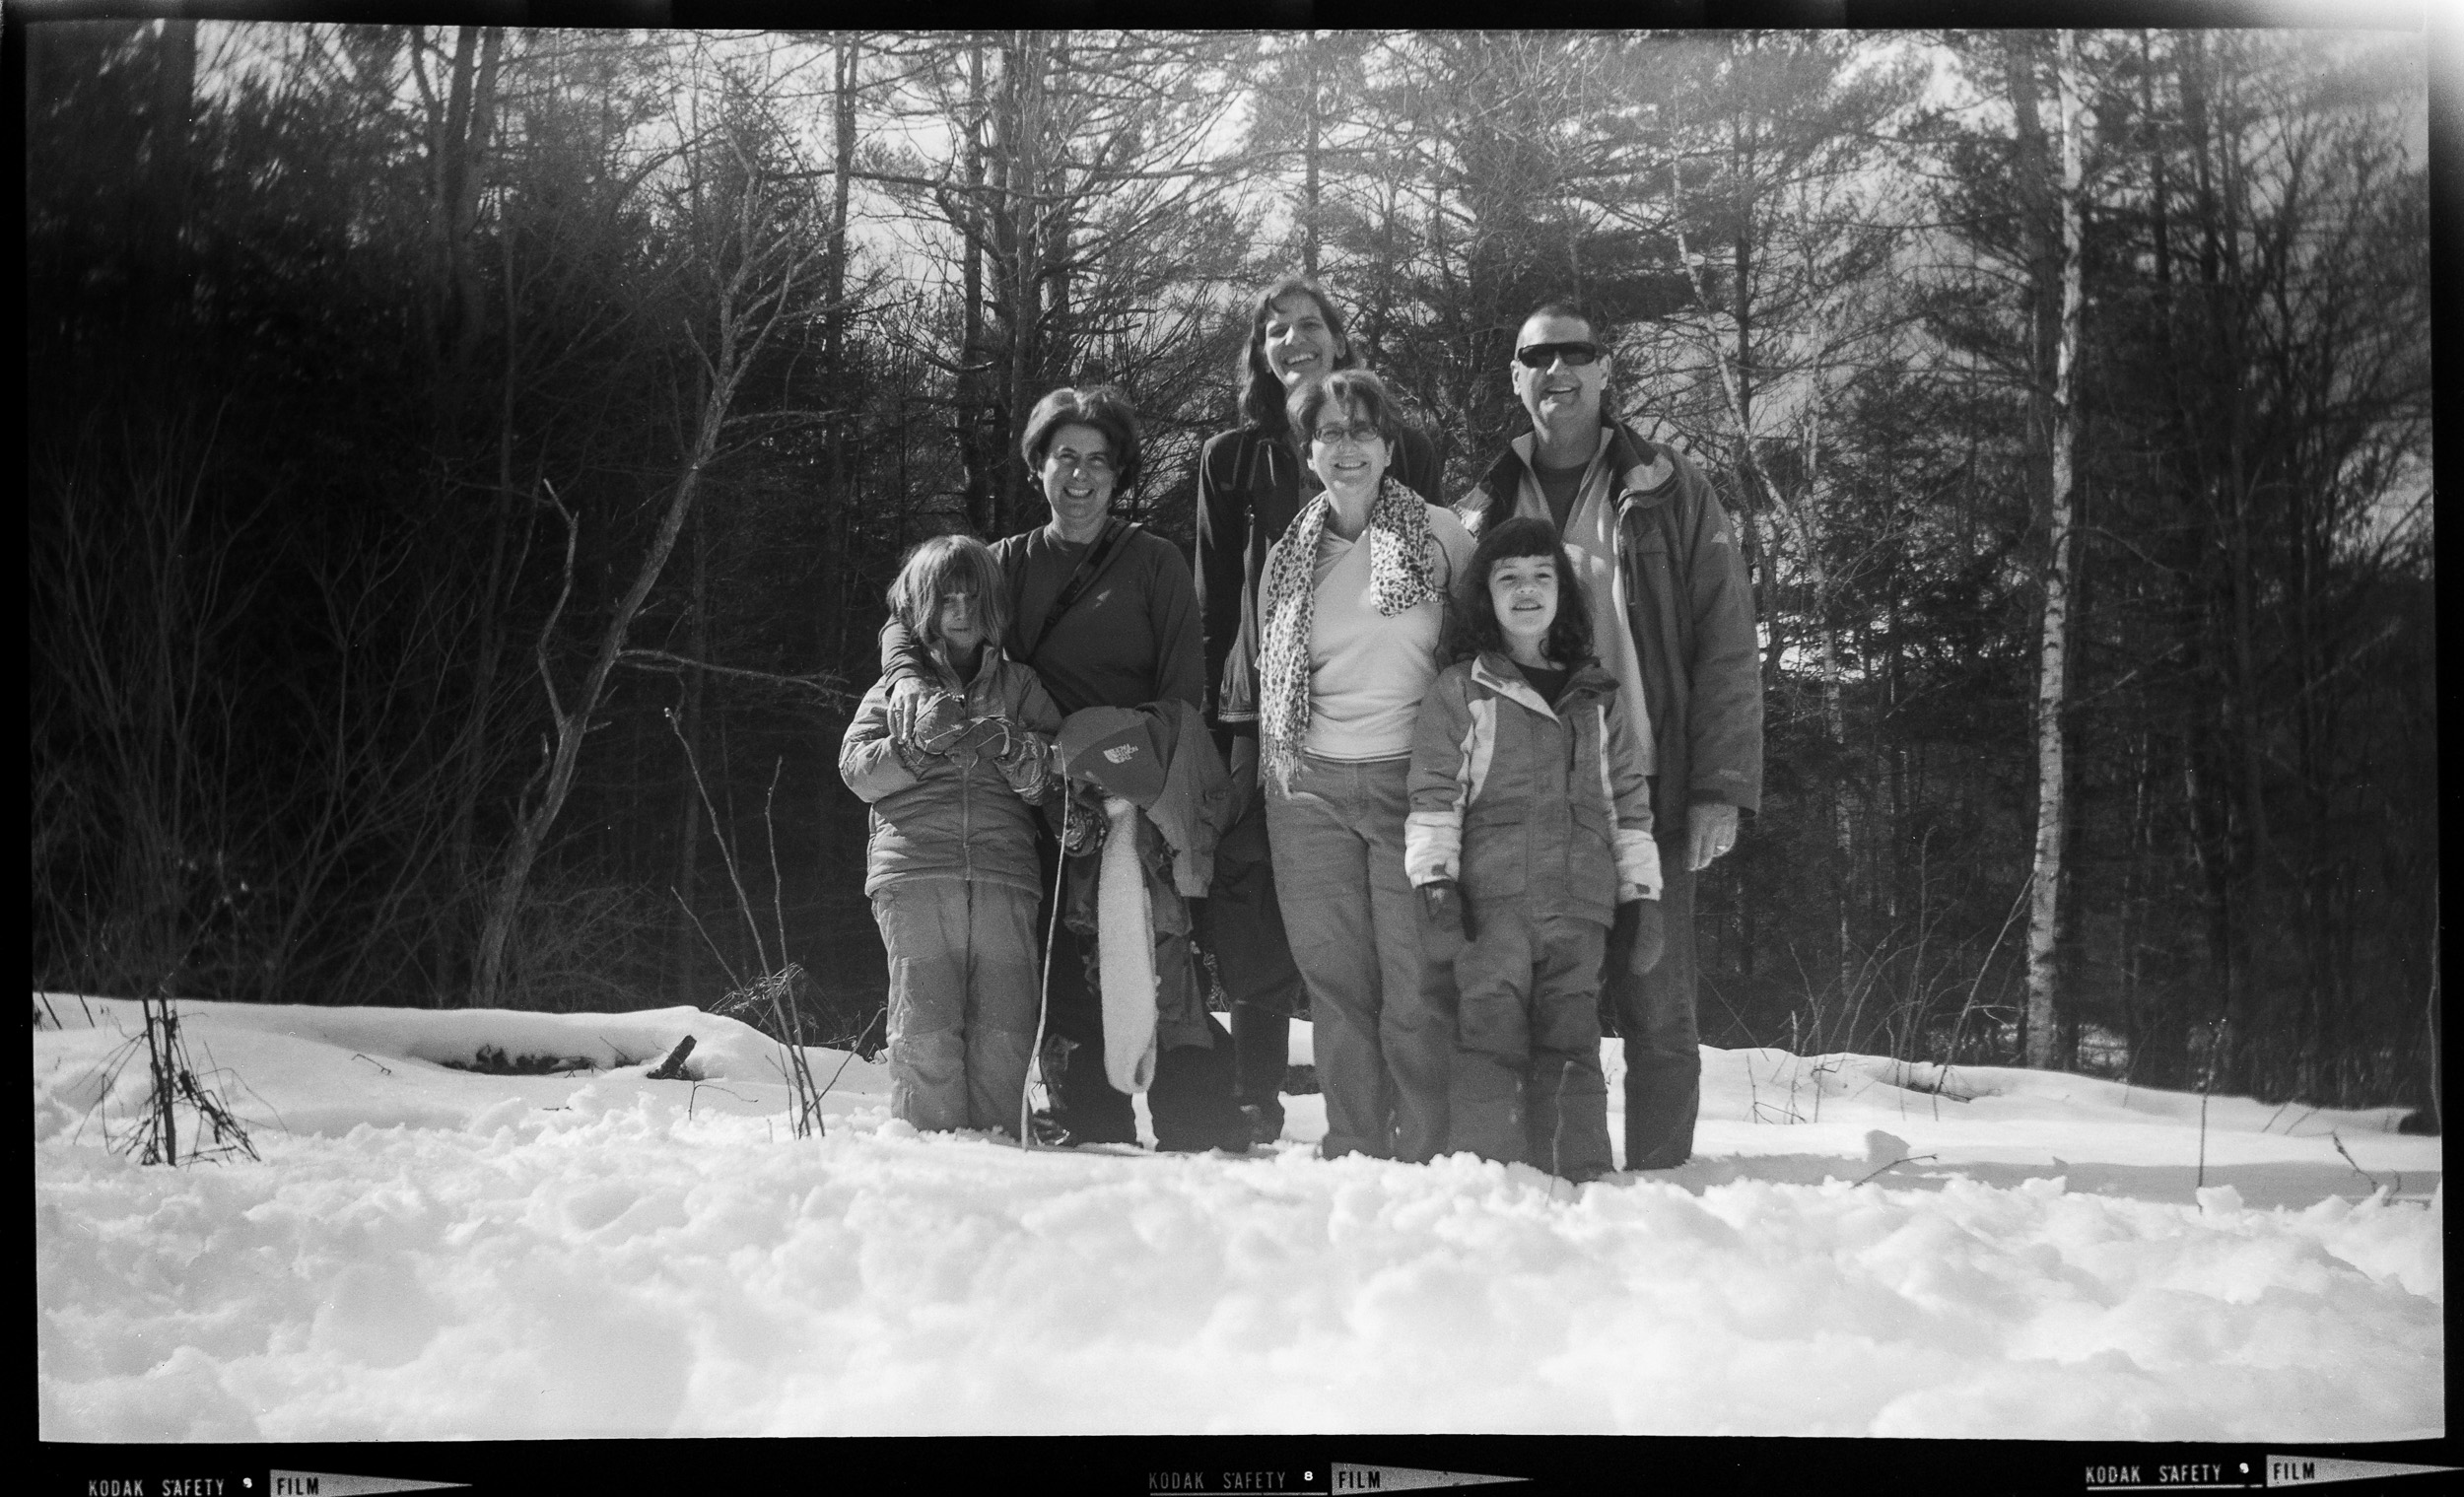
I recently participated in an Eastman Museum workshop "Dry Plates in the Woods of Letchworth State Park" and had a lot of fun with that. We learned how to make a silver bromide emulsion, coated it on 4x5" glass plates and then went to the very scenic Letchworth state park in upstate New York to take photographs with these dry plates. Here are my favorite six out of the ten glass plate negatives I produced:


The first day of the workshop we stayed in Rochester, NY in the museum's underground class room / darkroom to make all the dry plates we were going to use during the week. One of the first steps was to cut 8x10" framing glass into 4x5" plates.

Nick taught us how to make a basic silver halide emulsion. Gelatin is dissolved in hot water and sodium bromide added to the mix. Then, in a series of controlled steps, a silver nitrate solution is added. This causes the precipitation of silver bromide which is the desired light sensitive crystal and which remains suspended in the gelatin. Additionally, the unwanted by-product of sodium nitrate is formed which later needs to be washed out of the gelatin.

After spending some considerable time pouring the emulsion on our glass plates and letting them dry over night, we then drove to Letchworth SP and stayed there in rather comfy cabins for the next three days. Those days were spent taking photos with the glass plates in large format cameras (I brought my trusty Graflex "Super Graphic" along), sitting around the campfire and listening to Mark playing his Banjo. I had a great time!

At the end of each photo session, we came back to camp and could develop the glass negatives right there in a portable darkroom tent. This was not too much different from developing any other kind of black&white film, except it could be done under red safelight and with only one glass negative in a tray at a time.

The emulsion we made was rather slow, roughly equivalent to ISO 1 ½. So exposure times were always in the range of seconds. And no extra sensitization was added for recording green or red light (as in orthochromatic or panchromatic film). That means the emulsion was "color blind" and only saw blue and violet light. As a result, the light meter couldn't really be trusted to come up with a "correct" exposure value and was just a starting point for guessing a suitable exposure time.

The fourth photo of my dry plate gallery at the beginning of this post shows a rainbow formed in the mist of the waterfall. Though what's visible in the photo is just the blue and violet band of the rainbow. Here is a comparison with my cell phone color photo of the same scene:

Kodak Brownie 2A and Verichrome PAN

Below are some photos I took with an almost 100 year old camera: the Kodak Brownie 2A model B, made from 1920 to 1924. I also put together a Web page that describes the camera in more detail here.

The film I used was Kodak Verichrome PAN in 116 format, some of the freshest I was able to find on eBay... though for a film format discontinued in 1984, this doesn't mean much. This particular roll expired 40 years ago in March of 1977. The price sticker tells me it was once sold by "O Ellig Pharmacy" in Coraopolis, PA for 0.80$.

Old film like this typically needs some extra exposure above what its original speed rating of ISO 125 suggests. So I left the Brownie at its max aperture (about f/11) and used the fixed shutter speed of 1/50s. Based on the "Sunny 16" rule, that means about 2 stops of overexposure for subjects in bright sunlight. This worked out rather well, even for the scenes in the shade.

I developed the film in an antique "FR Special model 2" development tank that can be adjusted for the 116 film format (which is 70 mm wide and thus too large for regular 120 format development reels). The developer I happened to have at hand was Kodak XTOL, and so I used that undiluted at 68°F/20°C for 6 minutes. Next time I'll try HC-110 which supposedly helps with reducing some of the base fog that shows up with old film.

In the future I will also need to put some gaffer tape over the orange film counter window on the back of the camera. The photos show some light leaks on top that were apparently caused by light making it through that window onto the film. In the 1920's this camera would have been used with slow-speed orthochromatic film (i.e. not sensitive to red light), and the orange window would have been a good enough light barrier.

Halloween Wedding

Over the Halloween weekend, we were invited to Sierra & Nick's wedding in Essex Junction, VT. Here is a random collection of photos from  wandering around Burlington downtown, the wedding reception, and the trick-or-treating right afterwards.

A few days before this, I received the 90mm Summicron lens for my Leica M3. This lens was made in 1959 in Canada and I got it at a reasonable price from a guy in Portugal. So naturally I was excited to try it out. All photos taken with the Leica M3 on either Kodak Portra 400 color negative or Ilford Delta 3200 black&white film.

Hersheypark

Photos from our August 2015 family trip to Hersheypark and Gifford Pinchot State Park in Pennsylvania. All taken with my father's old Mamiya C330 medium format camera and Ilford HP5 Plus black&white film.

Stars and Stripes

Some more black & white photos taken with the Leica. From the 2015 Independence Day events in Andover and Boston, MA.

Disney in Black & White

For a Disney World vacation in March 2015, I decided to change things up a bit and photograph the whole trip in black & white film, using the family heirloom Leica M3 camera recently given to me. It's a fully mechanical camera from the early 1960s with not even a built-in light meter, so it's nice not having to worry about charging batteries. Though of course I did have to worry about changing films. And I must say the M3 isn't really an ergonomic masterpiece when it comes to that. Nevertheless, it was a fun experience.

All photos taken with the 50mm Summicron lens on Ilford HP5 PLUS film.